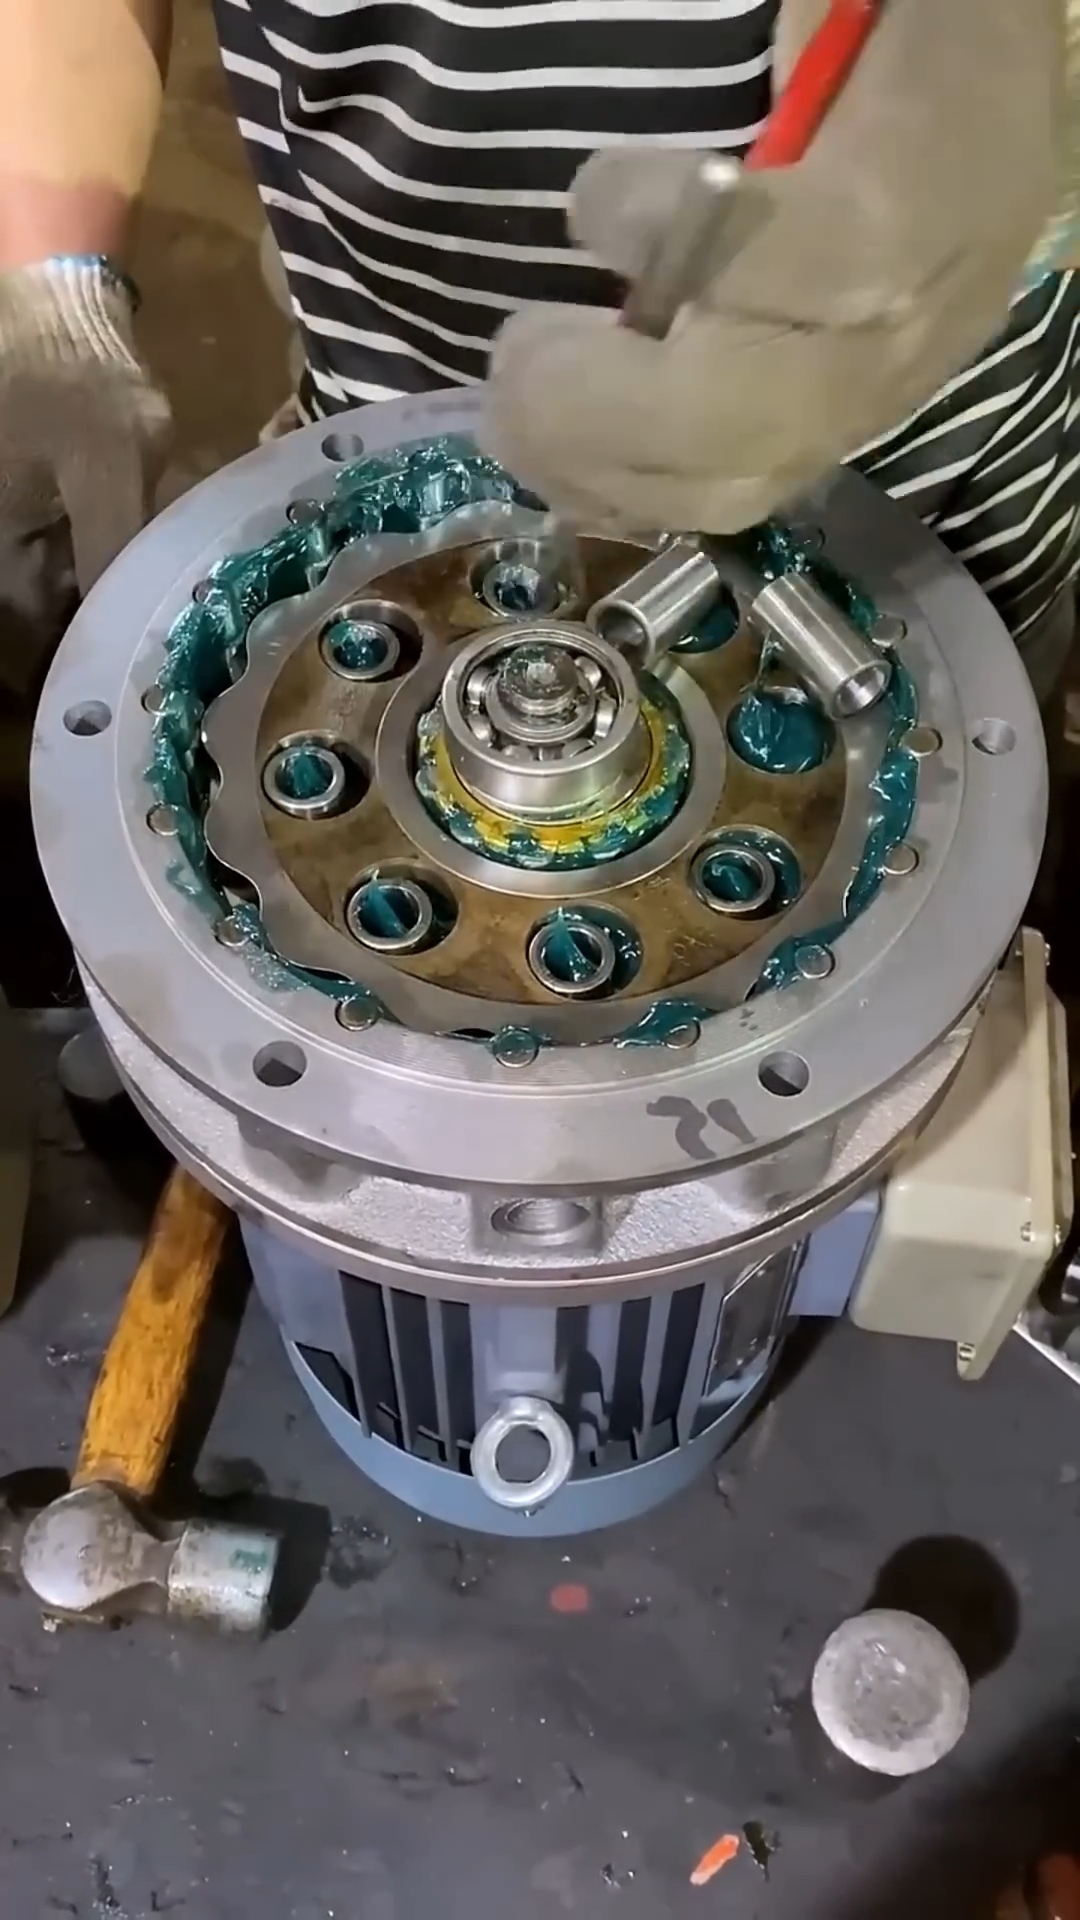
Installing a motor reduction drive shaft is a critical task in industrial machinery, conveyor systems, manufacturing equipment, and heavy mechanical applications. A properly installed drive shaft ensures efficient power transmission, minimizes vibration, reduces wear on bearings and couplings, and extends the service life of the motor and speed reducer. The following step-by-step process outlines the standard installation procedure.
Step 1: Prepare the Installation Area
Begin by cleaning the installation site and ensuring there is enough working space around the motor and speed reducer. Remove dust, oil, rust, and debris from the mounting surfaces. Verify that the machine foundation is level and rigid enough to support the equipment during operation.
Step 2: Gather Tools and Components
Prepare all required tools and materials before starting the installation. Typical equipment includes the drive shaft, speed reducer, electric motor, flexible coupling, keys, keyways, mounting bolts, torque wrench, dial indicator, straightedge, feeler gauges, lubricant, safety gloves, and protective eyewear. Confirm that every component matches the equipment specifications.
Step 3: Inspect the Drive Shaft
Carefully inspect the drive shaft for scratches, dents, corrosion, or manufacturing defects. Check that the shaft diameter, keyway dimensions, and overall length meet the design requirements. Clean the shaft thoroughly with a lint-free cloth to remove protective oil or dirt before installation.
Step 4: Install the Speed Reducer
Position the speed reducer on its mounting base and loosely install the mounting bolts. Use a spirit level to verify that the reducer sits evenly on the foundation. Do not fully tighten the bolts until the shaft alignment has been completed.
Step 5: Install the Drive Shaft
Apply a light coating of lubricant to the shaft if recommended by the manufacturer. Carefully slide the drive shaft into the reducer output hub or coupling while protecting the machined surfaces from damage. Install the key into the keyway and ensure it fits securely without excessive clearance. Avoid forcing the shaft into position with excessive impact.
Step 6: Connect the Motor
Mount the electric motor onto its base and align the motor shaft with the drive shaft or coupling. Install the flexible coupling according to the manufacturer’s instructions. Check both angular and parallel alignment using a straightedge or dial indicator. Proper alignment significantly reduces vibration and bearing wear.
Step 7: Tighten All Fasteners
Once alignment is verified, tighten the mounting bolts for the motor and reducer using a torque wrench. Secure the coupling bolts evenly in a crisscross pattern to distribute clamping force. Recheck the shaft alignment after tightening, as slight movement may occur during bolt tightening.
Step 8: Lubricate and Rotate the Assembly
Lubricate bearings, couplings, and other moving parts according to the manufacturer’s maintenance recommendations. Rotate the drive shaft manually through several complete revolutions to verify smooth operation. Ensure there is no binding, rubbing, or unusual resistance before applying power to the system.
Step 9: Perform Operational Testing
Start the motor at low speed and observe the drive shaft during operation. Listen for abnormal noises and monitor vibration, temperature, and shaft rotation. Verify that the reducer transmits power smoothly without excessive movement or overheating. Stop the equipment immediately if unusual conditions are detected and correct any alignment or installation issues.
Step 10: Complete Final Inspection and Maintenance
Perform a final inspection of all mounting bolts, couplings, lubrication points, and safety guards. Confirm that every fastener is tightened to specification and that protective covers are securely installed. Record the installation details for future maintenance. During routine operation, inspect the drive shaft regularly for wear, lubrication condition, loose fasteners, and signs of misalignment. Periodic maintenance, proper lubrication, and accurate shaft alignment help maximize power transmission efficiency, reduce mechanical stress, extend equipment service life, and ensure reliable performance in industrial drive systems operating under continuous or heavy-duty conditions.