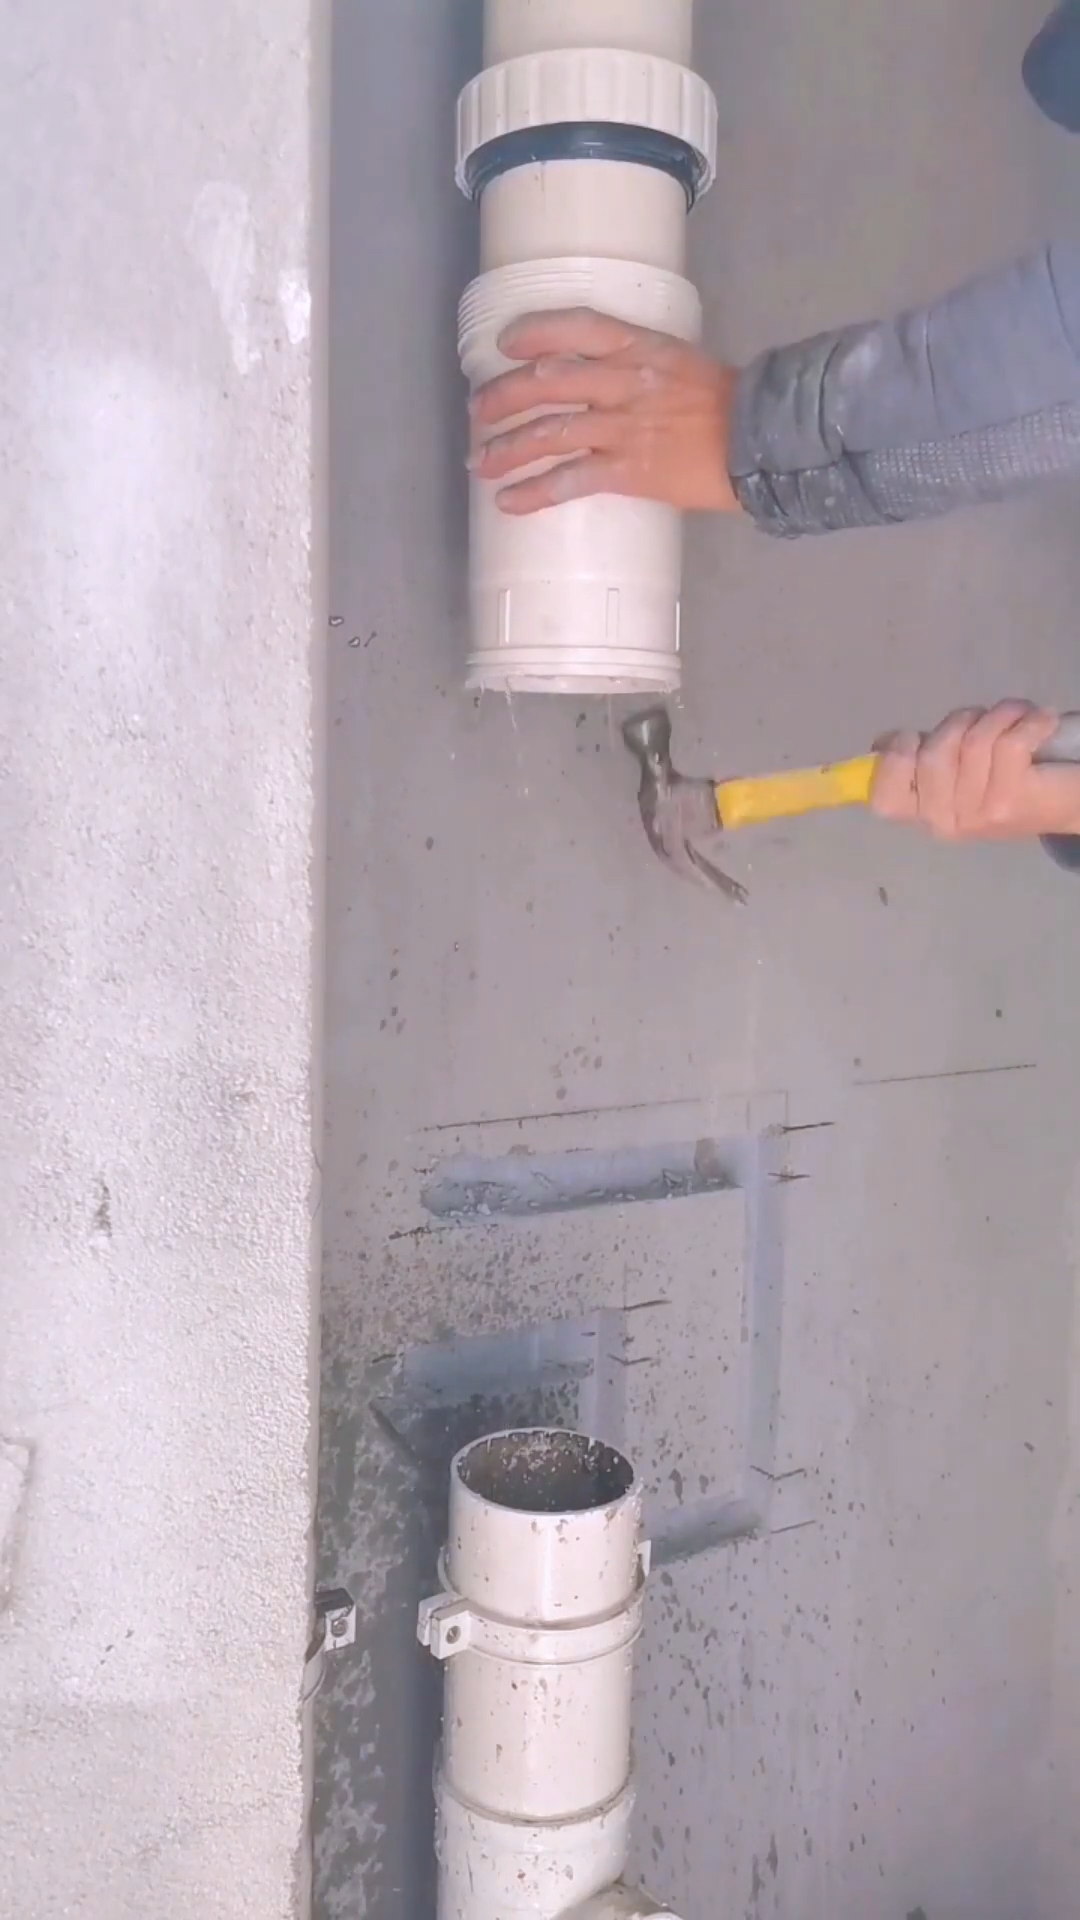
Bent pipes are widely used in plumbing, industrial piping, HVAC systems, chemical processing plants, and water supply networks. Their curved design allows pipelines to change direction smoothly while maintaining efficient fluid flow and minimizing the need for additional fittings. Proper installation ensures leak-free connections, reliable performance, and a long service life. The following step-by-step guide explains the standard bent pipe installation process.
Step 1: Review the Installation Plan
Begin by studying the piping layout, engineering drawings, and installation specifications. Confirm the required pipe diameter, bend angle, material, pressure rating, and installation location. Identify support points, connection locations, and any obstacles that may interfere with the installation.
Step 2: Prepare the Work Area
Clean the installation site thoroughly by removing dirt, debris, and unnecessary equipment. Ensure there is enough working space to position the bent pipe safely. Verify that pipe supports, brackets, and mounting structures are securely installed and capable of carrying the system load.
Step 3: Inspect the Bent Pipe
Carefully inspect the bent pipe for dents, cracks, corrosion, scratches, or deformation. Check that the bend radius and dimensions match the project requirements. Clean both the inside and outside of the pipe to remove dust, oil, moisture, or other contaminants before installation.
Step 4: Gather Tools and Materials
Prepare all required tools and equipment before starting the installation. Common items include pipe clamps, flanges, gaskets, bolts, welding equipment or pipe fittings, pipe supports, measuring tape, spirit level, alignment tools, torque wrench, and appropriate personal protective equipment. Having everything ready improves efficiency and reduces installation delays.
Step 5: Position the Bent Pipe
Carefully lift the bent pipe into position using suitable lifting equipment if necessary. Align the curved section with the pipeline route while ensuring the pipe follows the intended direction. Support the pipe properly to prevent unnecessary stress during installation. Avoid striking or dropping the pipe, especially if it has protective coatings.
Step 6: Connect the Pipe Sections
Join the bent pipe to the adjoining pipeline using the specified connection method, such as welding, flanges, threaded fittings, grooved couplings, or compression fittings. Ensure all mating surfaces are clean before assembly. Tighten bolts evenly or complete welds according to approved procedures to create strong, leak-free joints.
Step 7: Install Pipe Supports
Secure the bent pipe using properly spaced supports, hangers, or clamps. Position the supports to distribute the pipe’s weight evenly while allowing for thermal expansion where required. Correct support placement minimizes vibration, prevents sagging, and reduces stress on joints and fittings.
Step 8: Check Alignment and Tighten Connections
Use a spirit level, straightedge, and alignment tools to verify that the bent pipe is correctly positioned. Inspect every joint, flange, and support bracket for proper alignment. Tighten all fasteners to the manufacturer’s recommended torque values without overtightening, which could damage gaskets or fittings.
Step 9: Perform Pressure Testing
After completing the installation, conduct a pressure or leak test according to the system specifications. Fill the pipeline with the appropriate test medium and gradually increase the pressure while monitoring all connections. Inspect every joint carefully for leaks, movement, or pressure loss. Repair any defects before placing the system into operation.
Step 10: Final Inspection and Commissioning
Perform a comprehensive inspection of the completed installation. Verify that all supports are secure, connections are leak-free, and the bent pipe is properly aligned throughout the system. Remove installation debris, clean the work area, and restore any protective coatings if required. Record the installation details for future maintenance. During routine service, inspect the bent pipe periodically for corrosion, loose supports, damaged insulation, or signs of mechanical stress. Regular maintenance, proper support, and timely inspections help ensure reliable operation, maximize pipeline efficiency, reduce maintenance costs, and extend the service life of the entire piping system in residential, commercial, and industrial applications.



