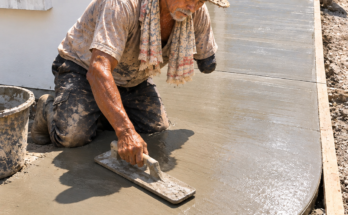
Step 1: Prepare the Wall
First, clean the wall thoroughly and remove dust, dirt, loose material, and old paint. Scrape away any damaged or uneven areas so the surface is ready for repair.
Step 2: Repair Cracks and Holes
Inspect the entire wall for cracks, holes, or damaged spots. Fill them with suitable wall repair material and allow the surface to dry completely.
Step 3: Level the Surface
Apply a thin layer of plaster or finishing compound over uneven areas. Use a trowel or putty knife to spread the material evenly and remove excess material.
Step 4: Smooth the First Coat
Carefully work across the wall with controlled hand movements. Keep the trowel at a consistent angle to create an even surface without leaving deep marks or ridges.
Step 5: Apply the Finishing Coat
Once the first layer has dried, apply a thin finishing coat. This stage requires careful handwork because even small imperfections can become visible after painting.
Step 6: Refine the Edges and Corners
Pay special attention to corners, edges, and areas around doors and windows. Use the appropriate hand tools to create clean, straight lines and sharp corners.
Step 7: Sand the Surface
After the finishing material has completely dried, lightly sand the wall. Work gradually rather than removing too much material. The goal is to eliminate small bumps, lines, and rough areas.
Step 8: Check for Imperfections
Run your hand across the surface and inspect it from different angles. Repair any remaining cracks, scratches, holes, or uneven spots before moving forward.
Step 9: Final Smoothing
Apply small corrections where necessary and carefully smooth the surface one final time. This is where experience and attention to detail make a big difference.
Step 10: Clean and Prepare for Painting
Remove all sanding dust from the wall and surrounding area. Make sure the surface is completely dry, clean, and smooth before applying primer or paint.
Step 11: Apply Primer
Apply an appropriate primer evenly across the wall. Primer helps create a more uniform surface and provides a better base for the final paint.
Step 12: Apply the Final Finish
Finally, apply the chosen wall paint or finish in even coats. Allow each coat to dry properly before applying another.
The Result
The finished wall should have a smooth, clean, and professional appearance. What looks simple from the outside is actually the result of careful preparation, steady hands, proper tools, and attention to every small detail.