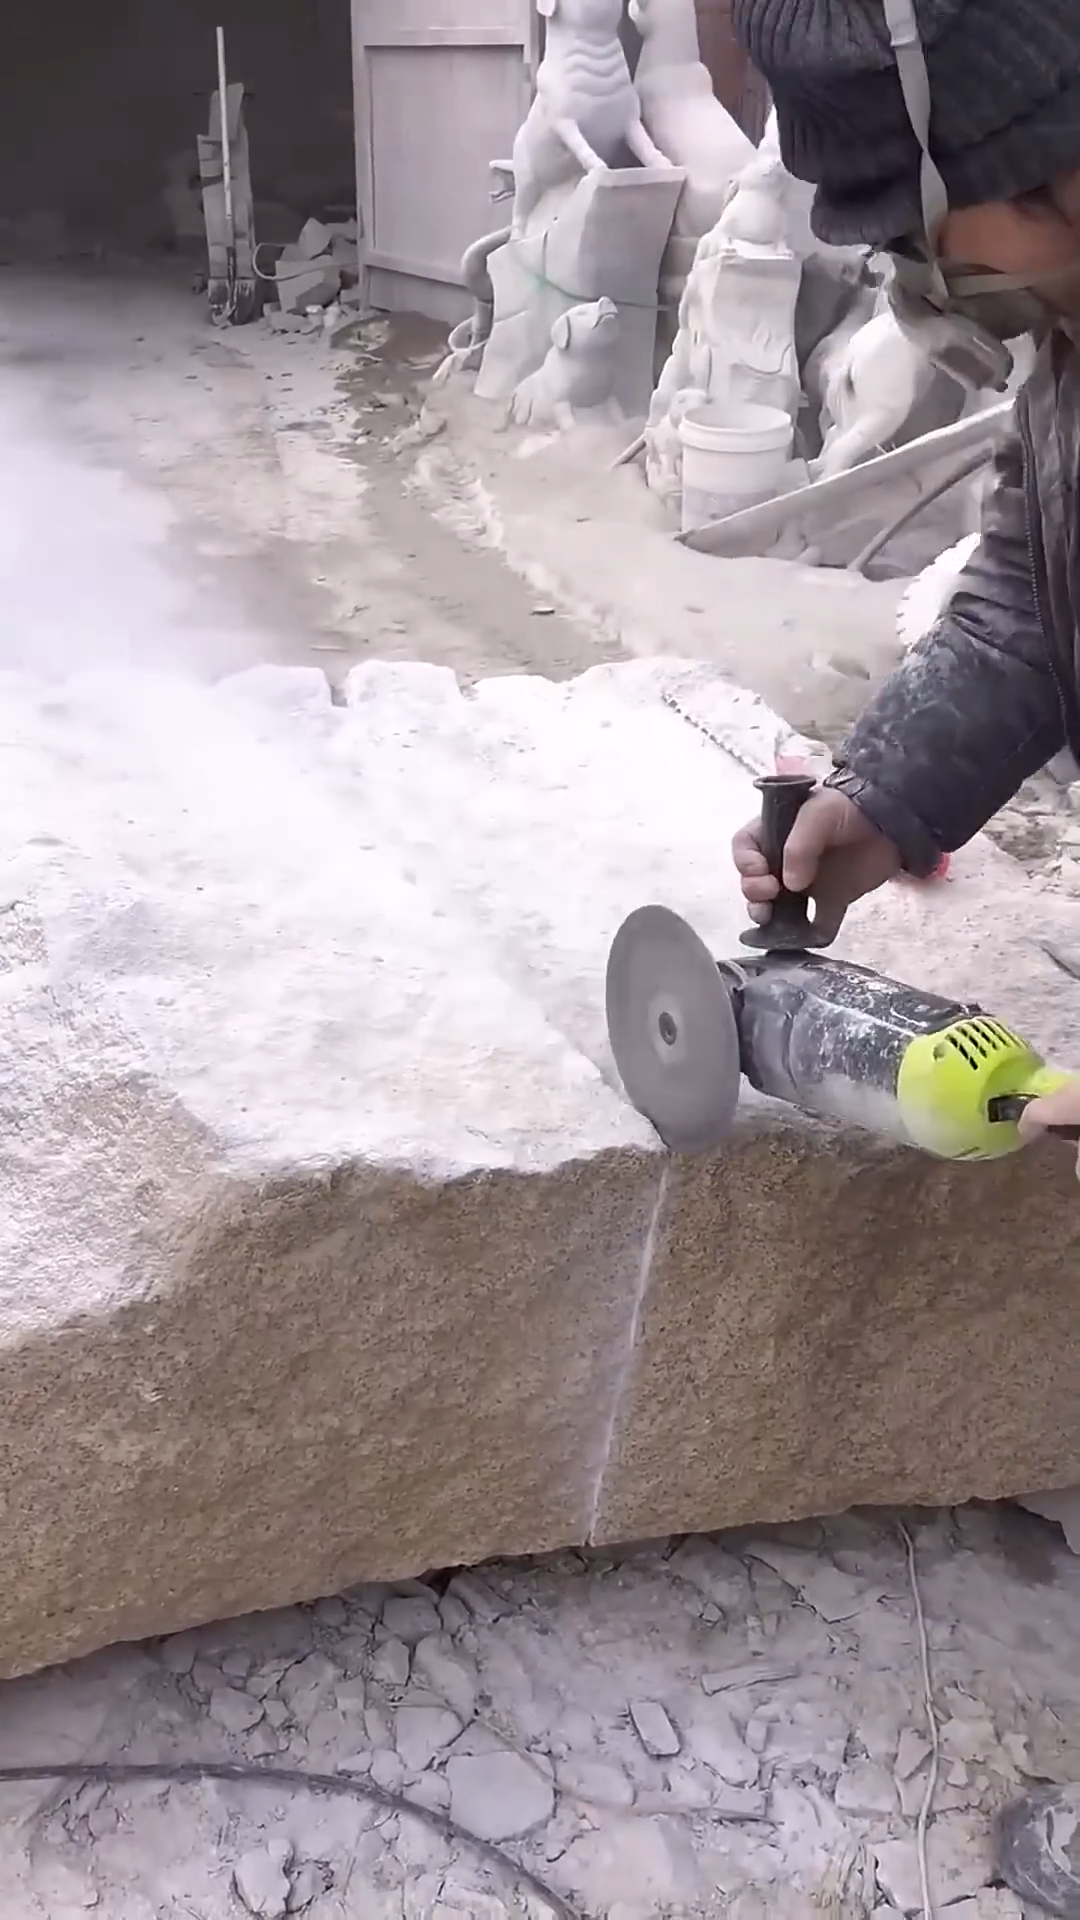
Splitting large stones with a chisel is a traditional stoneworking technique used in construction, landscaping, sculpture, and masonry. Instead of cutting the stone completely, the method uses carefully placed chisel marks and controlled hammer strikes to guide the stone along its natural fracture line. When performed correctly, this process produces clean, predictable splits while preserving the stone’s structural integrity.
Step 1: Select the Stone
Begin by choosing a stone suitable for splitting. Inspect the rock for natural grain lines, fractures, or weak planes that can help guide the split. Remove loose dirt and debris so the entire surface is clearly visible. Sound, high-quality stone produces more accurate and controlled results.
Step 2: Gather the Necessary Tools
Prepare all required tools before beginning. Common equipment includes a stone chisel, plug-and-feather wedges or pitching chisels, a heavy hammer or sledgehammer, measuring tape, chalk, straightedge, wire brush, and personal protective equipment. Wear safety glasses, hearing protection, gloves, and steel-toe boots throughout the process.
Step 3: Mark the Splitting Line
Measure the desired dimensions and mark the splitting line with chalk or a marker. Use a straightedge to keep the line accurate across the stone surface. Double-check the measurements before striking the stone, as careful layout helps produce a clean and even break.
Step 4: Secure the Stone
Place the stone on a firm, stable surface where it cannot shift during the splitting process. Use wooden blocks or supports if necessary to stabilize irregular shapes. A secure workpiece improves accuracy and reduces the chance of accidental cracking.
Step 5: Score the Surface
Using a stone chisel and hammer, make a series of shallow grooves along the marked line. Strike the chisel with steady, controlled blows while maintaining a consistent spacing between each mark. These initial scores help establish the fracture path and reduce the risk of an uneven split.
Step 6: Deepen the Chisel Line
Continue working along the marked line, increasing the depth of the grooves with repeated hammer strikes. Keep the chisel positioned at the same angle throughout the process to maintain a uniform channel. For very large stones, insert plug-and-feather wedges into drilled holes along the splitting line to apply even pressure.
Step 7: Split the Stone
Apply controlled hammer blows along the scored line or gradually tighten the wedges if using the plug-and-feather method. The pressure builds evenly until the stone begins to crack along the prepared line. Avoid striking excessively hard in one location, as uneven force can create unwanted fractures.
Step 8: Separate the Stone Pieces
Once the crack extends through the stone, carefully separate the two sections. Use pry bars or lifting tools if the pieces are heavy. Handle the split stone carefully to avoid damaging the newly formed edges or causing injury during lifting and transport.
Step 9: Shape and Finish the Edges
Inspect the split edges and remove loose fragments using a smaller chisel or stone hammer. Trim rough areas to achieve the desired shape and appearance. If a smoother finish is required, use grinding or polishing tools appropriate for the stone type while preserving the intended dimensions.
Step 10: Final Inspection and Cleanup
Examine the finished stone for straightness, edge quality, and structural soundness. Ensure the split follows the intended line and that no hidden cracks remain. Clean the work area by removing stone chips and dust, and inspect all tools for wear or damage before storing them. Routine maintenance, including sharpening chisels and replacing worn striking tools, helps maintain cutting efficiency and improves safety. By following proper stone-splitting techniques, craftsmen can produce accurately sized stone blocks with minimal waste, making the process suitable for masonry, landscaping, architectural construction, monuments, and decorative stone projects that require precision and durability.



