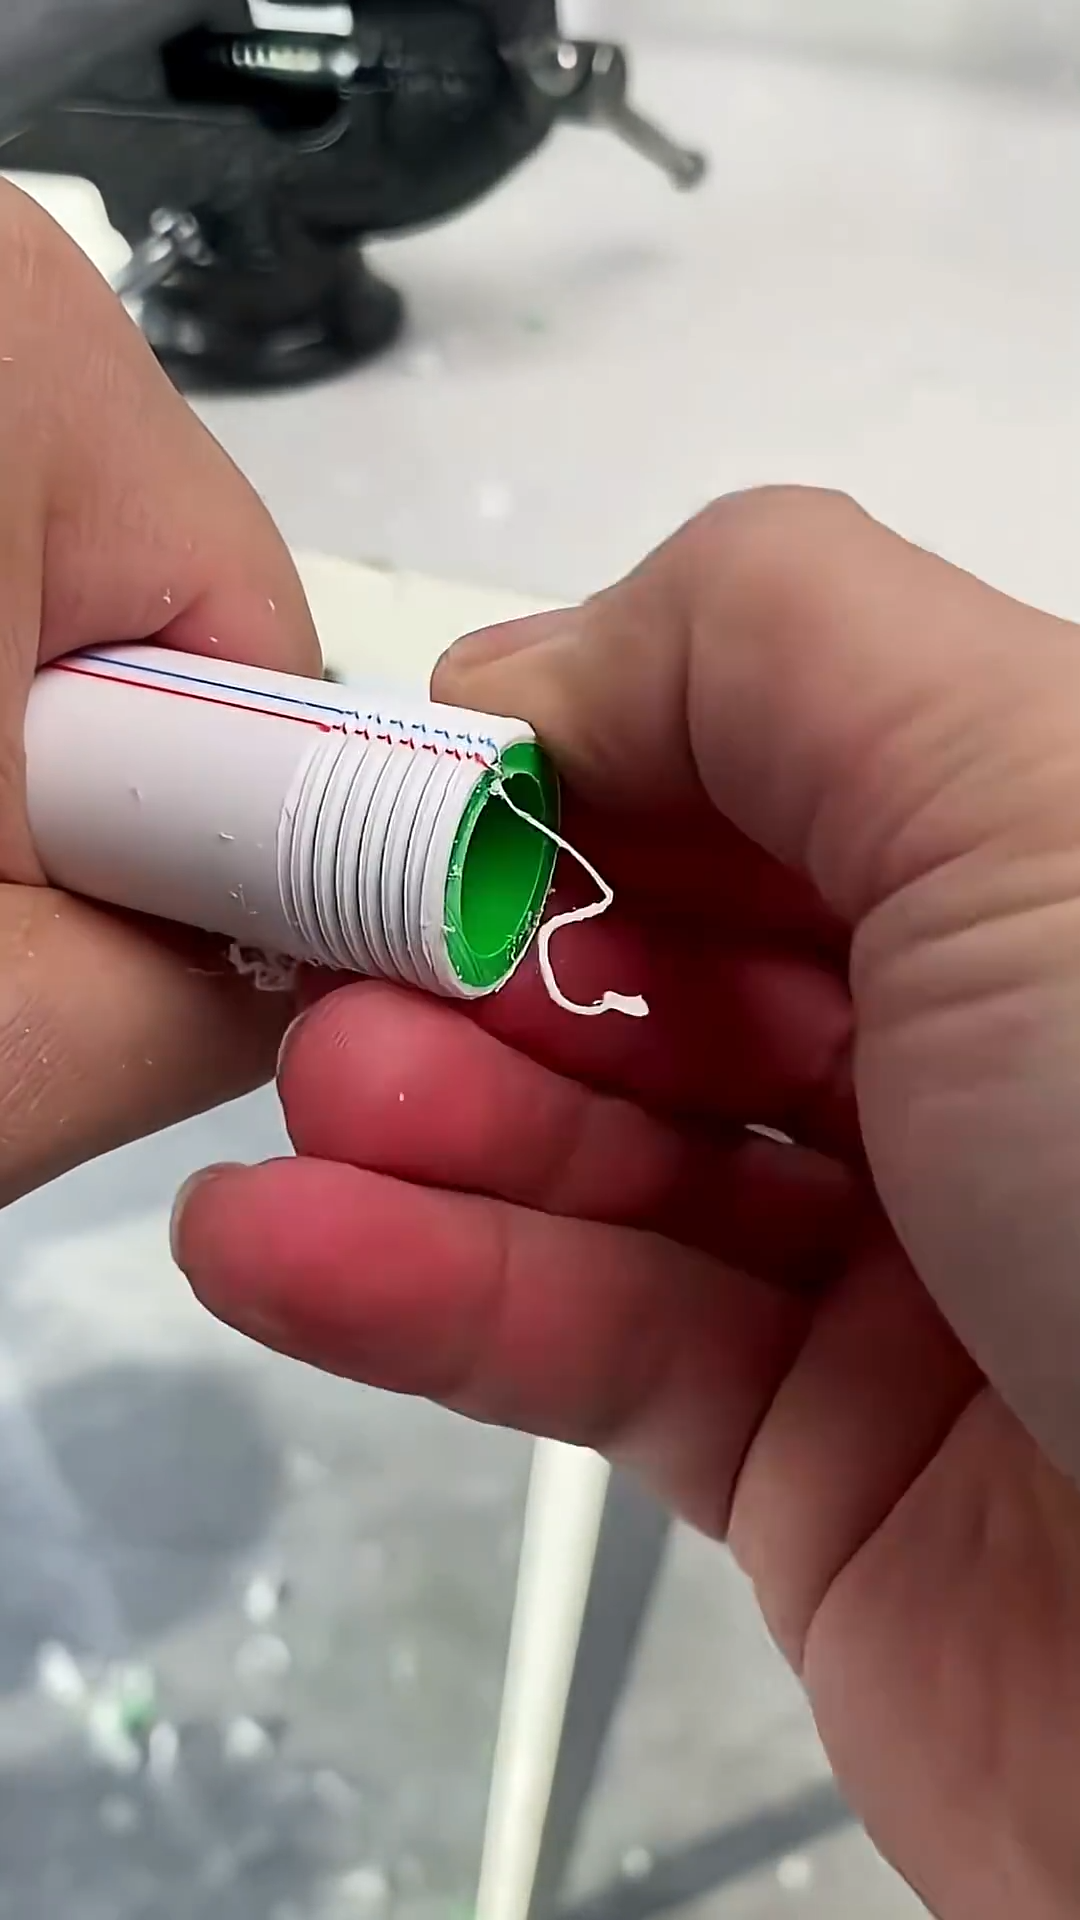
Threading plastic water pipes is a practical method for creating detachable connections between pipes, valves, fittings, and other plumbing components. When performed correctly, the process produces clean, accurately aligned threads that help create reliable water connections. Because plastic can be softer than metal, careful cutting and controlled pressure are important to prevent damaged or uneven threads.
Step 1: Select the Correct Plastic Pipe
Begin by selecting a plastic water pipe suitable for threaded connections. Check the pipe diameter, wall thickness, pressure rating, and material compatibility with the intended fitting. Not every plastic pipe is designed to be directly threaded, so always follow the pipe manufacturer’s recommendations before cutting threads.
Step 2: Prepare the Tools
Gather the necessary equipment, including a pipe cutter or fine-tooth saw, pipe threading die designed for plastic, die holder, measuring tape, marker, deburring tool, file, pipe vise with protective jaws, and a clean cloth. Prepare compatible threaded fittings and an approved thread sealant or sealing tape for the final connection.
Step 3: Measure the Pipe
Measure the required pipe length carefully and mark the cutting location. Allow enough length for the threaded section and fitting engagement. Double-check the measurement before cutting because removing too much material can make the pipe unusable for the planned connection.
Step 4: Cut the Pipe Squarely
Secure the pipe gently in a vise using protective jaws to prevent crushing or scratching. Cut the pipe at the marked location with a suitable pipe cutter or saw. Keep the cut perpendicular to the pipe centerline. A square end provides a better starting surface for forming accurate threads.
Step 5: Deburr and Clean the End
Remove burrs and sharp edges from the freshly cut pipe using a deburring tool or fine file. Lightly smooth the outer edge without reducing the pipe diameter unnecessarily. Wipe away plastic particles and dust with a clean cloth. A clean, smooth surface allows the threading die to engage more evenly.
Step 6: Position the Threading Die
Select the correct die size and verify that its thread profile matches the fitting. Place the die squarely over the pipe end. Keeping the die perpendicular to the pipe is essential because an angled starting position can produce crooked threads and make the finished connection difficult to assemble.
Step 7: Cut the Threads
Apply steady, moderate pressure while turning the die in the cutting direction. Make several partial turns, then reverse slightly when appropriate to clear accumulated plastic chips. Continue gradually until the required thread length has been produced. Avoid excessive force because plastic threads can deform or tear more easily than metal threads.
Step 8: Inspect the Finished Threads
Remove the die carefully and inspect the newly formed threads. Check that the ridges are continuous, clean, and evenly spaced. Look for cracks, flattened sections, or damaged thread peaks. Test the threads with the matching fitting by turning it on gently by hand. Do not force a fitting onto damaged or misaligned threads.
Step 9: Apply Thread Sealant
Clean the threaded section before applying an approved sealing material. Depending on the pipe and fitting manufacturer’s instructions, use suitable thread-sealing tape or a compatible liquid sealant. Apply it carefully without excessive material that could interfere with assembly or enter the water passage.
Step 10: Assemble and Test the Connection
Install the threaded fitting by hand first to ensure it starts straight. Tighten it carefully using the appropriate tool without excessive force, since overtightening can crack or deform plastic components. After completing the connection, gradually introduce water into the system and inspect the joint for leaks. If leakage occurs, depressurize the system and correct the connection rather than continuing to tighten aggressively. Finally, clean the work area and store the tools properly. Regular inspection of threaded joints helps identify wear, cracking, or leakage early. Following the correct cutting technique, using compatible components, and avoiding excessive tightening helps create durable plastic water pipe connections suitable for maintenance, plumbing installations, and water distribution systems.



