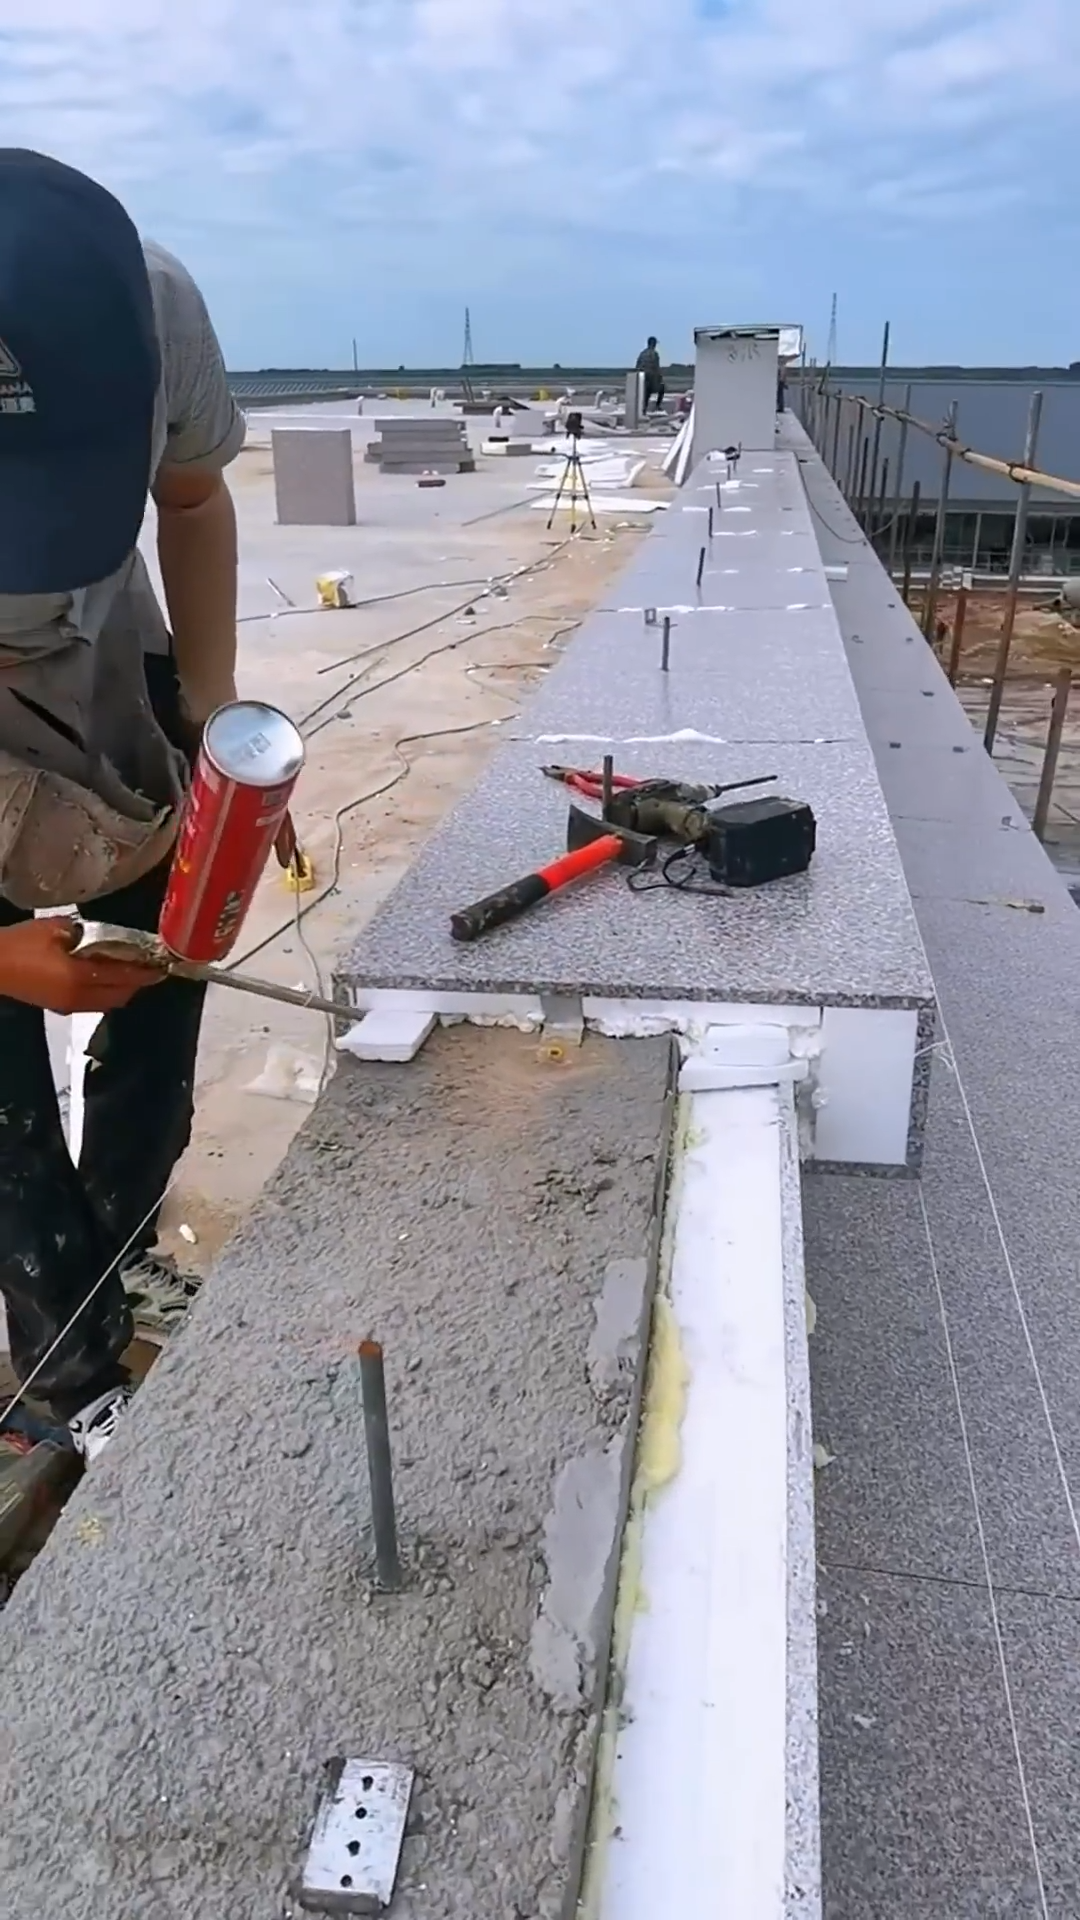
Installing an insulated marble wall cap requires accurate measuring, careful surface preparation, and precise positioning. A properly installed wall cap protects the top of a wall from moisture while providing a clean architectural finish. When insulation is incorporated beneath the marble, the assembly can also help reduce thermal transfer and protect the wall structure.
Step 1: Inspect the Wall
Begin by examining the top of the wall where the marble cap will be installed. Check that the masonry or concrete surface is stable, level, and free from loose material. Repair cracks, uneven areas, or damaged sections before proceeding. Remove dust, dirt, grease, and other contaminants from the surface.
Step 2: Measure the Wall
Measure the complete length and width of the wall top. Determine the required marble cap dimensions, including the desired overhang on each side. Take measurements at several points because walls may not be perfectly straight. Record the dimensions carefully to reduce cutting errors and material waste.
Step 3: Prepare the Insulation
Select insulation material appropriate for the wall and environmental conditions. Cut the insulation panels or strips to match the wall width and length. Keep the insulation dry and clean during installation. Where multiple pieces are required, position them closely together to minimize unnecessary gaps.
Step 4: Install the Insulation Layer
Apply an appropriate construction adhesive or mechanical fixing system to secure the insulation to the wall top. Position the insulation evenly along the entire surface and press it firmly into place. Check the level frequently and trim any high spots that could prevent the marble from sitting evenly.
Step 5: Prepare the Marble Caps
Inspect each marble cap for cracks, chips, stains, or dimensional defects. Arrange the pieces in installation order so the natural veining creates an attractive visual flow. Mark cutting locations carefully and use a suitable diamond cutting blade to make precise cuts. Smooth sharp edges and clean the marble before installation.
Step 6: Dry-Fit the Marble
Before applying adhesive, place the marble caps temporarily on top of the insulated wall. Check the overall alignment, joint positions, overhang, and corner details. Make any necessary adjustments at this stage. Dry-fitting helps prevent expensive corrections after the adhesive has been applied.
Step 7: Apply the Setting Material
Apply a suitable exterior-grade stone adhesive or mortar compatible with both the insulation system and marble. Spread the material evenly using the recommended notched trowel or installation method. Avoid excessive adhesive thickness, which can cause uneven settling or movement.
Step 8: Position the Marble Caps
Carefully lower each marble cap onto the prepared setting material. Press gently and adjust the piece until it reaches the correct position. Use a level to check the slope and alignment. Maintain consistent joints between adjacent marble pieces. Avoid excessive force that could crack the stone or compress the insulation unevenly.
Step 9: Seal the Joints
After the setting material has cured sufficiently, fill the joints between marble sections with an appropriate flexible sealant or grout. Pay particular attention to corners and exposed edges where water could enter. Tool the sealant smoothly to create a neat, continuous weather-resistant joint.
Step 10: Final Inspection and Maintenance
Complete a final inspection to ensure the marble caps are secure, level, evenly aligned, and properly sealed. Remove excess adhesive or grout before it fully hardens, using cleaning products recommended for natural stone. Avoid harsh acidic cleaners that can damage marble. Inspect the wall cap periodically for loose sections, cracked joints, water penetration, or damaged sealant. Renew deteriorated sealant when necessary to maintain weather protection. Proper installation and regular maintenance help preserve the marble’s natural appearance, protect the insulated wall assembly, and provide a durable architectural finish for many years.



