A damaged tire can reduce vehicle safety, fuel efficiency, and driving comfort. Professional tire repair restores the tire’s performance while ensuring it remains safe for continued use. Following the correct repair procedure helps prevent air leaks, uneven wear, and unexpected tire failure. Below is the complete step-by-step process used by experienced technicians.
Step 1: Inspect the Tire
Begin by examining the tire carefully. Look for nails, screws, glass, or other objects embedded in the tread. Check the sidewalls for cuts, bulges, or cracks. Damage located on the sidewall or shoulder usually cannot be repaired safely and may require tire replacement. Inspect the wheel for dents or other signs of damage before proceeding.
Step 2: Remove the Tire
Loosen the wheel nuts while the vehicle is on the ground. Raise the vehicle with a hydraulic jack and support it securely using jack stands. Remove the wheel and place it on a clean work surface. Deflate the tire completely before separating it from the rim using a tire-changing machine.
Step 3: Locate the Puncture
Inspect both the inside and outside of the tire to identify the exact puncture location. Mark the damaged area with chalk or a tire marker. Remove any foreign object carefully using pliers without enlarging the hole unnecessarily. Confirm that the puncture is within the repairable tread area.
Step 4: Prepare the Damaged Area
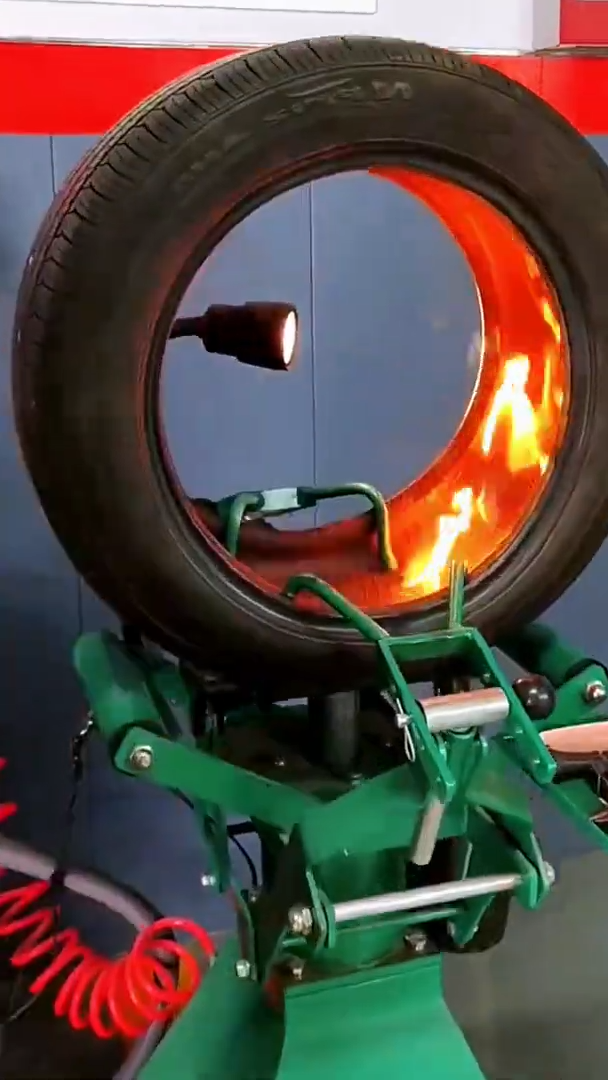
Clean the inside of the tire thoroughly around the puncture. Use a tire buffer to roughen the repair area, creating a suitable surface for the repair patch. Remove all dust and rubber particles with a vacuum or clean cloth. Apply tire repair cleaner if recommended by the repair kit manufacturer.
Step 5: Repair the Puncture
Apply vulcanizing cement evenly around the prepared area and allow it to become tacky. Insert a combination plug and patch through the puncture from the inside of the tire. Pull the plug firmly until it seals the hole completely. Press the repair patch flat using a stitching roller to eliminate trapped air and ensure full adhesion.
Step 6: Trim and Seal
Cut the excess plug material flush with the tire tread using a sharp trimming tool. Apply an inner liner sealant around the repaired area to restore the tire’s airtight barrier. Allow the sealant to dry according to the manufacturer’s instructions before mounting the tire.
Step 7: Reinstall the Tire
Mount the repaired tire back onto the wheel using a tire mounting machine. Inflate the tire gradually to the recommended pressure. Ensure the tire bead seats evenly around the rim. Check for proper inflation using a reliable tire pressure gauge.
Step 8: Balance the Wheel
Place the wheel on a balancing machine to detect any weight imbalance. Install balancing weights where necessary until the machine indicates proper balance. A correctly balanced wheel reduces vibration, improves handling, and extends tire life.
Step 9: Leak Test
Spray soapy water around the repaired area, valve stem, and tire bead. Watch carefully for air bubbles that indicate a leak. If no bubbles appear, the repair is successful. Repeat the inspection to ensure every repaired section remains airtight under pressure.
Step 10: Install the Wheel and Final Inspection
Reinstall the wheel onto the vehicle and tighten the lug nuts by hand. Lower the vehicle carefully and tighten the lug nuts to the manufacturer’s recommended torque using a torque wrench. Perform a final visual inspection of the tire, confirm the air pressure, and ensure the repair area remains secure. Drive the vehicle for a short distance and recheck the tire pressure afterward. Regular tire inspections, proper inflation, and timely repairs help maximize tire lifespan, improve fuel efficiency, and provide safer driving in all weather conditions.