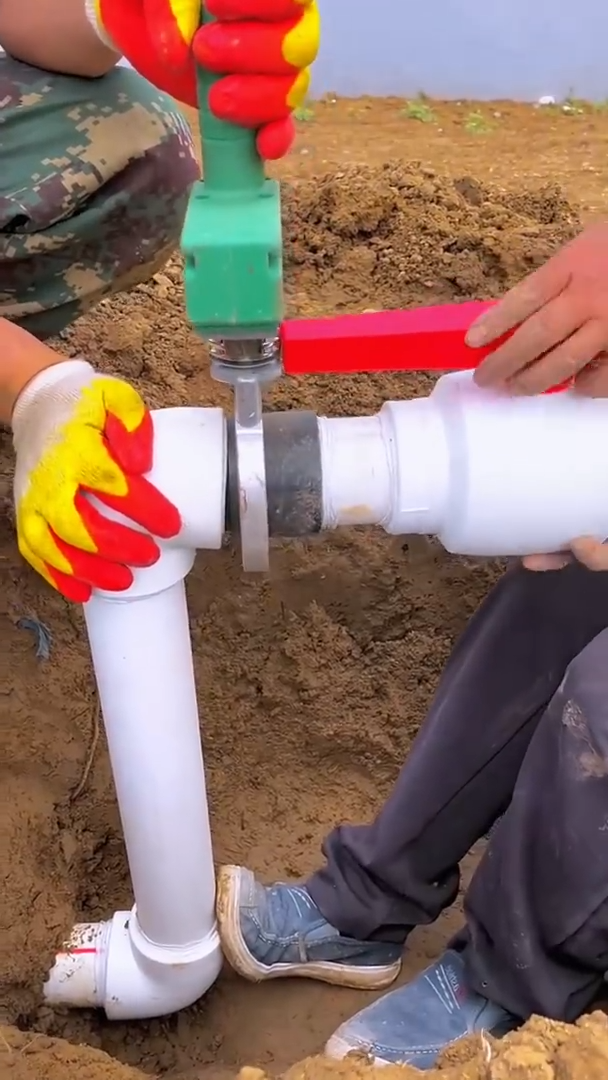
Installing irrigation water pipes is an effective way to provide a steady water supply for gardens, farms, lawns, and landscapes. A properly installed irrigation system reduces water waste, improves plant growth, and minimizes manual watering. Following a clear step-by-step process ensures the system operates efficiently for many years.
Step 1: Plan the Irrigation Layout
Begin by surveying the entire area that requires irrigation. Measure the land and identify the locations of plants, trees, flower beds, or crops. Decide where the main water source is located and sketch the pipe layout. Mark the positions of valves, pipe junctions, sprinkler heads, or drip lines. Careful planning prevents unnecessary pipe bends and reduces installation costs.
Step 2: Gather Materials and Tools
Prepare all the required materials before starting the installation. Common items include PVC or HDPE irrigation pipes, elbows, tees, couplings, valves, pipe cement, Teflon tape, sprinkler heads, drip emitters, and pressure regulators. Essential tools include a measuring tape, shovel, pipe cutter, marker, wrench, and safety gloves. Having everything ready makes the work faster and more organized.
Step 3: Mark the Pipe Route
Use stakes, string, or spray paint to mark the exact path where the irrigation pipes will be installed. Double-check the layout against your plan to ensure proper spacing and coverage. Avoid existing utility lines, tree roots, and underground cables. Accurate marking helps create straight trenches and simplifies pipe installation.
Step 4: Dig the Trenches
Dig trenches along the marked route. The trench depth depends on the pipe size and local conditions but is generally between 20 and 40 centimeters for residential systems. Keep the trench bottom smooth and remove sharp rocks or debris that could damage the pipes. Place excavated soil beside the trench for easy backfilling later.
Step 5: Cut and Assemble the Pipes
Measure each pipe section carefully before cutting. Use a pipe cutter to produce clean, square cuts. Dry-fit all pipe sections and fittings without glue to confirm the layout. Once satisfied, apply PVC cement or connect compression fittings according to the pipe type. Ensure every joint is fully inserted and aligned correctly to prevent leaks.
Step 6: Install Valves and Water Distribution Components
Install shut-off valves, control valves, filters, and pressure regulators where required. Attach sprinkler heads or drip irrigation lines according to the irrigation design. Position sprinkler heads at the correct height and spacing to provide even water coverage. Proper component placement improves system efficiency and reduces water waste.
Step 7: Connect to the Water Supply
Connect the main irrigation pipe to the water source using the appropriate fittings. Wrap threaded connections with Teflon tape to create a watertight seal. Tighten all fittings securely without overtightening, which may damage the threads or connectors. Verify that the main connection is stable before testing the system.
Step 8: Test the Entire System
Before covering the pipes, slowly turn on the water supply. Allow water to flow through the system and inspect every connection for leaks. Check that each sprinkler or drip emitter operates correctly and provides uniform water distribution. Flush the pipes to remove dirt or debris that entered during installation. Repair any leaks immediately before continuing.
Step 9: Backfill the Trenches
After successful testing, carefully refill the trenches with the excavated soil. Cover the pipes evenly while avoiding large rocks or heavy impacts that may damage them. Compact the soil gently in layers to prevent future settling. Restore the landscape by replacing grass, mulch, or decorative materials removed during excavation.
Step 10: Perform Final Inspection and Maintenance
Complete a final inspection by operating the irrigation system through a full watering cycle. Confirm that every zone functions correctly and delivers sufficient water. Adjust sprinkler angles, clean filters, and inspect valves regularly. Periodic maintenance, including checking for leaks and clearing clogged emitters, keeps the irrigation system reliable, conserves water, and supports healthy plant growth throughout every season.



