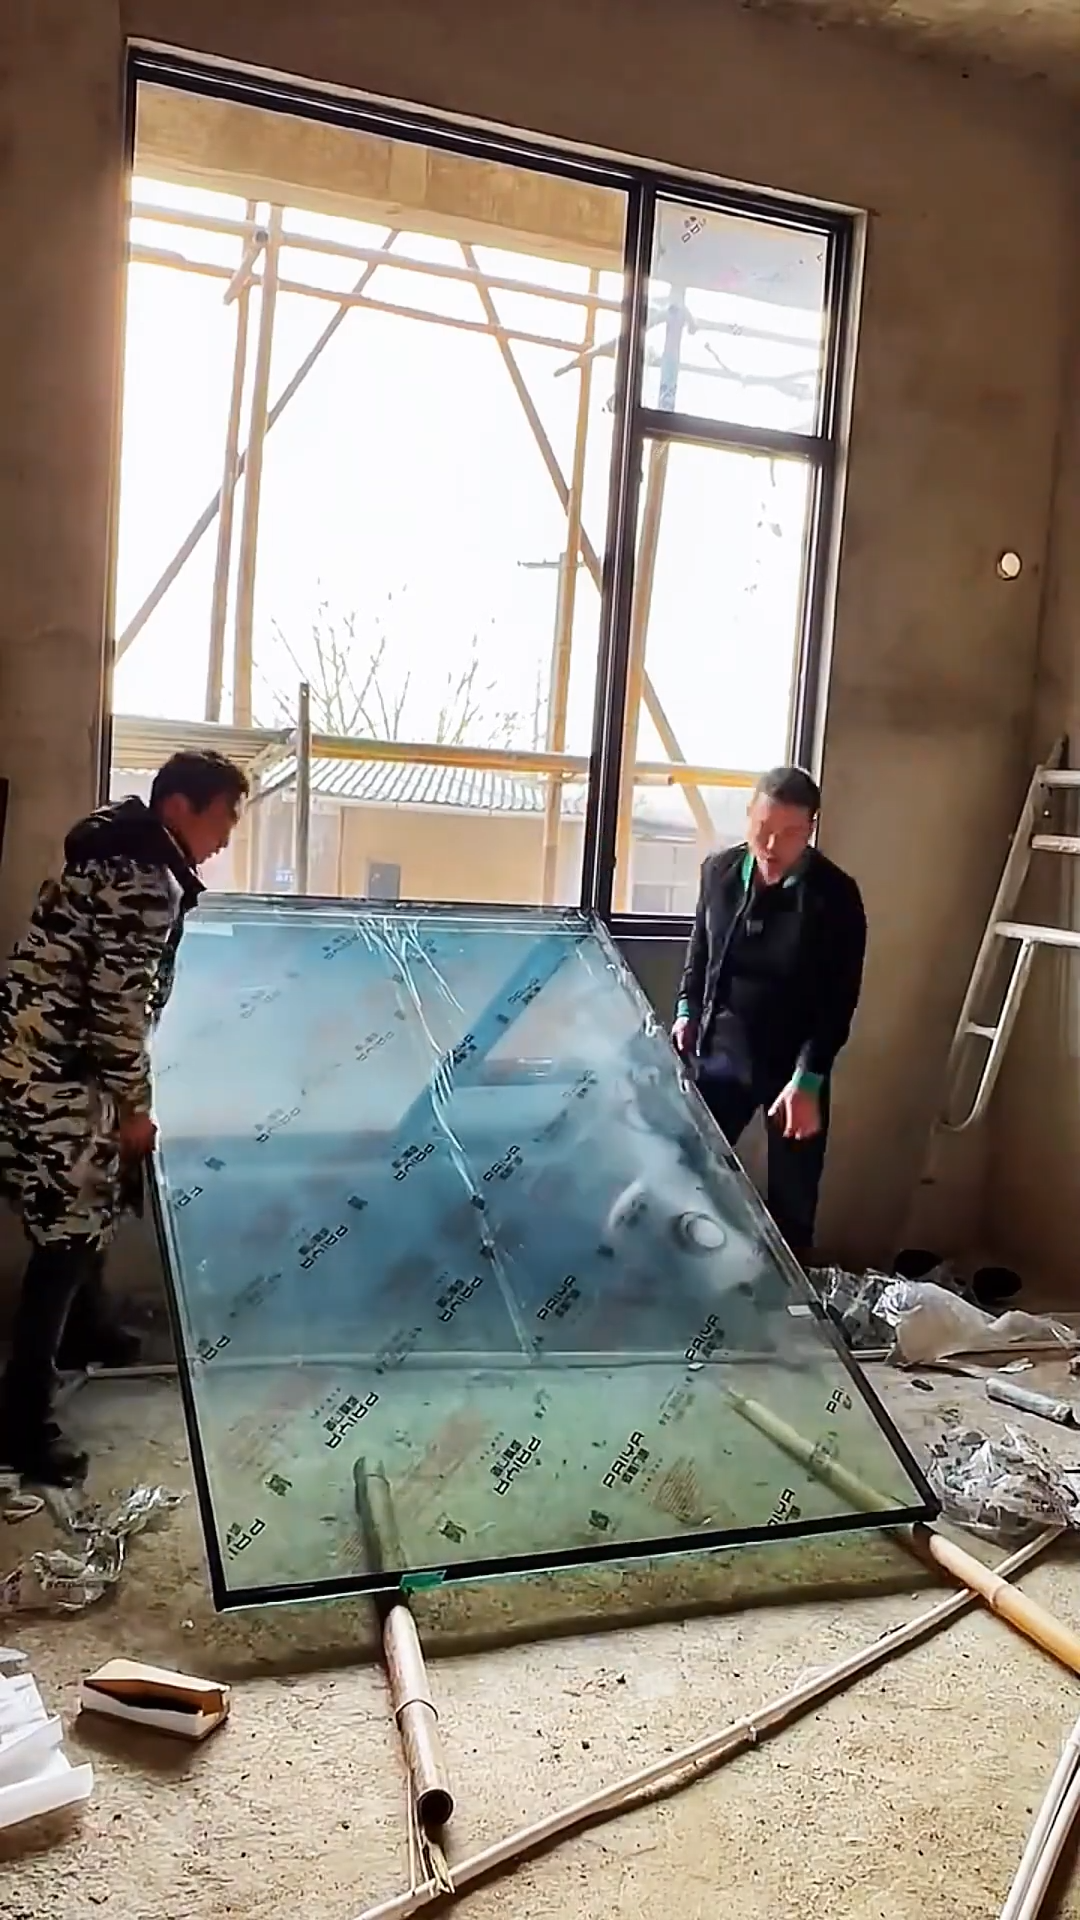
Window glazing is an essential part of construction and home improvement that improves energy efficiency, weather resistance, and appearance. Whether installing a new pane or replacing damaged glass, following the correct glazing process ensures a secure, durable, and professional finish. Below is the complete step-by-step guide to glazing a window.
Step 1: Inspect the Window Frame
Begin by examining the window frame for damage, rot, rust, or loose joints. Wooden frames should be solid and dry, while metal or vinyl frames should be free from cracks and corrosion. Repair or replace damaged sections before installing new glass. A strong frame provides the foundation for a successful glazing job.
Step 2: Remove the Old Glass
Wear protective gloves and safety glasses before handling broken glass. Carefully remove any remaining glass pieces from the frame using pliers. Scrape away old glazing compound, silicone sealant, and glazing points with a putty knife or scraper. Clean the frame thoroughly so the new glass will fit securely.
Step 3: Measure the Opening
Measure the width and height of the window opening accurately. Take measurements at several points to ensure consistency. The replacement glass should be slightly smaller than the opening, allowing a small expansion gap around the edges. Accurate measurements help prevent installation problems and reduce the risk of glass breakage.
Step 4: Prepare the Frame
Clean the frame using a brush or cloth to remove dust, dirt, and loose debris. If working with a wooden frame, apply a suitable primer or wood sealer to protect the surface from moisture. Allow the primer to dry completely before proceeding. Proper preparation improves adhesion and extends the life of the glazing materials.
Step 5: Apply the Glazing Compound
Roll the glazing compound into a smooth, even strip. Press it firmly into the window frame where the glass will sit. This bedding compound creates a weatherproof seal and cushions the glass against vibration. Ensure the compound is evenly distributed along the entire frame.
Step 6: Install the Glass Pane
Carefully lift the glass pane and position it into the prepared frame. Press the glass gently into the glazing compound until it sits evenly on all sides. Avoid applying excessive pressure, which may crack the glass. Verify that the pane is centered and properly aligned before securing it.
Step 7: Secure the Glass
Install glazing points or retaining clips around the edges of the glass to hold it firmly in place. Space the points evenly according to the size of the pane. Use a glazing tool or putty knife to press them into the frame without damaging the glass. Proper fastening prevents movement and improves stability.
Step 8: Finish the Exterior Glazing
Apply another layer of glazing compound around the outside edge of the glass. Smooth the compound with a putty knife at a consistent angle to create a neat, sloped finish that sheds rainwater away from the frame. Remove excess compound for a clean, professional appearance.
Step 9: Allow the Glazing to Cure
Leave the glazing compound undisturbed while it cures according to the manufacturer’s recommended drying time. Protect the window from heavy rain, dust, and accidental impact during this period. Proper curing ensures the compound develops maximum strength and forms a durable weatherproof seal.
Step 10: Paint and Perform Final Inspection
Once the glazing compound has fully cured, paint exposed glazing and wooden frame surfaces if required. The paint helps protect the glazing from moisture and ultraviolet damage. Finally, inspect the window carefully for gaps, uneven glazing lines, or loose glass. Clean the glass thoroughly using a non-abrasive glass cleaner and a lint-free cloth to remove fingerprints and residue. A properly glazed window provides excellent insulation, improved weather protection, enhanced appearance, and long-lasting performance with only routine cleaning and periodic maintenance.



