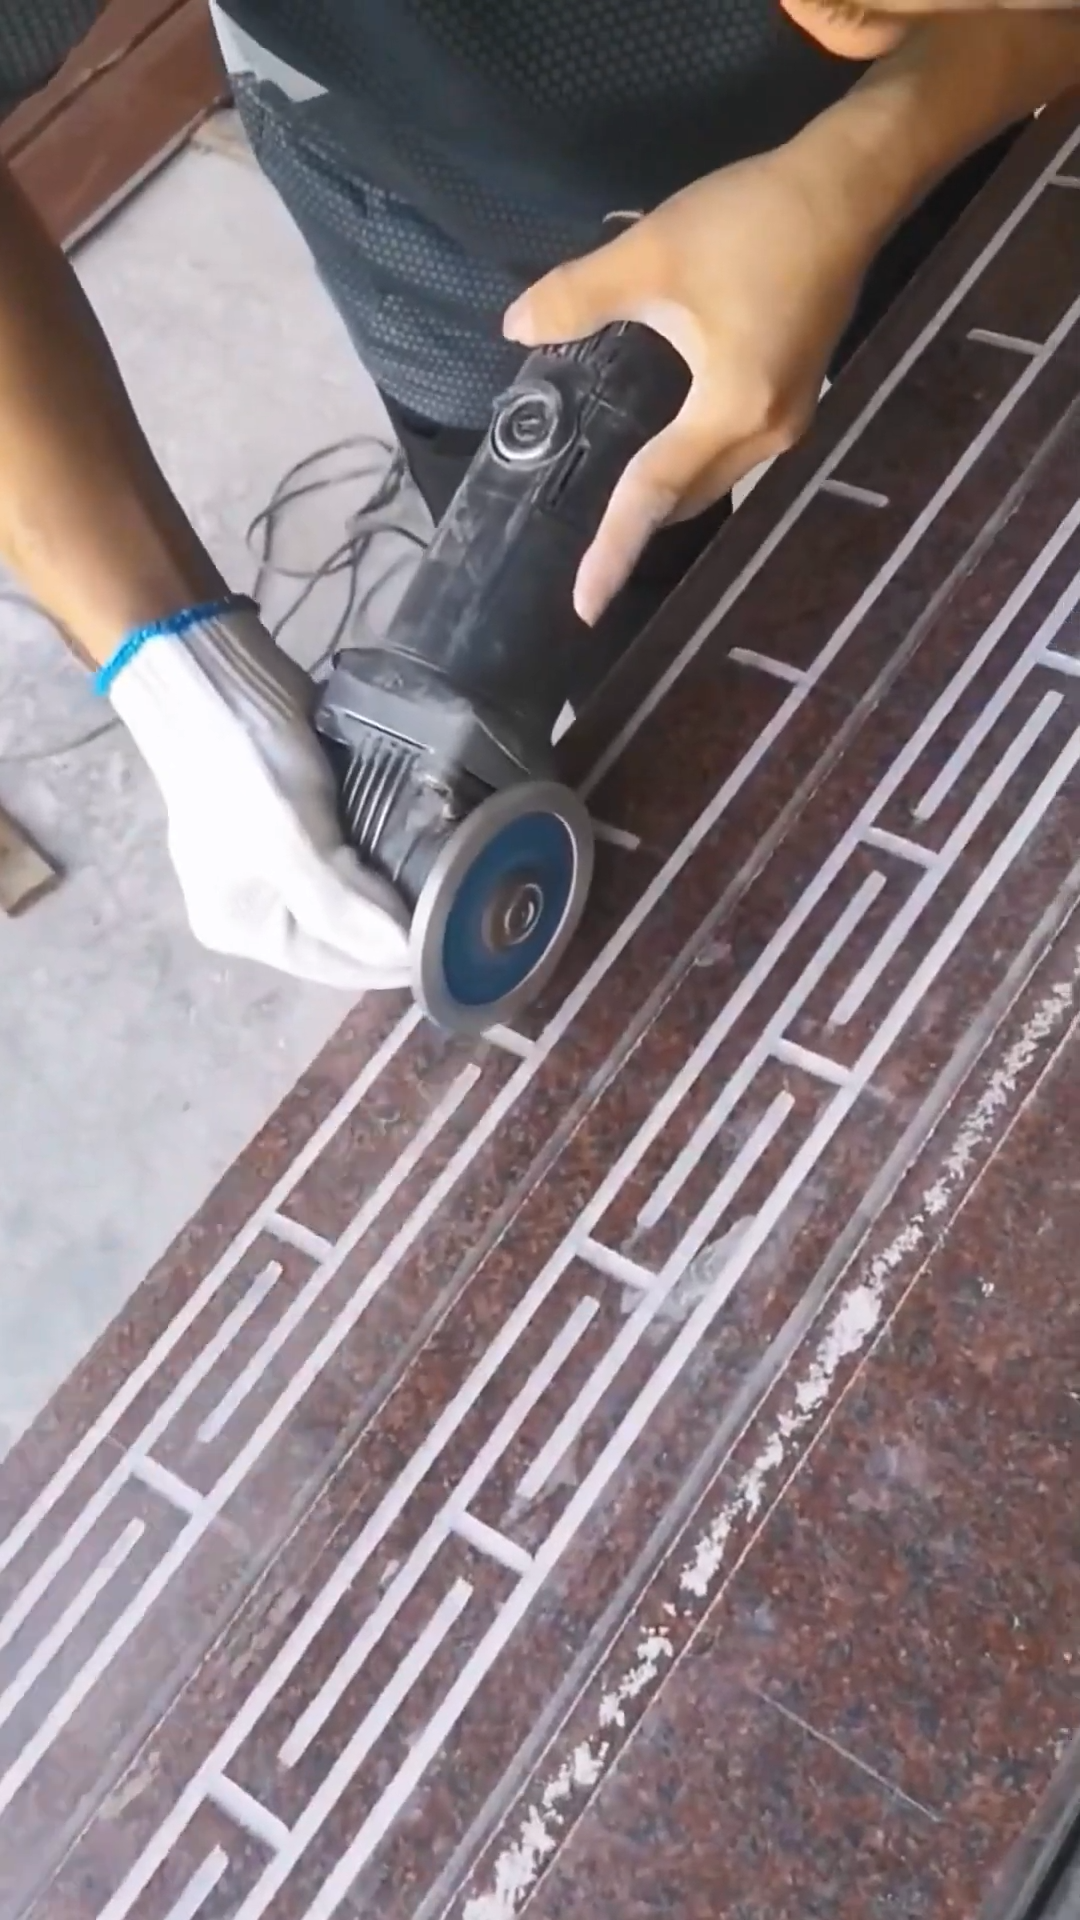
Slate line carving is a traditional stoneworking technique used to create decorative patterns, lettering, and artistic designs on natural slate. Because slate has a fine grain and layered structure, it can be carved with excellent precision while maintaining its natural beauty. The process requires careful planning, specialized tools, and skilled craftsmanship to achieve clean, detailed lines that last for decades.
Step 1: Select the Slate
Begin by choosing a high-quality slate slab with a smooth, even surface and consistent thickness. Inspect the stone for cracks, chips, or weak layers that could affect the carving process. Select a slate size suitable for the intended design, whether it is a sign, decorative panel, tabletop, or architectural feature.
Step 2: Clean the Surface
Wash the slate thoroughly to remove dust, dirt, grease, and loose particles. Wipe the surface with a clean cloth and allow it to dry completely. A clean surface ensures that layout markings remain visible and prevents debris from interfering with the carving tools.
Step 3: Transfer the Design
Create the desired pattern on paper or using computer-aided design software. Transfer the design onto the slate using carbon paper, chalk, or a removable marking pen. Carefully check the alignment and spacing before beginning the carving process. Accurate layout work is essential for producing balanced and professional results.
Step 4: Secure the Slate
Place the slate on a sturdy workbench with protective padding underneath to prevent unnecessary stress. Clamp the slab securely so it cannot move during carving. Stable support improves accuracy and reduces the risk of accidental chipping or breakage.
Step 5: Outline the Carving
Using a fine-point chisel, engraving tool, or rotary stone carver, lightly score the main lines of the design. Work slowly and maintain consistent pressure throughout the outline. Establishing shallow guide lines helps control the cutting depth during the following carving stages.
Step 6: Deepen the Carved Lines
Gradually deepen the scored lines using stone chisels, pneumatic engraving tools, or diamond-tipped rotary bits. Remove small amounts of material with each pass instead of cutting too deeply at once. Maintain a consistent depth and width to produce crisp, clean grooves while minimizing the risk of damaging the slate.
Step 7: Refine the Details
Shape decorative elements such as lettering, floral designs, geometric patterns, or textured backgrounds. Use smaller engraving tools to create sharp corners and intricate details. Frequently brush away stone dust to keep the carving visible and maintain precise control over the work.
Step 8: Smooth and Finish the Surface
After completing the carving, remove rough edges using fine abrasive pads or polishing stones. Lightly smooth the carved grooves without removing the crisp details. Clean the slate again to eliminate dust and inspect the entire design for consistency. Make minor corrections where necessary to improve the overall appearance.
Step 9: Apply Protective Treatment
If the slate will be used outdoors or in a high-moisture environment, apply a suitable stone sealer to protect it from water penetration, staining, and weathering. Some decorative projects may also include color enhancement or painted lettering to improve visibility while preserving the carved details.
Step 10: Perform Final Inspection and Installation
Inspect the completed slate carving for uniform depth, clean edges, and accurate design reproduction. Ensure there are no unwanted chips, cracks, or unfinished sections. Carefully package the finished slate if it will be transported, or install it securely using appropriate mounting hardware or adhesive. Clean the surface periodically with a soft cloth and non-abrasive stone cleaner to preserve its appearance. Avoid harsh chemicals and heavy impacts that could damage the natural stone. With proper craftsmanship and routine maintenance, a finely carved slate panel provides timeless beauty, exceptional durability, and an elegant decorative finish suitable for homes, gardens, monuments, architectural projects, and artistic displays.



