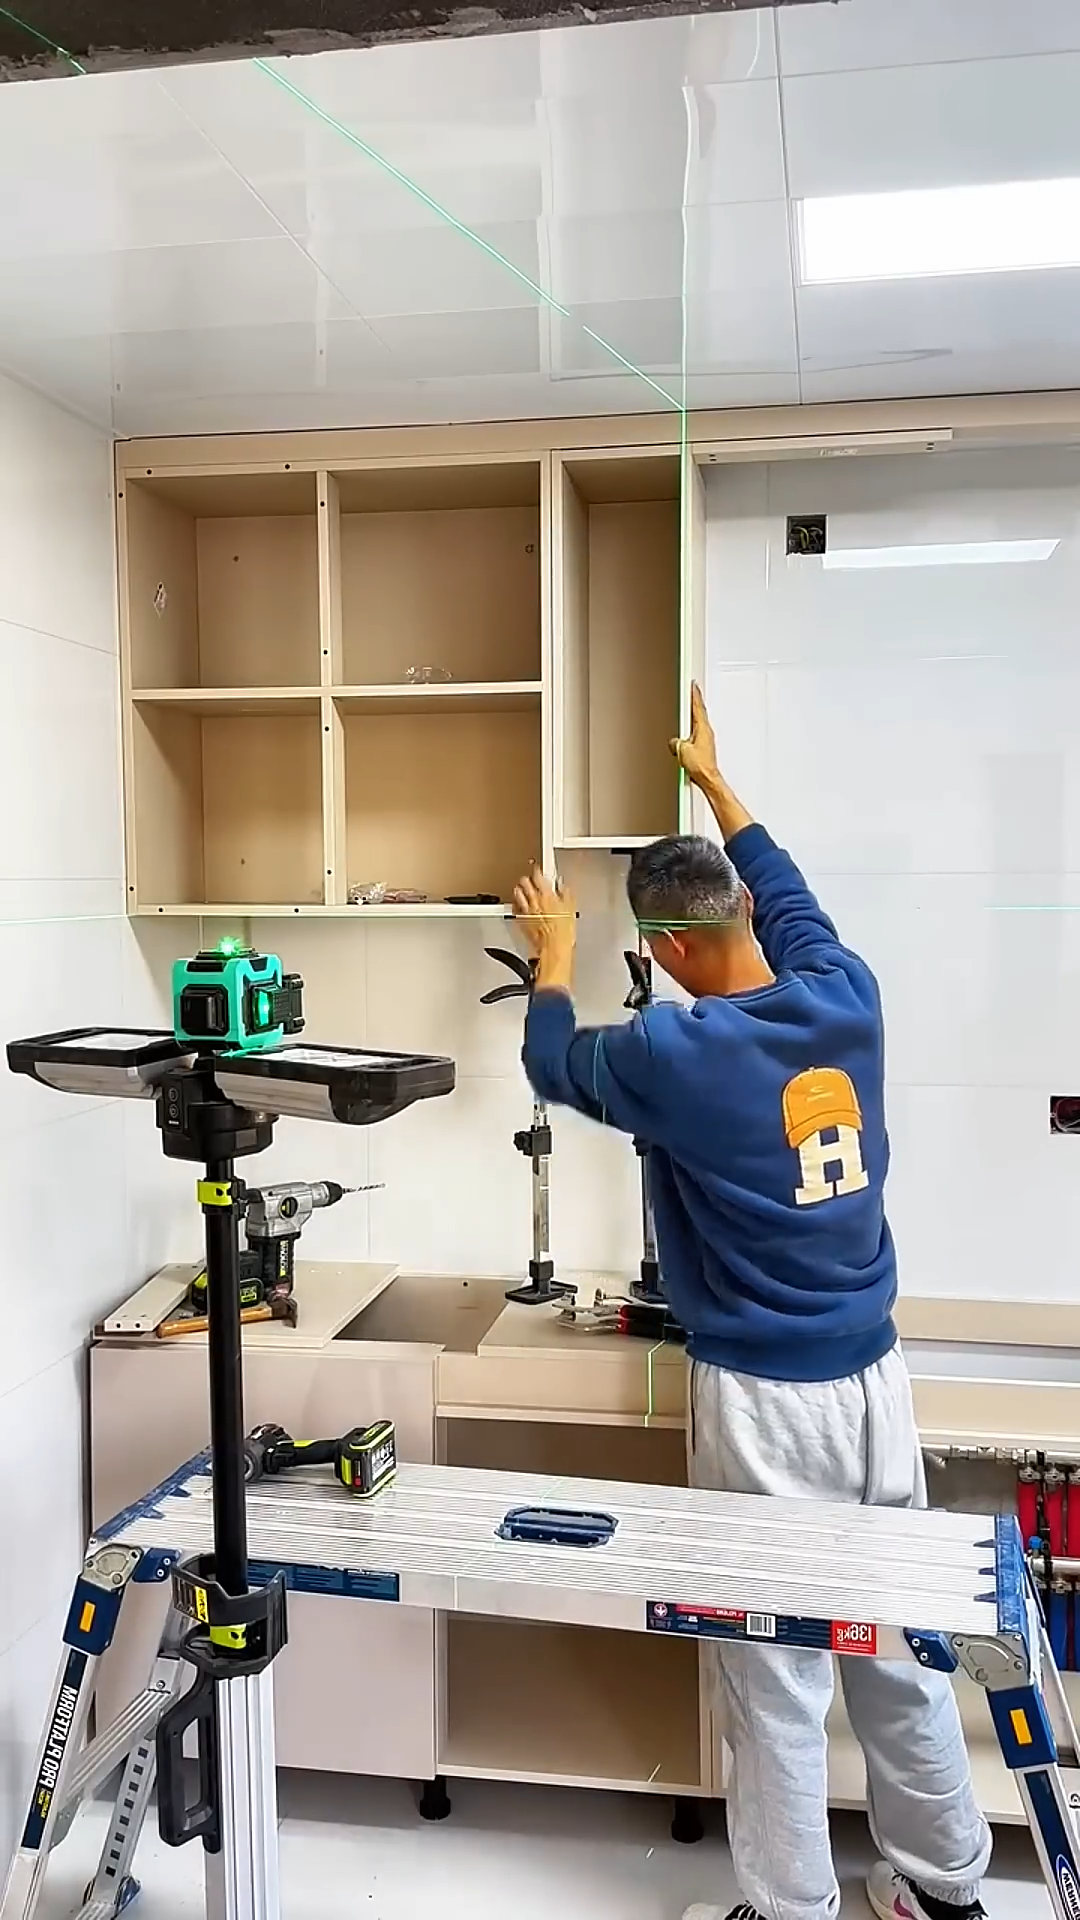
Installing and fixing a cabinet correctly ensures long-lasting stability, proper alignment, and a professional appearance. Whether mounting a kitchen cabinet, bathroom vanity, or storage unit, careful preparation and accurate installation are essential for safety and durability. The following step-by-step process outlines the standard method used by professional installers.
Step 1: Measure the Installation Area
Begin by measuring the wall space where the cabinet will be installed. Record the height, width, and depth of the available area. Check for doors, windows, electrical outlets, plumbing, and other obstacles that may affect the cabinet’s position. Accurate measurements help ensure a perfect fit and prevent installation problems.
Step 2: Gather Tools and Materials
Prepare all necessary tools before starting the installation. Common equipment includes a tape measure, spirit level, stud finder, drill, screwdriver, impact driver, wall anchors, cabinet screws, clamps, pencil, and safety glasses. Verify that all cabinet hardware, hinges, and mounting brackets are included.
Step 3: Locate Wall Studs
Use a stud finder to locate the wall studs behind the drywall or plaster. Mark the center of each stud with a pencil. Cabinets should always be fastened securely into structural framing whenever possible, as studs provide the strongest support for heavy loads.
Step 4: Mark the Mounting Position
Measure and mark the desired installation height on the wall. Draw a horizontal reference line using a spirit level to ensure the cabinet will be perfectly level. Double-check all measurements before drilling. Accurate layout marks help prevent uneven installation.
Step 5: Drill Mounting Holes
Position the cabinet against the wall or place it on temporary support blocks. Mark the screw locations through the cabinet’s mounting rail or back panel. Remove the cabinet and drill pilot holes at the marked positions. Install suitable wall anchors if wall studs are unavailable or additional support is required.
Step 6: Mount the Cabinet
Lift the cabinet carefully into position. Align it with the level reference line and insert mounting screws through the cabinet into the wall studs or anchors. Tighten the screws gradually while checking that the cabinet remains level and square. Do not fully tighten all screws until the final alignment is confirmed.
Step 7: Align Adjacent Cabinets
If installing multiple cabinets, clamp neighboring units together before fastening them. Adjust the cabinet faces so they are perfectly flush with one another. Drill pilot holes through the cabinet frames and secure them using connector screws. Proper alignment creates a seamless, professional appearance.
Step 8: Install Doors and Hardware
Attach cabinet doors, drawers, hinges, handles, and drawer slides according to the manufacturer’s instructions. Adjust the hinges to achieve even gaps and smooth door operation. Verify that drawers open and close without binding and that all hardware is tightened securely.
Step 9: Inspect Stability and Finish
Check every mounting screw, bracket, and connector to ensure the cabinet is firmly attached to the wall. Use a spirit level to confirm the cabinet remains level both horizontally and vertically. Inspect doors, shelves, and drawers for proper alignment and smooth operation. Make any necessary adjustments before completing the installation.
Step 10: Clean the Work Area and Perform Final Inspection
Remove dust, packaging materials, and installation debris from the workspace. Wipe the cabinet surfaces with a soft cloth to remove fingerprints and marks. Conduct a final inspection to verify that all screws are tight, hardware functions correctly, and the cabinet is securely fixed. If the cabinet will support heavy items, distribute the weight evenly across the shelves and avoid exceeding the manufacturer’s recommended load capacity. Periodically inspect mounting screws, hinges, and drawer slides for wear or loosening. Routine maintenance and occasional adjustments help preserve cabinet stability, maintain smooth operation, and ensure a safe, attractive installation that provides reliable storage for many years.



