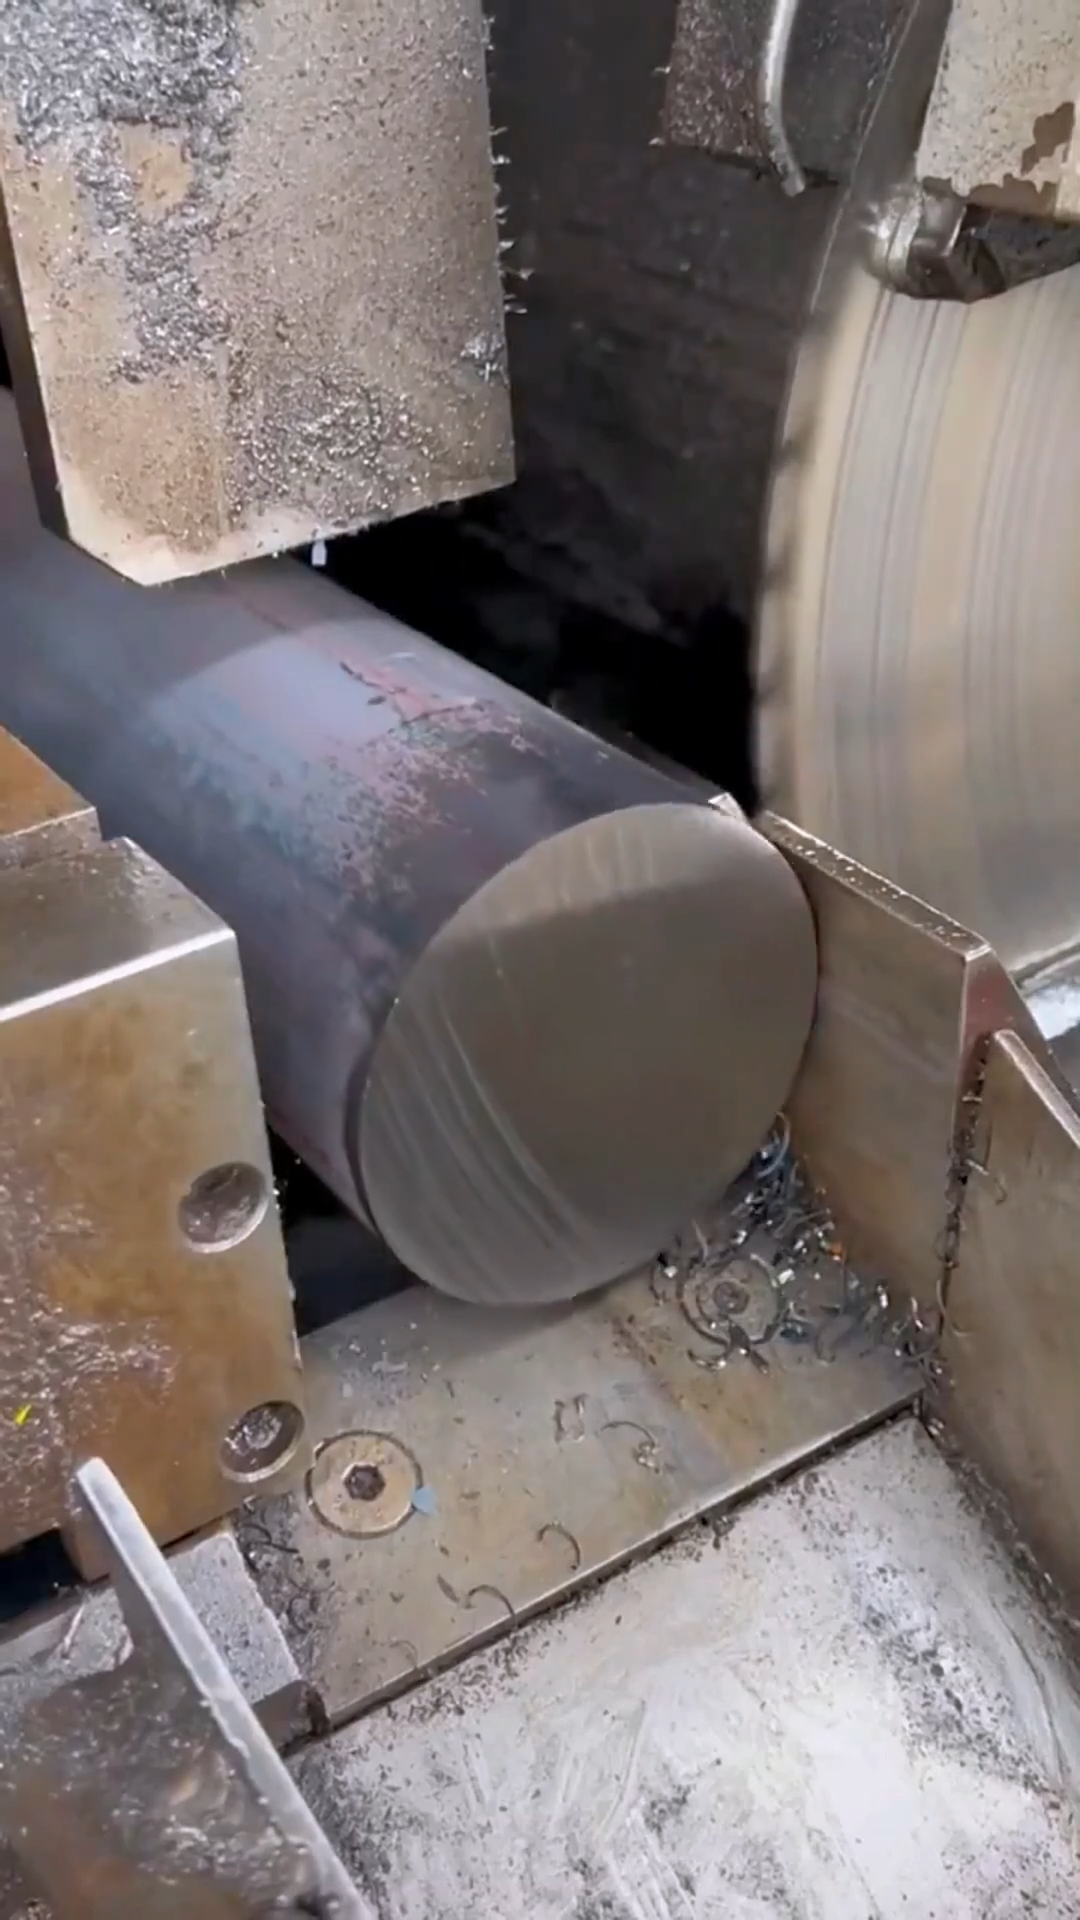
Cold saw cutting is a precise metalworking process used to cut steel posts, tubes, pipes, channels, and other structural materials. Unlike abrasive cutting, a cold saw uses a toothed circular blade to remove material efficiently while keeping the workpiece relatively cool. This produces clean, accurate cuts with minimal burrs and reduced heat distortion. The following step-by-step process explains how metal posts are prepared and cut using a cold saw.
Step 1: Select the Metal Post
Begin by identifying the correct metal post according to the project specifications. Check its material, wall thickness, dimensions, and required finished length. Inspect the post for excessive rust, dents, or deformation that could interfere with accurate cutting or safe clamping.
Step 2: Prepare the Cold Saw
Inspect the cold saw before operation. Check the blade condition, guards, vise, coolant system, drive components, and emergency stop. Install a blade suitable for the type and thickness of metal being cut. Make sure the blade is securely mounted and properly aligned with the machine.
Step 3: Measure the Required Length
Use a tape measure, square, and marking tool to determine the exact cutting location. Mark the post clearly around its surface if necessary. For repeated production cuts, use a stop or measuring fixture to maintain consistent dimensions. Double-check the measurement before starting the cut.
Step 4: Position the Metal Post
Place the metal post securely on the saw’s support table or rollers. Align the cutting mark with the blade path and position the material against the machine stop. Keep the post straight and properly supported on both sides of the cutting area to prevent movement during operation.
Step 5: Secure the Workpiece
Close the machine vise and clamp the metal post firmly. Apply enough pressure to prevent movement without deforming thin-walled material. Verify that the post remains square to the blade. Proper clamping is essential for producing a straight cut and protecting the blade from unnecessary stress.
Step 6: Set the Cutting Parameters
Select the appropriate blade speed, feed rate, and coolant flow according to the metal type and material thickness. Harder materials generally require carefully controlled cutting conditions. Confirm that the blade is rotating in the correct direction and that the safety guard fully covers the cutting area.
Step 7: Start the Cold Saw
Activate the machine and allow the blade to reach its normal operating speed. Turn on the coolant system if the machine uses one. Position yourself safely away from the blade path and maintain a clear view of the cutting area without reaching into the machine.
Step 8: Perform the Cut
Engage the saw and allow the blade to move through the metal post at a controlled feed rate. Do not force the blade through the material. Let the teeth remove the metal gradually while coolant reduces friction and carries away heat and chips. Monitor the cutting sound and machine operation for unusual vibration or resistance.
Step 9: Remove and Inspect the Cut
After the blade completely passes through the post, retract it and wait until all movement has stopped before opening the vise. Remove the cut section carefully, as freshly cut metal edges can be sharp. Inspect the cut for squareness, burrs, distortion, or rough areas. Use a deburring tool or file to smooth minor sharp edges when required.
Step 10: Measure and Complete the Process
Measure the finished post with a tape measure, caliper, or steel rule to confirm that it meets the required dimensions. For production work, compare the first completed piece with the engineering specification before continuing with additional cuts. Clean metal chips from the machine and surrounding area using the recommended cleaning method rather than bare hands. Inspect the blade and coolant system after use, and replace worn components according to the manufacturer’s instructions. Proper blade selection, accurate measurement, secure clamping, controlled feed, and routine maintenance help produce clean, repeatable cuts while extending machine life and improving overall metal fabrication efficiency.



