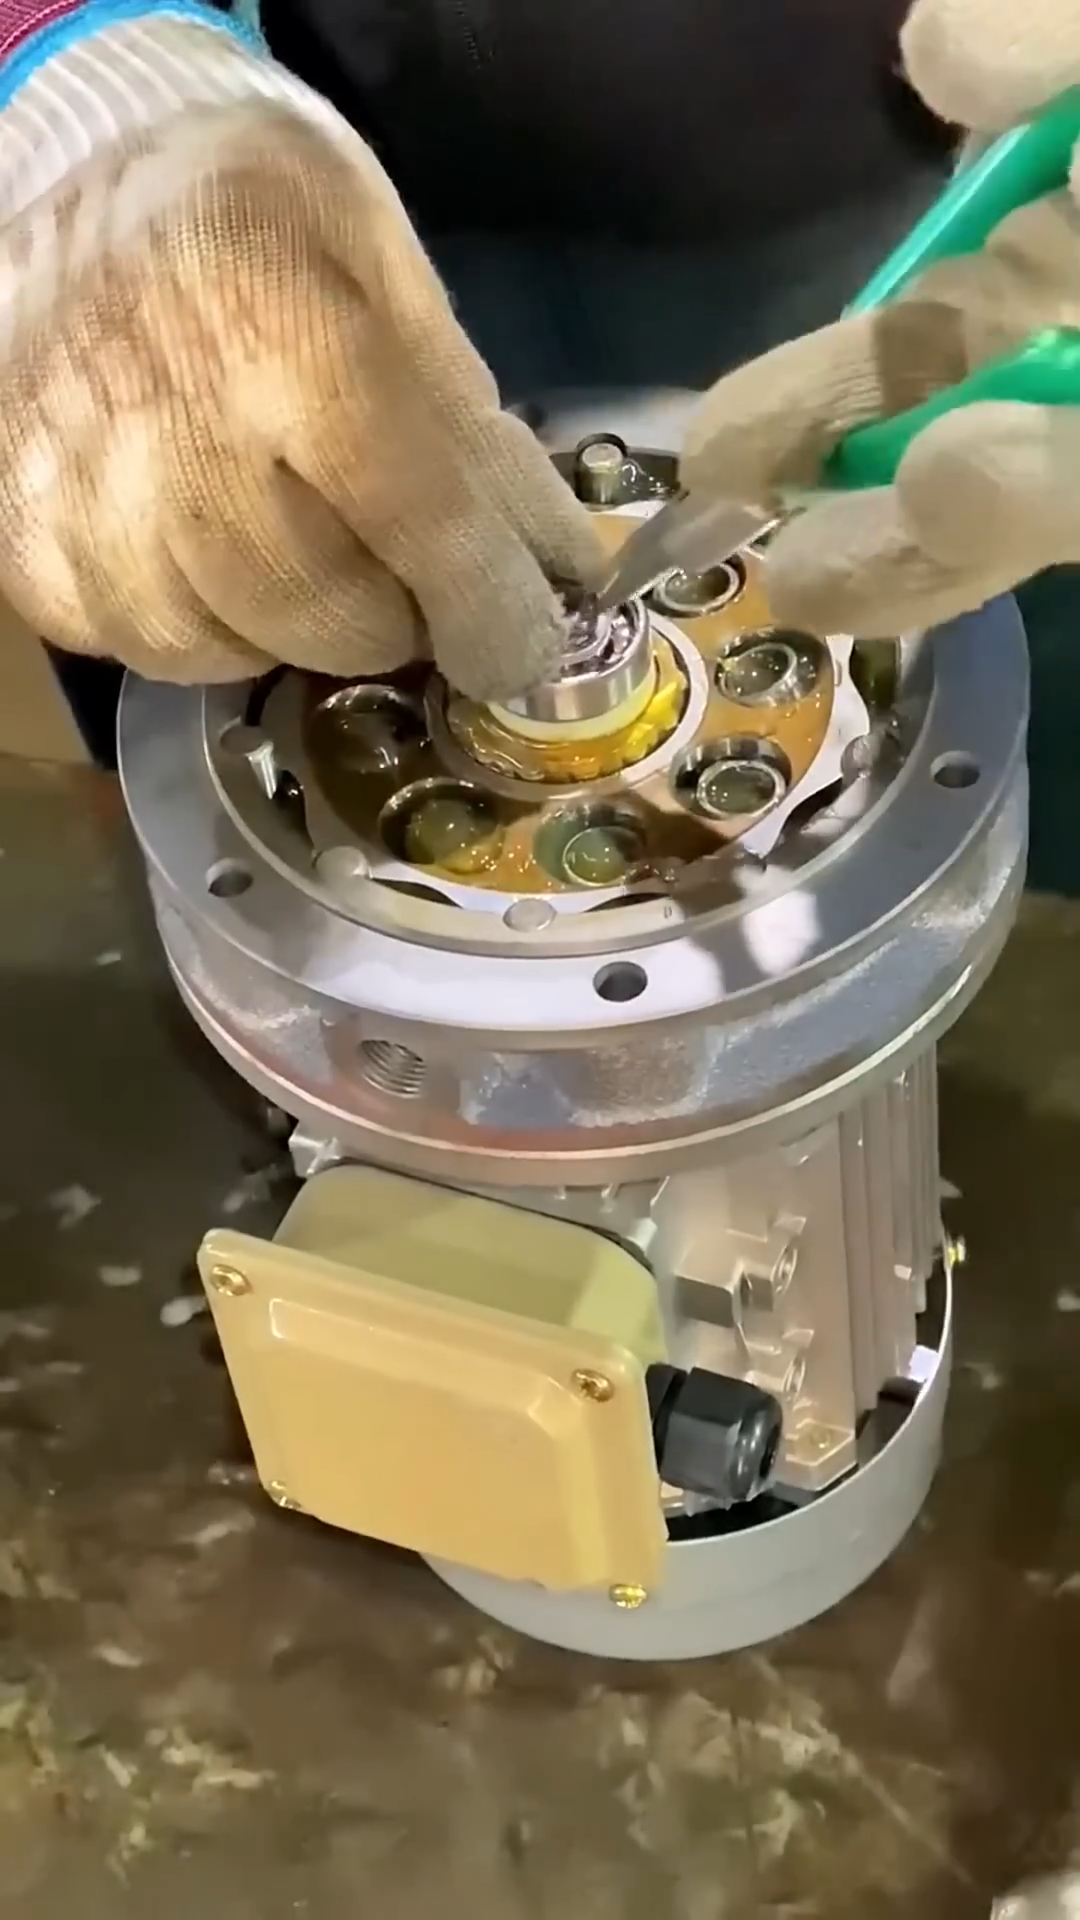
Installing a motor frequency conversion reducer requires careful planning, accurate alignment, and proper electrical connections. A frequency converter, also known as a variable frequency drive (VFD), controls the motor’s speed, while the reducer lowers the output speed and increases torque for industrial machinery. Following the correct installation procedure ensures smooth operation, improved efficiency, and a longer service life for the equipment.
Step 1: Prepare the Installation Site
Begin by inspecting the installation area. Ensure the foundation is level, rigid, and capable of supporting the combined weight of the motor, frequency converter system, and reducer. Clean the mounting surface to remove dust, oil, and debris. Verify that sufficient ventilation and working space are available for maintenance and cooling.
Step 2: Gather Tools and Components
Prepare all required equipment before starting the installation. Common items include the electric motor, frequency converter (VFD), speed reducer, mounting bolts, couplings, alignment tools, torque wrench, cable connectors, multimeter, screwdrivers, and safety equipment. Confirm that all components match the required voltage, power rating, and mechanical specifications.
Step 3: Mount the Speed Reducer
Position the speed reducer on the prepared foundation or machine frame. Align it with the driven equipment and insert the mounting bolts. Tighten the bolts gradually in a crisscross pattern to distribute pressure evenly. Check that the reducer sits firmly without distortion or movement.
Step 4: Install the Electric Motor
Mount the motor onto the reducer using the recommended adapter flange or base plate. Carefully align the motor shaft with the reducer input shaft. If a flexible coupling is used, maintain the manufacturer’s specified alignment tolerance. Proper alignment minimizes vibration, reduces bearing wear, and improves transmission efficiency.
Step 5: Secure the Mechanical Connections
Install couplings, keys, or other drive components between the motor and reducer. Tighten all fasteners according to the manufacturer’s torque specifications. Rotate the shafts manually to verify smooth movement without binding or unusual resistance. Correct any misalignment before proceeding.
Step 6: Install the Frequency Converter
Mount the frequency converter inside a clean, dry electrical control cabinet. Leave adequate clearance around the unit for heat dissipation and airflow. Secure the converter firmly using the recommended mounting hardware. Keep the converter away from excessive moisture, vibration, and direct heat sources.
Step 7: Connect the Electrical Wiring
Connect the incoming power supply to the frequency converter following the wiring diagram. Next, connect the converter output terminals to the motor terminals using properly sized cables. Install grounding wires securely to protect both equipment and operators. Route power and control cables separately to reduce electrical interference and improve system reliability.
Step 8: Program the Frequency Converter
Power on the frequency converter and enter the motor parameters, including rated voltage, current, frequency, power, and speed. Configure acceleration and deceleration times according to the application requirements. Set protection features such as overload limits, overvoltage protection, and thermal monitoring to safeguard the motor and reducer during operation.
Step 9: Perform Testing and Inspection
Before connecting the driven machine, perform a test run at low speed. Observe the motor rotation direction, listen for unusual noises, and check for vibration or overheating. Monitor the frequency converter display for warning messages or fault codes. Verify that the reducer operates smoothly and that lubrication levels meet the manufacturer’s recommendations.
Step 10: Complete Final Commissioning
After successful testing, connect the reducer to the driven equipment and gradually increase the operating speed. Monitor current, temperature, vibration, and output performance during the initial operating period. Recheck all mounting bolts, electrical connections, and alignment after several hours of operation. Schedule regular maintenance, including lubrication, cooling system inspection, electrical terminal tightening, and frequency converter parameter verification. Proper installation and routine maintenance ensure reliable performance, maximize energy efficiency, reduce mechanical wear, and extend the operating life of the motor, frequency converter, and speed reducer in industrial applications.