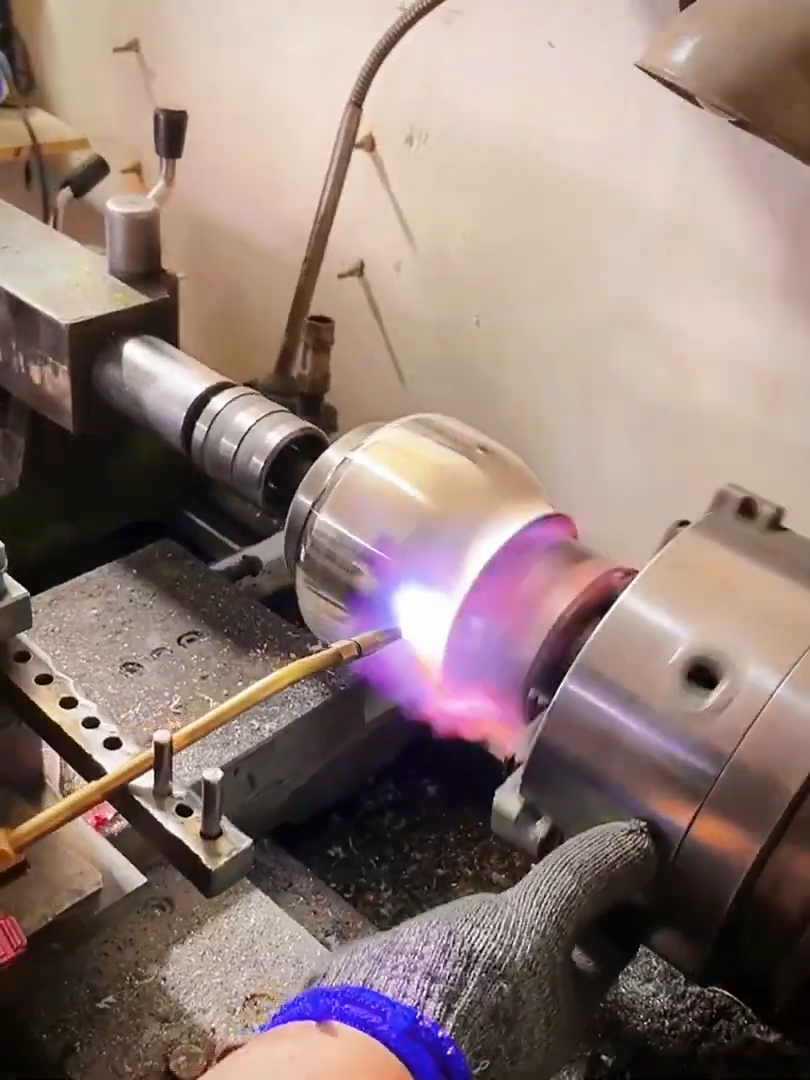
Crafting a pure silver kettle is a traditional metalworking process that combines precision, artistry, and skilled hand finishing. A silver kettle is valued for its elegant appearance, excellent craftsmanship, and long-lasting durability. Every stage, from selecting the silver to the final polishing, requires careful attention to detail to produce a functional and beautiful piece.
Step 1: Select High-Quality Silver
The process begins by choosing high-purity silver suitable for fine metalworking. The silver is inspected for quality, weighed accurately, and cleaned to remove surface impurities. Using high-quality material ensures excellent workability, a bright finish, and consistent strength throughout the finished kettle.
Step 2: Melt the Silver
Place the silver into a heat-resistant crucible and melt it in a jewelry or metalworking furnace. Heat the metal evenly until it reaches a fully molten state. Remove any impurities that rise to the surface before pouring the molten silver into an ingot mold. Allow the ingot to cool before further processing.
Step 3: Roll the Silver Sheet
The cooled silver ingot is passed repeatedly through a rolling mill to reduce its thickness gradually. Between rolling stages, the silver may be annealed by heating and cooling it to restore softness. Continue rolling until the desired sheet thickness is achieved for the kettle body and individual components.
Step 4: Cut the Components
Transfer the design pattern onto the silver sheet and carefully cut the required parts. Typical components include the kettle body, base, lid, spout, handle brackets, and decorative elements. Precision cutting minimizes waste and ensures all pieces fit together accurately during assembly.
Step 5: Shape the Kettle Body
Form the silver sheet into the kettle’s curved body using stakes, wooden mallets, and metal hammers. Gradually raise and shape the metal through repeated hammering while periodically annealing it to prevent cracking. This traditional forming process creates a strong and symmetrical vessel.
Step 6: Fabricate the Spout and Lid
Shape the spout separately by forming and joining silver sections into the required profile. Create the lid by doming a circular silver disc and fitting it precisely to the kettle opening. Decorative knobs or finials can be added to improve both appearance and handling.
Step 7: Assemble the Parts
Join the body, base, spout, lid fittings, and handle brackets using silver solder. Heat each joint carefully with a gas torch until the solder flows evenly into the connection. After soldering, clean the kettle in a pickling solution to remove oxidation and restore the silver’s clean surface.
Step 8: Refine and Decorate
Smooth all solder joints with fine files and abrasive papers. Refine the shape and remove any imperfections from the surface. If desired, engrave decorative patterns, floral motifs, or traditional designs using hand engraving tools or precision rotary equipment. These details enhance the artistic value of the finished kettle.
Step 9: Polish the Silver
Buff the entire kettle using progressively finer polishing compounds and soft cotton wheels. Polish every surface until a bright, mirror-like finish is achieved while preserving engraved details. Carefully inspect the kettle under good lighting to ensure the surface is free from scratches, dents, or polishing marks.
Step 10: Final Inspection and Packaging
Inspect the completed silver kettle for accurate dimensions, secure solder joints, smooth lid operation, and proper spout alignment. Clean the kettle thoroughly to remove polishing residue and fingerprints. Place the finished piece into a protective storage pouch or presentation box to prevent scratches during transport. Include care instructions recommending gentle cleaning with a silver polishing cloth, avoidance of harsh chemicals, and storage in a dry environment. With expert craftsmanship and regular maintenance, a pure silver kettle remains a timeless example of fine metalworking, combining practical function with exceptional beauty that can be appreciated and preserved for generations.



