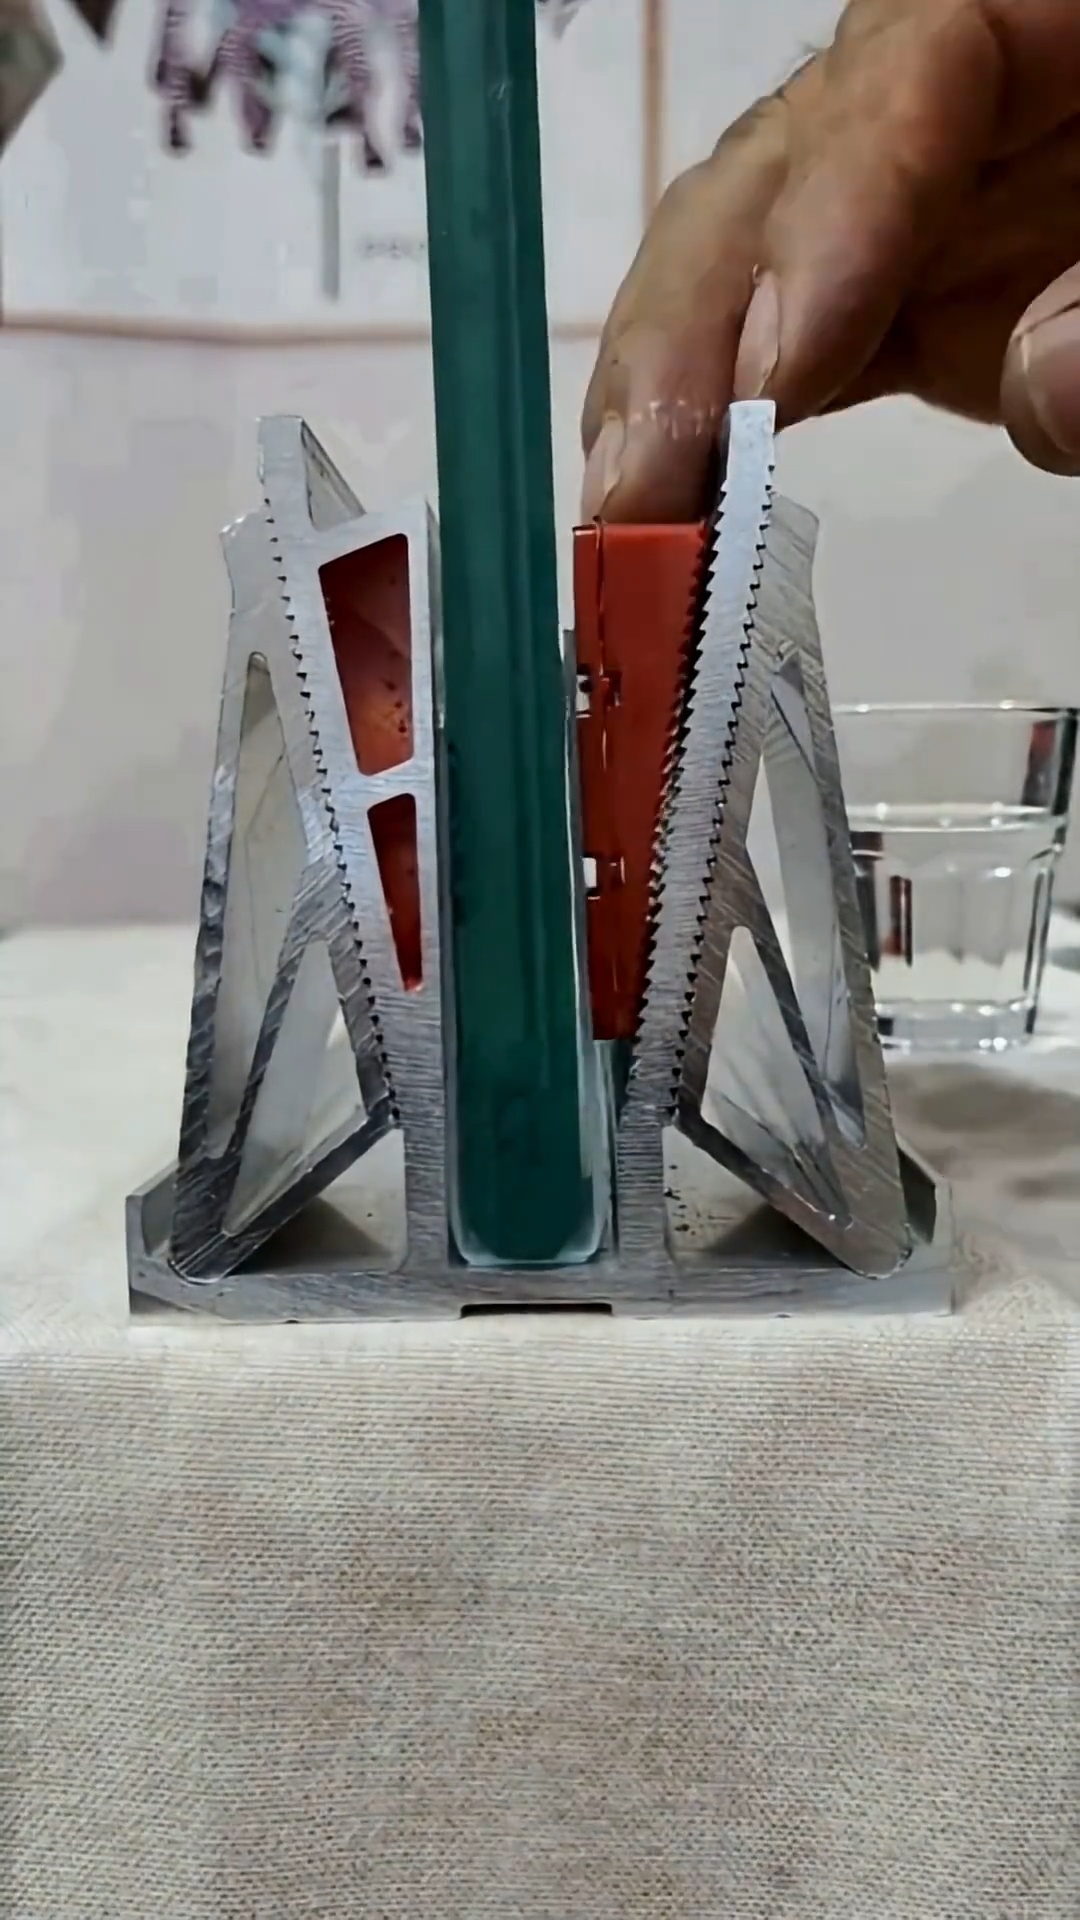
Tempered glass windows combine strength, safety, and modern appearance, making them popular in residential, commercial, and architectural projects. Because tempered glass cannot normally be cut, drilled, or significantly modified after heat treatment, accurate planning and preparation are essential before assembly. The following step-by-step process explains how a tempered glass window is assembled and installed.
Step 1: Check the Window Design
Begin by reviewing the window drawings and specifications. Confirm the glass dimensions, thickness, frame type, opening size, hardware locations, and required safety features. Verify that the tempered glass has been manufactured to the correct dimensions before beginning assembly.
Step 2: Inspect the Tempered Glass
Carefully inspect each glass panel for visible scratches, chips, cracks, edge damage, or manufacturing defects. Check the identification markings to confirm that the glass is tempered and meets the project requirements. Handle the panel with appropriate gloves and avoid striking its edges.
Step 3: Prepare the Window Frame
Inspect the aluminum, steel, wood, or composite frame for damage and dimensional accuracy. Clean the frame channels thoroughly to remove dust, metal particles, old sealant, and other debris. Check that drainage openings are clear and that the frame is square before installing the glass.
Step 4: Install Setting Blocks
Place compatible setting blocks at the recommended locations along the bottom of the frame. These blocks support the weight of the glass and prevent direct contact between the glass and frame. Ensure the blocks are level, properly positioned, and suitable for the glass system being installed.
Step 5: Position the Tempered Glass
Using appropriate lifting equipment or trained personnel, carefully move the tempered glass toward the frame. Keep the panel vertical and avoid impact against hard surfaces. Lower the glass gently onto the setting blocks while maintaining the required clearance around the edges.
Step 6: Align the Glass Panel
Adjust the glass carefully until it is centered and evenly positioned inside the frame. Check the side clearances and verify that the panel is not touching the frame. Use a level to confirm that the glass is properly aligned. Correct positioning at this stage prevents stress on the glass and improves the finished appearance.
Step 7: Install Retaining Components
Secure the glass using the appropriate glazing beads, clips, gaskets, or pressure plates specified for the window system. Install the retaining components evenly around the perimeter without applying excessive pressure. The glass should remain securely supported while retaining sufficient movement allowance.
Step 8: Apply the Glazing Seal
Apply a compatible glazing sealant or install the specified rubber gasket around the glass perimeter. Maintain a continuous seal without gaps or excessive buildup. Tool the sealant carefully to create a smooth, clean finish and ensure proper protection against air and water infiltration.
Step 9: Install Window Hardware
Attach the required handles, hinges, locks, rollers, restrictors, or other hardware according to the window design. Operate each component several times to verify smooth movement and secure locking. Adjust the hardware if the sash does not close evenly or maintain the correct alignment.
Step 10: Perform Final Inspection
Complete a detailed inspection of the finished window assembly. Check the glass for damage, verify that the frame is level and square, and inspect the perimeter seal for gaps or incomplete sections. Open and close the window several times to confirm proper operation. Clean the glass with a suitable non-abrasive cleaner and remove installation residue carefully. Finally, inspect the drainage paths and surrounding frame to ensure water can escape properly. Regular cleaning, hardware adjustment, seal inspection, and prompt replacement of damaged components help maintain the window’s performance. Proper assembly protects the tempered glass from unnecessary stress while providing a durable, attractive, and weather-resistant window system for residential and commercial applications.



