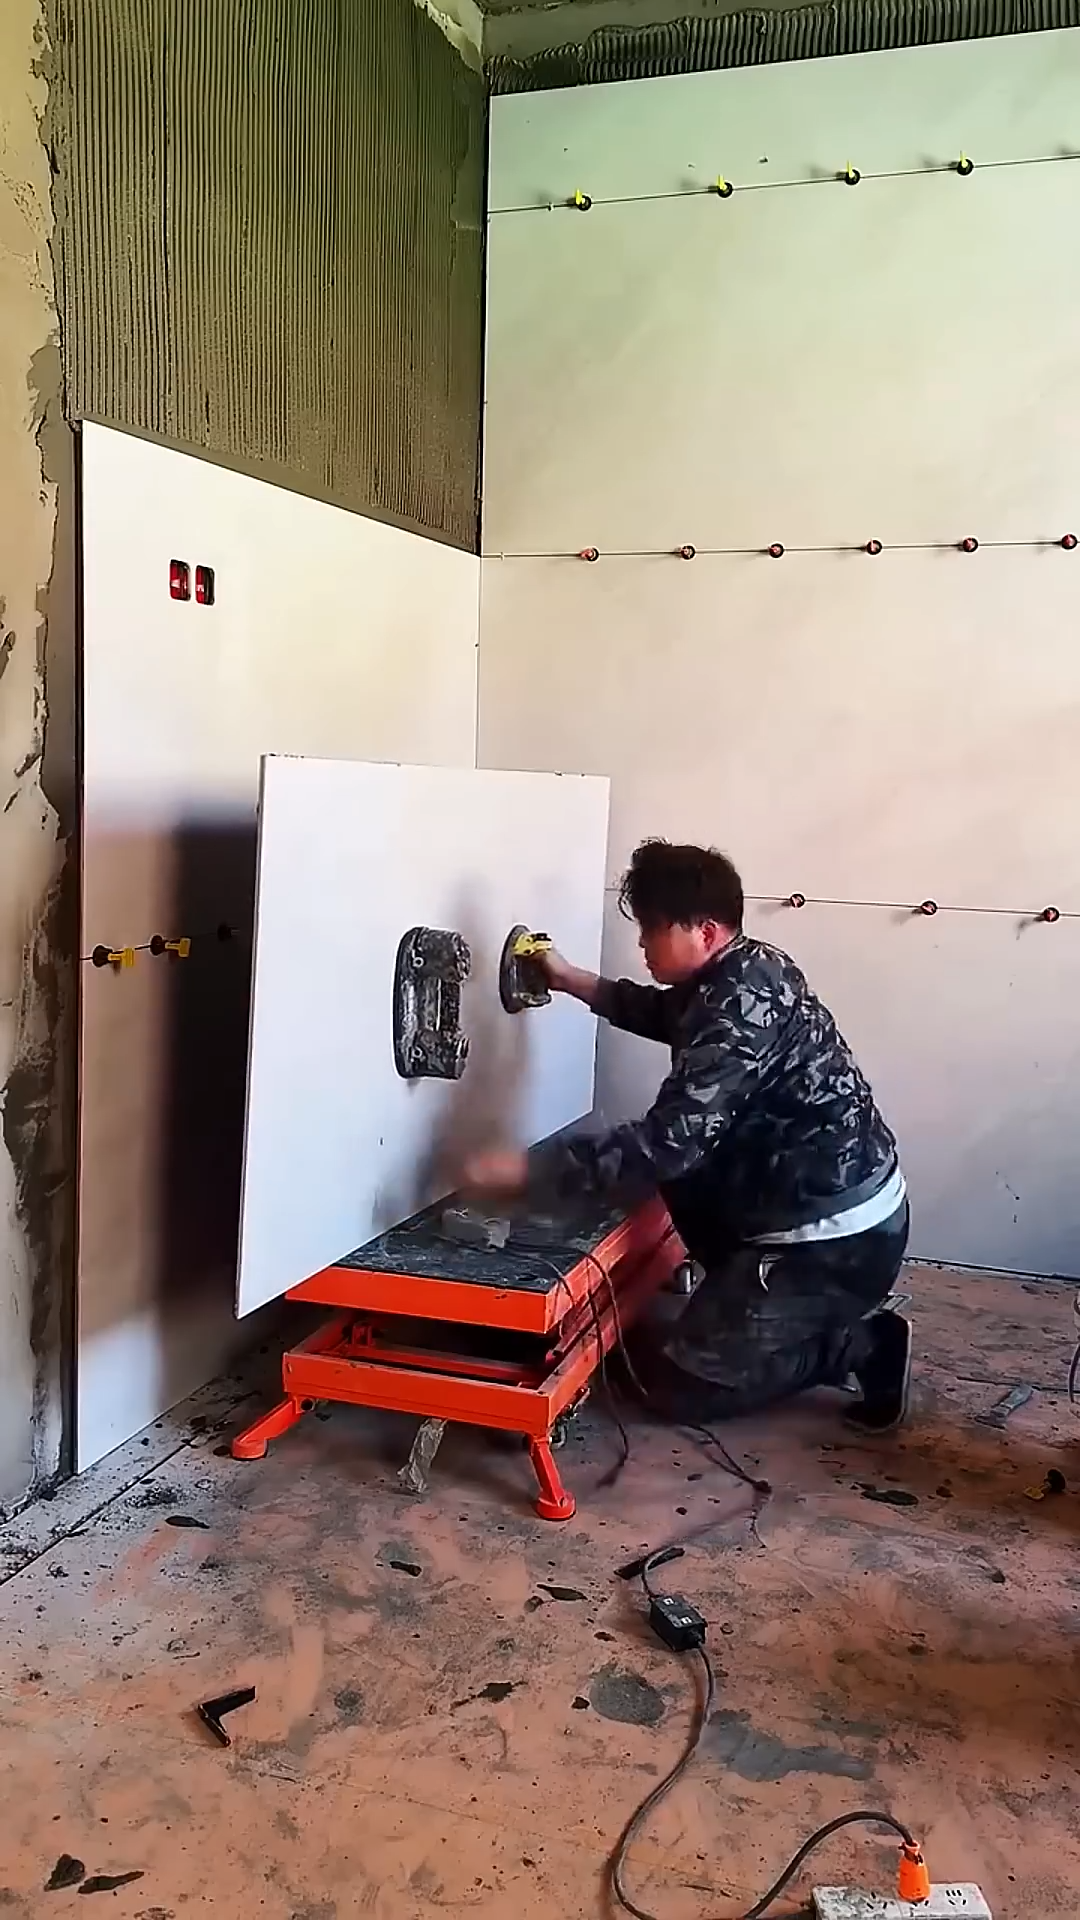
Wall brick paving is a skilled masonry process used to create strong, attractive brick walls for homes, garden structures, boundary walls, and architectural features. A successful installation depends on accurate layout, proper mortar preparation, consistent brick placement, and careful finishing. The following step-by-step process explains how a professional brick wall is constructed from the foundation upward.
Step 1: Prepare the Work Area
Begin by clearing the construction area of vegetation, loose soil, stones, and debris. Establish the wall location using measuring tape, stakes, and string lines. Check the planned dimensions and confirm that the foundation is suitable for supporting the finished wall.
Step 2: Prepare the Foundation
Construct or inspect a stable foundation appropriate for the wall and local building requirements. The foundation should be level, strong, and properly cured before brickwork begins. Remove dust and loose particles from the surface so the first course of bricks can bond securely.
Step 3: Prepare the Mortar
Mix masonry mortar using the specified cementitious material, sand, and clean water. Combine the ingredients until the mortar reaches a workable consistency that can support the bricks without flowing excessively. Prepare manageable batches so the mortar remains fresh throughout the paving process.
Step 4: Set the Reference Lines
Stretch a strong string line between the corners of the wall to establish the correct alignment. Use a level and measuring tools to check the vertical and horizontal positions. Accurate reference lines help maintain straight courses and consistent wall dimensions throughout construction.
Step 5: Lay the First Course
Apply an even layer of mortar onto the foundation. Place the first brick carefully at the corner and press it gently into position. Check it with a spirit level and adjust it until it is perfectly level. Continue placing bricks along the wall while maintaining consistent mortar joints.
Step 6: Build the Corners
Construct the wall corners several courses higher than the middle section. Check each brick with a level to maintain accurate vertical alignment. The corners act as important reference points for the remaining brick courses, so they must be built carefully and accurately.
Step 7: Lay the Remaining Bricks
Apply mortar to each brick and place it against the previous brick while maintaining the planned joint thickness. Stagger vertical joints between courses according to the selected bond pattern. Regularly reposition the string line as the wall rises to ensure every course remains straight.
Step 8: Check Alignment and Level
After completing each course, inspect the wall using a spirit level, plumb line, and straightedge. Correct small alignment errors immediately while the mortar remains workable. Periodic checking prevents cumulative deviations that can result in a leaning or uneven wall.
Step 9: Finish the Mortar Joints
When the mortar becomes firm enough to hold its shape, tool the joints using an appropriate pointing tool. Compressing and shaping the mortar improves its appearance and helps protect the joints from water penetration. Remove excess mortar from the brick faces before it becomes difficult to clean.
Step 10: Cure and Complete the Wall
Allow the finished masonry to cure according to the mortar manufacturer’s recommendations and local construction requirements. Protect fresh brickwork from excessive rain, strong sunlight, freezing conditions, or impact during the initial curing period. Once sufficiently cured, clean remaining mortar residue from the brick surfaces using an appropriate masonry-cleaning method. Inspect the completed wall for cracks, uneven joints, damaged bricks, or alignment problems. Keep the wall protected from unnecessary moisture and repair damaged mortar joints promptly. Proper foundation preparation, accurate brick placement, consistent mortar joints, and regular inspection help produce a durable, attractive brick wall that can provide reliable structural and decorative performance for many years.



