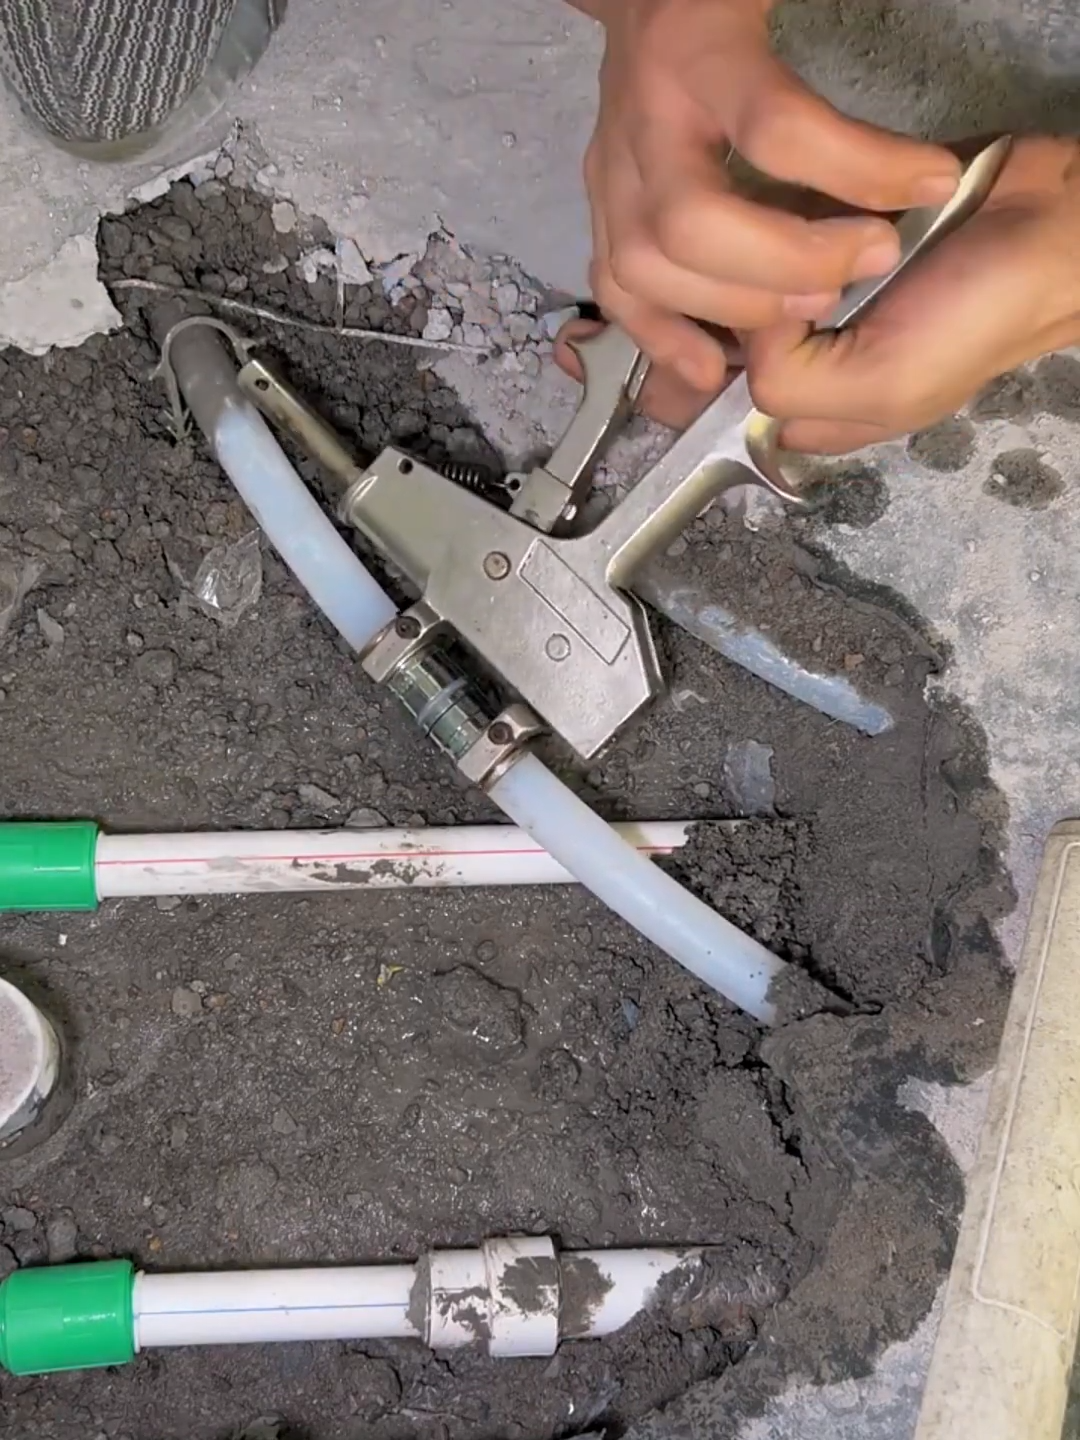
A ruptured heating pipe can cause water leaks, reduced heating efficiency, and damage to surrounding floors, walls, and equipment. Prompt and professional repair restores the heating system, prevents further water loss, and ensures safe operation. The following step-by-step process outlines the standard procedure for repairing a damaged heating pipe.
Step 1: Shut Off the Heating System
Begin by turning off the boiler or heating unit and disconnecting the power supply if necessary. Close the main water supply valve feeding the heating system to stop water from entering the damaged pipe. Allow the system to cool completely before starting any repair work to avoid burns from hot water or steam.
Step 2: Drain the Heating Circuit
Open the system drain valve and allow the water to flow into a suitable container or floor drain. Open nearby air vents to speed up the draining process and relieve internal pressure. Ensure the damaged pipe section is completely empty before cutting or removing any components.
Step 3: Locate the Rupture
Inspect the entire heating pipe carefully to identify the exact location and extent of the damage. Look for cracks, corrosion, pinholes, split joints, or frozen sections. Dry the surrounding area with a cloth so even small leaks become easier to detect. Mark the damaged section for repair.
Step 4: Remove the Damaged Pipe
Using an appropriate pipe cutter or reciprocating saw, cut out the damaged portion of the heating pipe. Make straight, clean cuts to simplify installation of the replacement section. Remove burrs from the cut pipe ends using a deburring tool or file to ensure a proper connection.
Step 5: Prepare the Replacement Pipe
Measure the removed section accurately and cut a replacement pipe to the correct length. Select matching fittings compatible with the existing heating system, such as copper, steel, or PEX connectors. Dry-fit the new section first to verify alignment before making permanent connections.
Step 6: Install the New Pipe Section
Install the replacement pipe using the appropriate joining method. Copper pipes may be soldered, steel pipes threaded, and PEX pipes connected with compression or crimp fittings. Ensure every joint is fully seated and securely tightened. Maintain proper alignment to prevent unnecessary stress on the repaired section.
Step 7: Pressure Test the Repair
Close the drain valve and slowly refill the heating system with clean water. Increase the pressure gradually while inspecting every connection around the repaired section. Look carefully for drips or moisture that may indicate a leak. Tighten or remake any faulty joints before proceeding.
Step 8: Remove Air from the System
Bleed air from radiators, heating loops, or other high points in the system using the appropriate bleed valves. Continue releasing trapped air until a steady flow of water appears. Proper air removal restores efficient circulation and prevents noisy operation after the repair is complete.
Step 9: Restore Heating Operation
Turn the boiler or heating unit back on and allow the system to reach normal operating temperature. Observe the repaired section while the system is under full pressure and heat. Check for leaks, unusual noises, or pressure fluctuations. Verify that all radiators or heating zones warm evenly.
Step 10: Perform Final Inspection and Maintenance
Complete a final inspection of the repaired pipe, surrounding fittings, and nearby insulation. Clean the work area and replace any removed insulation or protective coverings. Record the repair for future maintenance reference. Inspect the heating system periodically for corrosion, loose fittings, or signs of wear. Maintaining correct system pressure, protecting pipes from freezing temperatures, and performing regular inspections help prevent future ruptures, improve heating efficiency, reduce energy loss, and extend the service life of the entire heating system.



