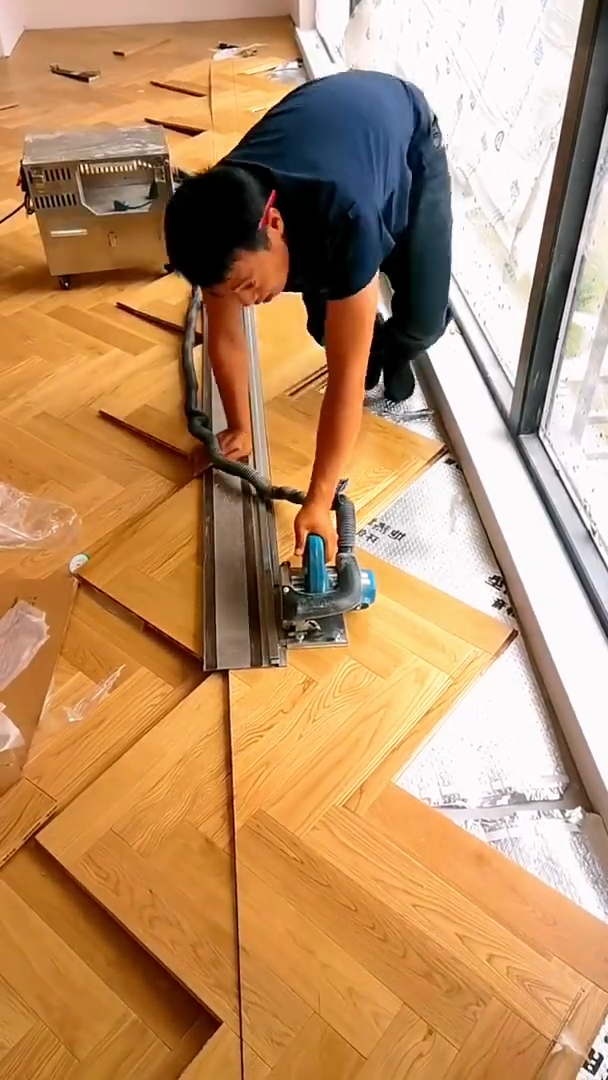
Triangular edge cutting is a precision fabrication technique used to create angled, pointed, or triangular edges on materials such as wood, metal, plastic, stone, and composite panels. The technique is commonly used in construction, furniture making, decorative fabrication, and industrial manufacturing. Accurate measurement, suitable cutting tools, and careful finishing are essential for achieving clean and consistent triangular edges.
Step 1: Select the Material
Begin by selecting the material required for the project. Inspect it carefully for cracks, warping, corrosion, or other defects that could affect cutting accuracy. Check the thickness, hardness, and dimensions before choosing the appropriate cutting method and tool.
Step 2: Prepare the Design
Create a drawing showing the required triangular edge, including its length, angle, depth, and final dimensions. Transfer these measurements to the workpiece using a ruler, square, protractor, pencil, chalk, or marking tool. Double-check the measurements before cutting to prevent material waste.
Step 3: Prepare the Cutting Equipment
Choose a cutting machine suitable for the material. Depending on the application, this may include a circular saw, band saw, angle grinder, milling machine, CNC router, or specialized cutting machine. Inspect the blade or cutting tool for wear and make sure the machine’s guards and safety features are functioning correctly.
Step 4: Secure the Workpiece
Place the workpiece on a stable workbench or machine table. Use clamps, a vise, or an appropriate fixture to hold it firmly in position. Make sure the marked cutting line remains visible and that there is enough clearance for the cutting tool to move safely.
Step 5: Set the Cutting Angle
Adjust the cutting equipment to the required angle according to the design. Use an angle gauge or machine scale to verify the setting. For repeated production work, use a guide or fixture to maintain the same angle on every piece. Accurate setup is essential for producing consistent triangular edges.
Step 6: Make the Initial Cut
Start the machine and allow the cutting tool to reach its normal operating speed. Approach the workpiece gradually and follow the marked line without forcing the blade. Maintain a steady feed rate to prevent excessive vibration, overheating, or uneven material removal.
Step 7: Form the Triangular Edge
Continue removing material until the required triangular profile is created. For thicker materials, several controlled passes may be necessary instead of attempting to remove all the material in one cut. Frequently check the developing shape against the template or measurement marks to maintain accuracy.
Step 8: Refine the Edge
After the main cut is complete, inspect the triangular edge for rough areas, burrs, or uneven sections. Use a file, abrasive paper, grinding wheel, or finishing tool appropriate for the material. Remove only small amounts during this stage to avoid changing the intended geometry.
Step 9: Check Dimensions
Measure the finished triangular edge carefully using calipers, an angle gauge, ruler, or template. Check the angle, length, depth, and symmetry against the original design. If several pieces are being produced, compare them with one another to ensure consistent dimensions.
Step 10: Complete the Final Finish
Clean the finished workpiece to remove dust, chips, and cutting residue. Depending on the material and application, apply paint, protective coating, polish, sealant, or another suitable finishing treatment. Inspect the final edge under good lighting for defects or sharp unwanted sections. Store or install the completed component carefully to prevent damage. Regular maintenance of cutting blades, guides, fixtures, and measuring equipment helps maintain accuracy and production efficiency. By combining precise layout, secure workholding, controlled cutting, and careful finishing, triangular edge cutting technology can produce clean, repeatable profiles suitable for decorative, structural, and industrial applications.



