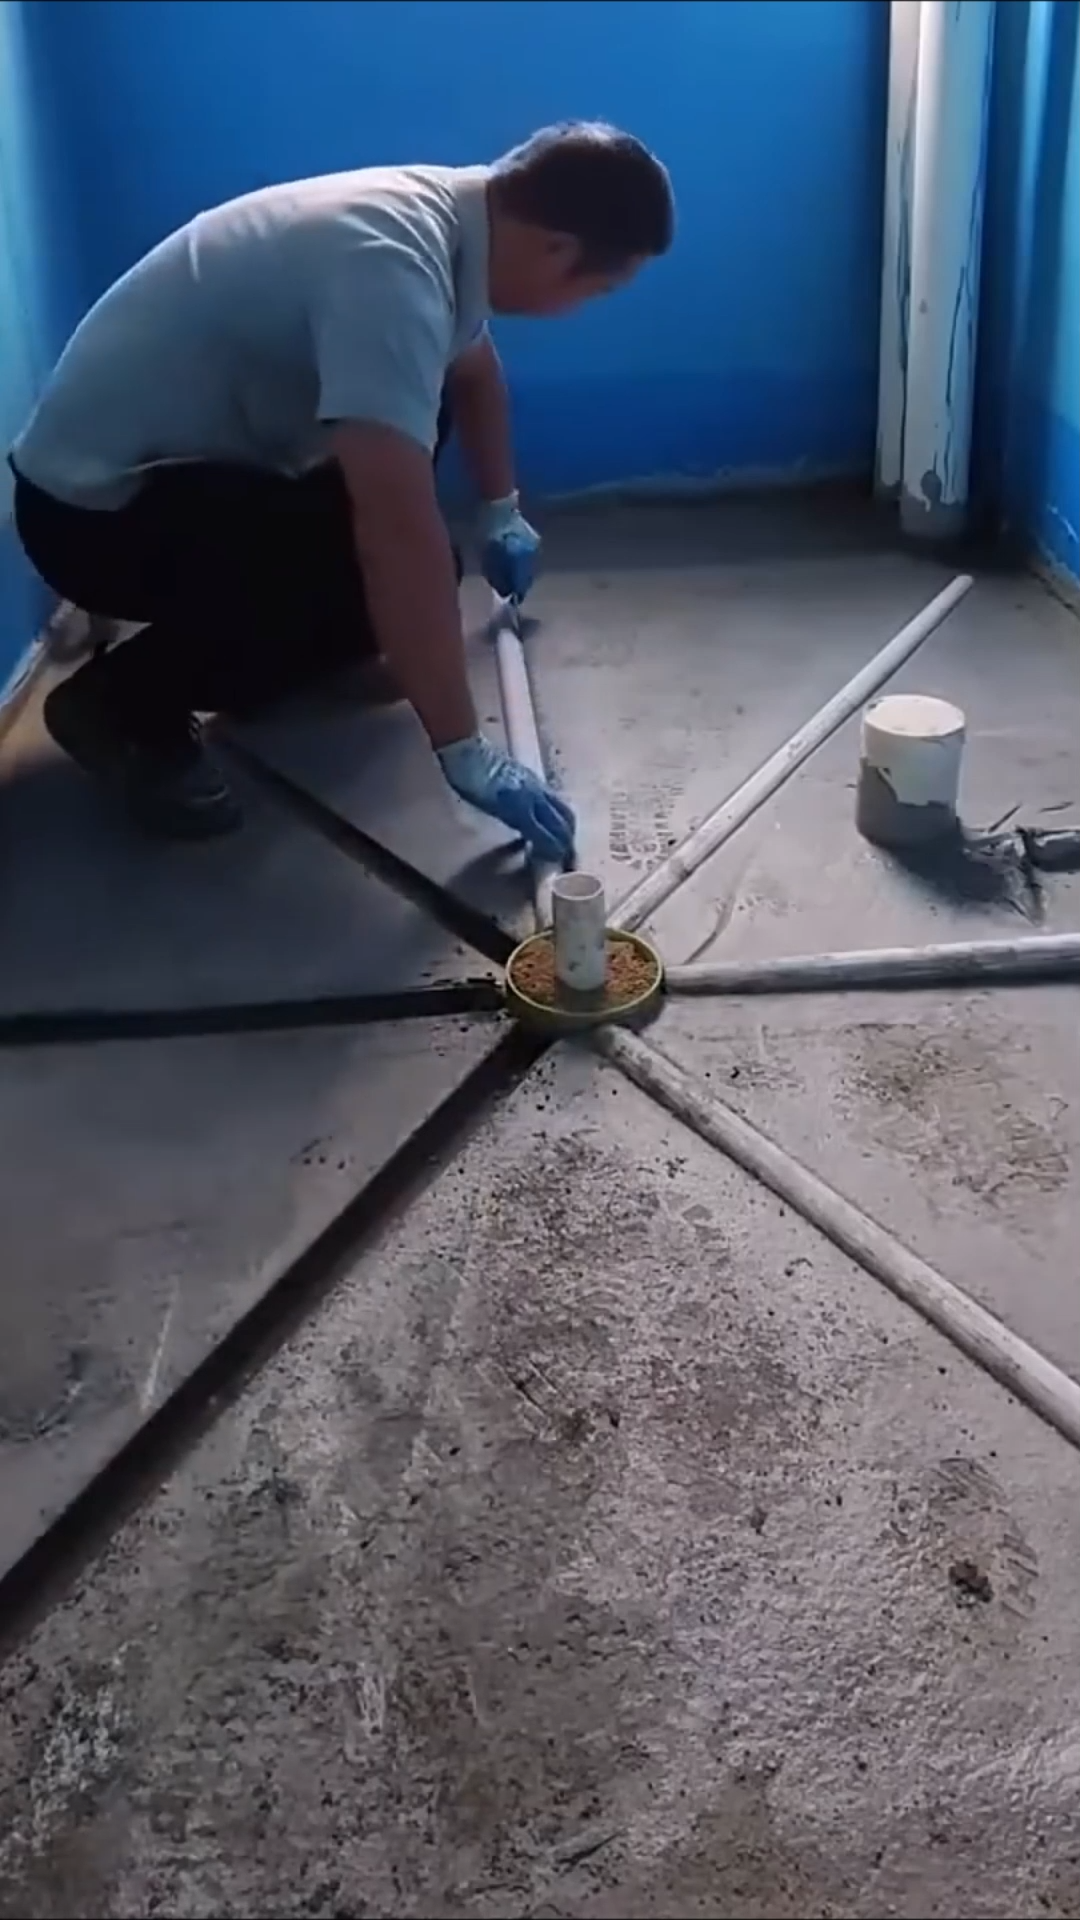
A toilet floor secondary drainage system provides an additional path for water to escape when accidental leaks, overflowing fixtures, or moisture accumulation occur. It can help protect the floor structure and nearby rooms from water damage when properly designed and installed. The system normally works together with the primary drainage system rather than replacing it.
Step 1: Inspect the Toilet Floor
Begin by examining the bathroom floor and identifying the locations of the toilet, shower, wash basin, primary floor drain, and proposed secondary drainage outlet. Check the existing floor structure for cracks, low areas, or damaged waterproofing. Determine where emergency water should be directed.
Step 2: Plan the Drainage Route
Prepare a drainage layout showing the secondary drain position, pipe route, connection point, and discharge location. The route should use an appropriate slope so water can flow naturally without standing inside the pipe. Avoid unnecessary bends and ensure the drainage path can be accessed for future maintenance.
Step 3: Mark the Floor
Transfer the planned drainage locations onto the floor using a chalk line or suitable marker. Mark the position of the secondary drain opening and the path of any concealed pipework. Double-check measurements before cutting the floor to avoid damaging existing plumbing, electrical wiring, or structural components.
Step 4: Prepare the Drain Opening
Create the required opening for the secondary drain using appropriate construction equipment. Work carefully around existing waterproofing and structural elements. Remove loose material and clean the opening thoroughly. The drain body should be positioned securely and at the correct finished-floor height.
Step 5: Install the Drain Pipe
Connect the secondary drain body to a suitable drainage pipe. Use compatible fittings and approved joining methods for the selected pipe material. Maintain a continuous downward slope toward the approved discharge point. Support concealed pipework adequately to prevent movement, sagging, or stress on the joints.
Step 6: Connect the Drainage Outlet
Connect the secondary drainage pipe to the appropriate drainage system or approved discharge route. The connection should be designed to prevent wastewater from backing up into the toilet floor. Where required by local plumbing regulations, install appropriate traps, air gaps, backflow protection, or other drainage components.
Step 7: Waterproof the Floor
Prepare the floor around the drain and apply a compatible waterproofing membrane according to the waterproofing system manufacturer’s instructions. Extend the membrane around the drain penetration and seal the connection carefully. Use compatible reinforcement or a drain collar where required to maintain continuity around the opening.
Step 8: Create the Correct Floor Slope
Form the finished floor so water naturally moves toward the primary or secondary drainage point rather than collecting in corners. Use a suitable screed or leveling compound where necessary. Check the slope using a spirit level or appropriate measuring tool before installing the final floor covering.
Step 9: Install the Floor Finish
Install the selected tiles or other waterproof floor covering while maintaining access to the drain. Apply suitable adhesive and grout according to the manufacturer’s recommendations. Seal movement joints and perimeter areas with an appropriate flexible sealant. Ensure the finished surface does not block the drain opening.
Step 10: Test and Inspect the System
After the installation materials have cured, perform a controlled water test to verify that water flows toward the drainage points without pooling. Inspect the drain connection, pipe joints, waterproofing, and surrounding floor for leaks or moisture penetration. Remove construction debris from the drain and confirm that the cover or grate can be removed for future cleaning.
A secondary drainage system should be designed according to local plumbing and building requirements, particularly where it connects to a sanitary drainage network. Regularly clean the drain, inspect seals and joints, and keep the drainage route free from debris. Proper planning, continuous waterproofing, correct pipe slope, and careful testing help reduce the risk of water damage and provide reliable protection for toilet and bathroom floors.



