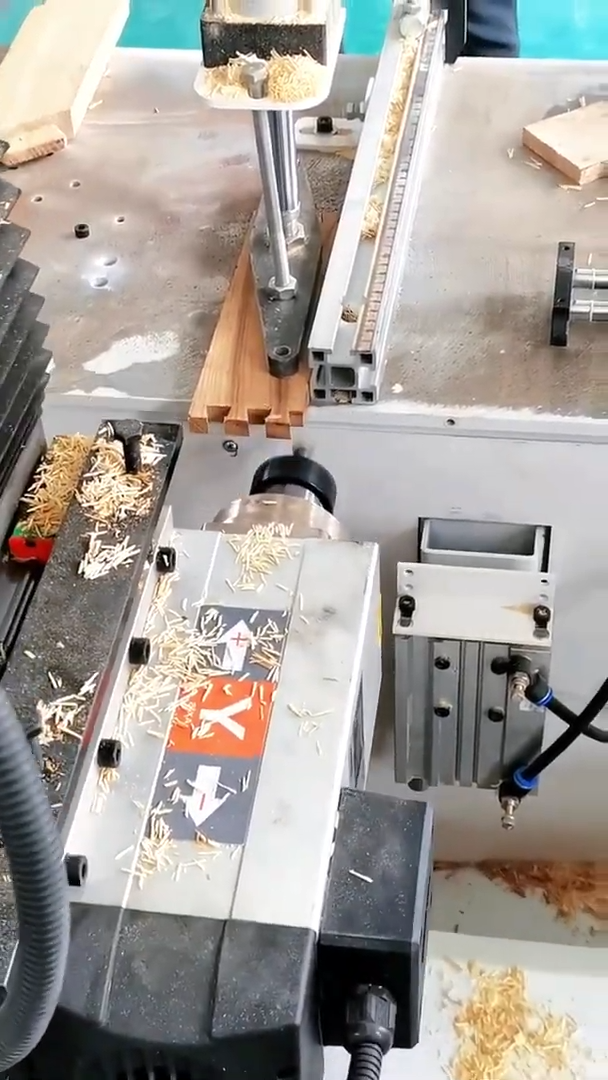
Board slot cutting is a common woodworking process used to create straight grooves, channels, or slots in wooden boards. These slots can be used for joinery, panels, shelves, decorative details, and furniture construction. Accurate measurement, proper tool selection, and secure workholding are essential for producing clean and consistent results.
Step 1: Select the Board
Begin by selecting a suitable wooden board for the project. Inspect the board for cracks, knots, warping, nails, screws, or other defects. Check the thickness and dimensions to ensure there is enough material for the required slot without weakening the board.
Step 2: Mark the Slot Location
Measure the required slot position using a ruler, square, and marking pencil. Mark both ends of the slot and draw clear reference lines along the board. For multiple slots, carefully measure the spacing between each one to maintain consistent positioning.
Step 3: Choose the Cutting Tool
Select a suitable tool according to the slot’s size and purpose. A router is commonly used for clean woodworking grooves, while a table saw with an appropriate setup can produce straight slots. A CNC router may be used when many identical slots or complex patterns are required.
Step 4: Set the Cutting Depth
Adjust the cutting tool to the required slot depth. Avoid removing too much material in one pass, especially when creating deep grooves. Make a test cut on a scrap piece of the same material to verify the width and depth before cutting the finished board.
Step 5: Secure the Board
Place the board firmly on a stable workbench or machine table. Use clamps or an appropriate holding system to prevent movement. Make sure the clamps do not interfere with the cutting path and that the board is fully supported.
Step 6: Align the Cutting Tool
Position the cutting tool precisely with the marked reference line. Check the fence, guide, or router track to ensure it is parallel to the intended slot. Accurate alignment at this stage helps prevent crooked or misplaced grooves.
Step 7: Make the First Pass
Start the machine according to its operating instructions and allow the cutting tool to reach normal operating speed. Guide the tool steadily along the marked path without forcing it. Maintain a consistent feed rate to produce an even cut and reduce burning or rough edges.
Step 8: Increase the Slot Depth
If a deeper slot is required, make additional shallow passes rather than removing all the material at once. After each pass, check the cutting depth and remove accumulated wood chips safely. Multiple controlled passes help improve accuracy and reduce stress on the cutting tool.
Step 9: Inspect and Refine the Slot
After completing the cut, switch off the machine and wait for the cutting tool to stop completely before inspecting the workpiece. Check the slot for consistent width, depth, and alignment. Remove small rough areas using suitable sanding or finishing tools.
Step 10: Complete the Final Finish
Clean sawdust and wood chips from the board and slot. Lightly sand the slot edges if necessary, taking care not to change its dimensions. Test the slot with the intended panel, spline, bracket, or joining component to confirm the fit. If the board will be painted, stained, or varnished, prepare the surrounding surface before applying the selected finish. Finally, inspect the completed board for cracks or excessive material removal. Regularly maintaining router bits, saw blades, guides, and measuring tools helps ensure accurate results. With careful layout, secure workholding, controlled cutting depth, and proper finishing, board slot cutting can produce clean, repeatable grooves suitable for furniture, cabinetry, shelving, decorative panels, and precision woodworking projects.




