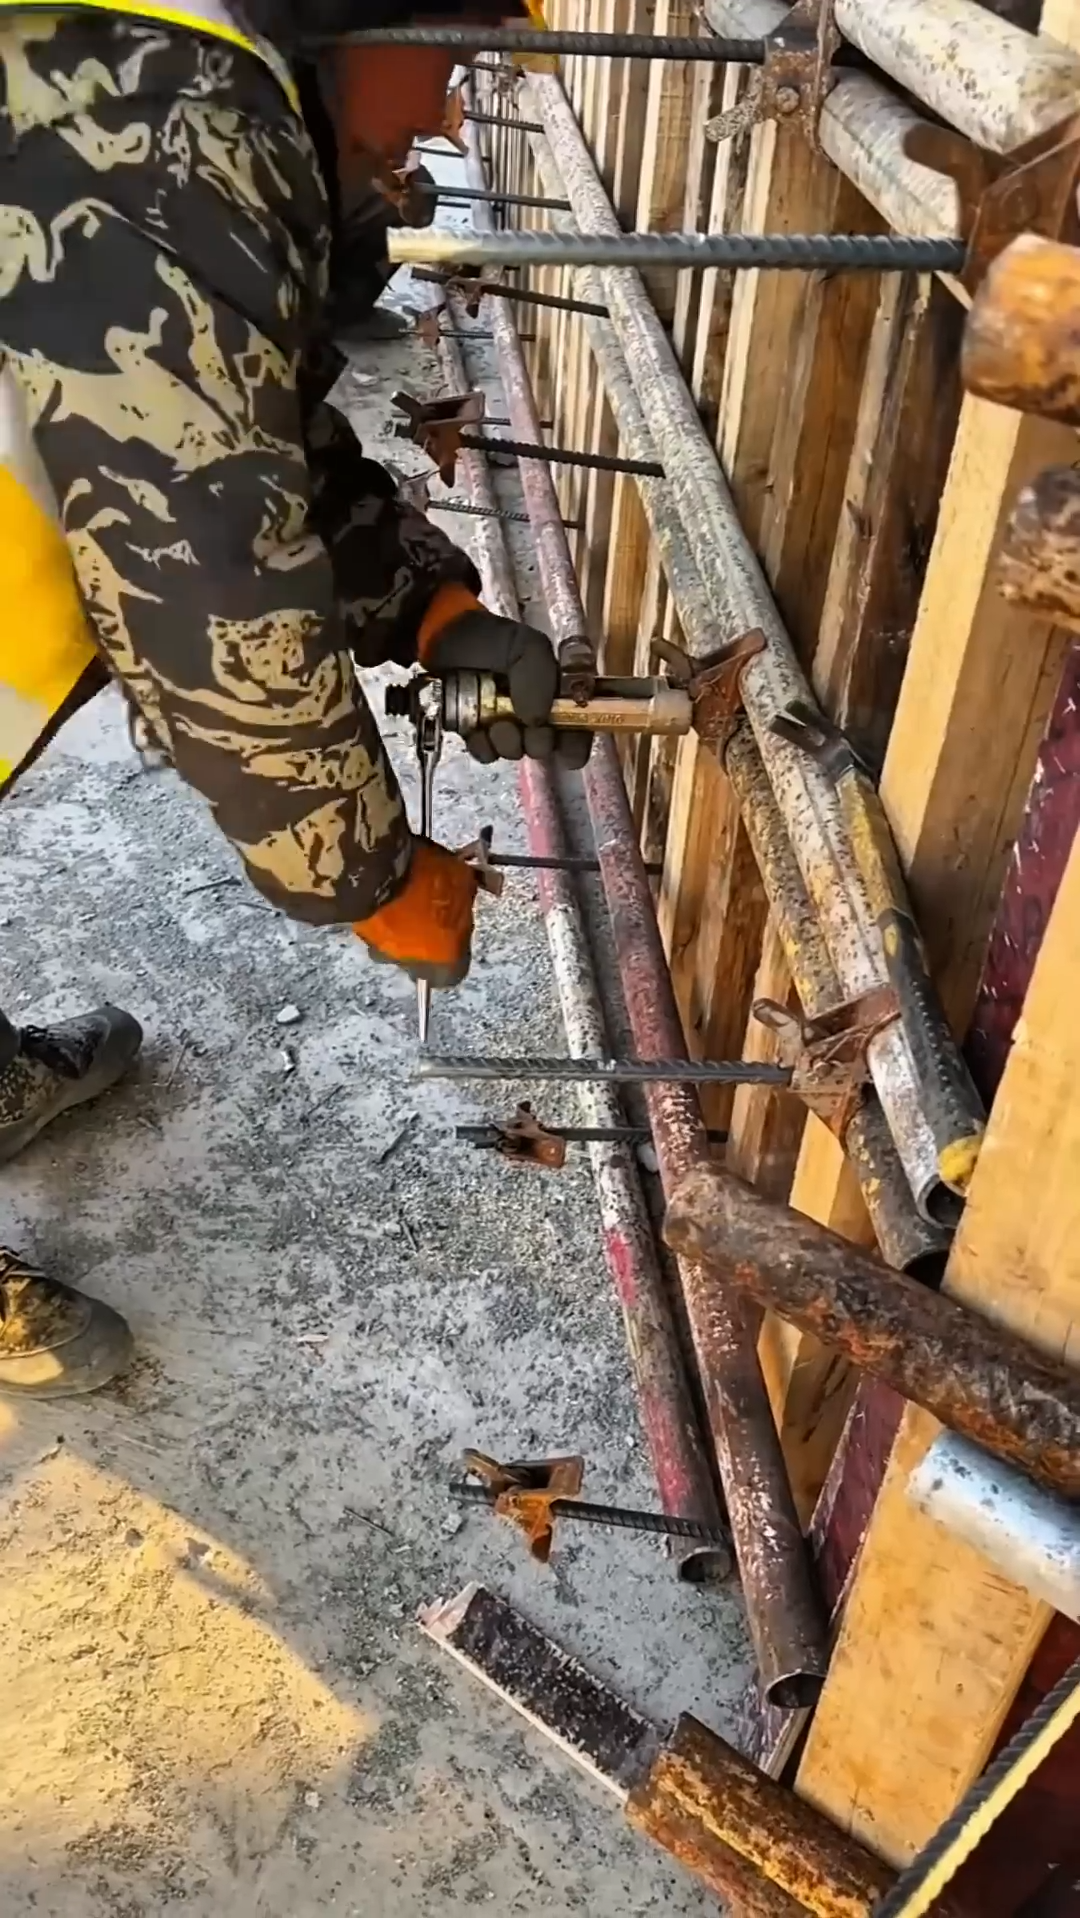
Wooden molds, also called timber formwork, are commonly used to create temporary shapes for concrete, plaster, casting, and other construction work. A properly fixed wooden mold must be strong, accurately positioned, and securely supported so it can maintain its shape during filling and curing. The following step-by-step process explains how to prepare and fix a wooden mold.
Step 1: Prepare the Work Area
Begin by cleaning the installation area and removing loose soil, debris, water, and unwanted materials. Check that the supporting surface is stable and suitable for the mold. Establish the required dimensions and position using drawings, measurements, and reference lines.
Step 2: Select the Wood
Choose straight, strong boards or plywood with sufficient thickness for the intended application. Inspect each piece for cracks, excessive warping, loose knots, or damaged edges. Clean the surfaces so measurements and markings can be made accurately.
Step 3: Measure and Mark
Measure the required length, width, height, and shape of the mold. Mark the cutting lines using a square, ruler, chalk line, or pencil. Double-check all dimensions before cutting because accurate preparation helps prevent gaps and alignment problems during assembly.
Step 4: Cut the Wooden Components
Cut the boards or plywood according to the marked dimensions using appropriate woodworking equipment. Keep the cuts straight and square where required. After cutting, remove splinters and rough edges that could interfere with assembly or create unsafe working conditions.
Step 5: Assemble the Mold Panels
Arrange the prepared wooden pieces according to the design. Join the panels using suitable screws, nails, bolts, or other approved fasteners. Check the corners with a square to ensure they are properly aligned. The joints should be tight enough to prevent unwanted movement or material leakage.
Step 6: Position the Mold
Carefully place the assembled wooden mold at the required location. Align it with the reference lines established earlier. Use a spirit level, plumb line, and measuring tape to check horizontal and vertical alignment. Make small adjustments before installing permanent supports.
Step 7: Install Supports and Bracing
Secure the mold with timber braces, stakes, clamps, or other suitable support systems. Place supports at appropriate intervals so the mold can resist pressure during filling. Check that the supports are firmly connected to stable surfaces and cannot move during the operation.
Step 8: Check the Dimensions
Measure the inside dimensions of the completed mold and compare them with the project requirements. Check the diagonals to confirm that rectangular sections are square. Inspect corners, joints, and edges for gaps. Correct any alignment problems before continuing.
Step 9: Prepare the Mold Surface
Clean the inside of the mold and remove sawdust, dirt, loose fasteners, and other debris. Where appropriate, apply a compatible form-release agent to the mold surface. This helps prevent the material from bonding strongly to the wood and makes later removal easier.
Step 10: Perform the Final Inspection
Before using the wooden mold, inspect the entire structure carefully. Confirm that all screws, nails, braces, clamps, and supports are secure. Check that the mold is level, plumb, square, and sufficiently rigid for its intended use. During filling, monitor the mold for unexpected movement, bulging, or leakage and stop the operation if instability appears.
After the material has cured or reached the required strength, remove the mold carefully without damaging the finished structure. Clean and inspect the wooden panels before storing them in a dry location. Damaged boards, bent fasteners, or weakened supports should be replaced before reuse. Proper measuring, strong joints, adequate bracing, and regular inspection help produce accurate wooden molds that can be reused efficiently for construction and workshop projects.



