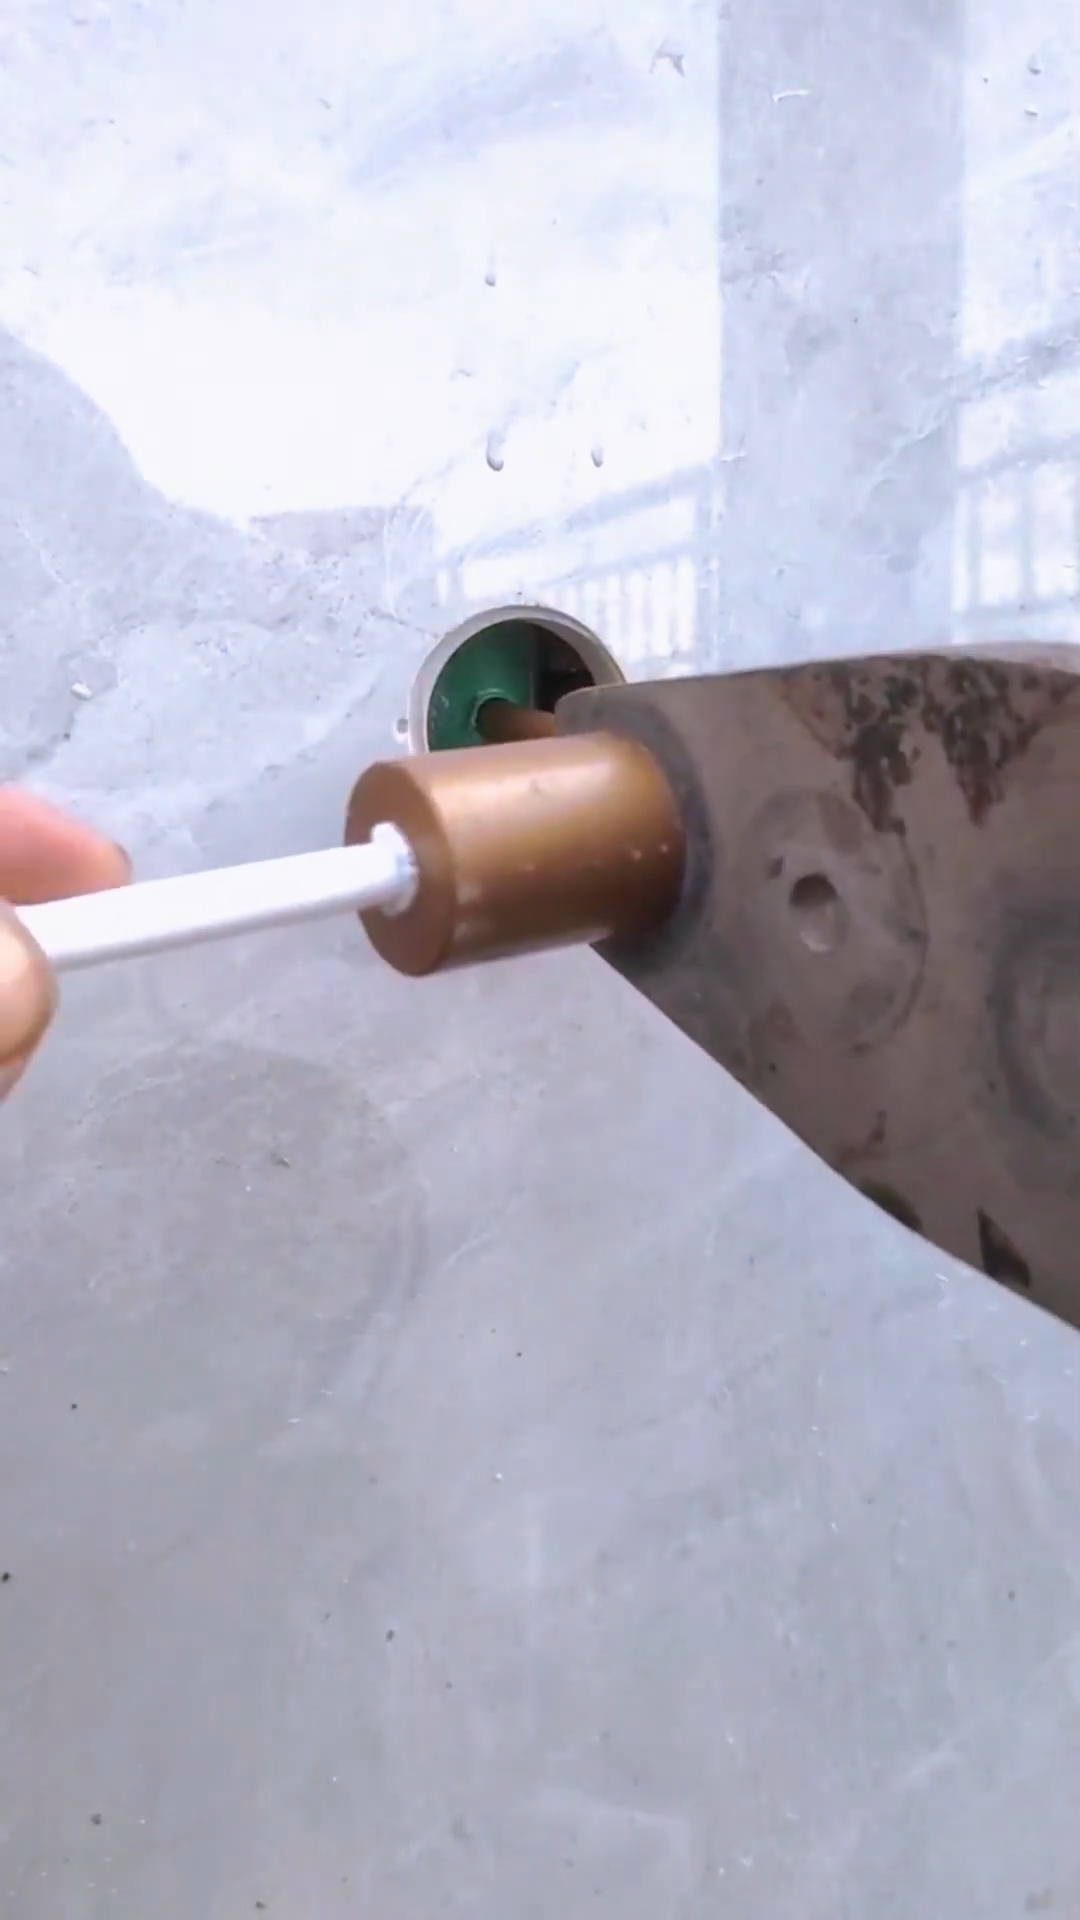
Repairing a broken pipe inside a wall requires careful preparation because the damaged section must be located, exposed, repaired, tested, and properly sealed afterward. A professional repair should restore the pipe without creating additional leaks or unnecessary structural damage. The following step-by-step process describes a typical approach.
Step 1: Shut Off the Water
Before beginning, close the appropriate water supply valve and relieve pressure by opening a nearby faucet. If the location of the shutoff valve is uncertain, shut off the main water supply. Never begin cutting into a wall while the pipe is still pressurized.
Step 2: Locate the Broken Section
Identify the exact location of the leak by looking for damp spots, stains, peeling paint, damaged plaster, or water sounds. Moisture-detection equipment or inspection cameras can help locate concealed leaks without unnecessarily opening large areas of the wall.
Step 3: Open the Wall Carefully
Mark a small working area around the suspected pipe location. Remove the wall covering carefully using suitable tools, taking care not to damage electrical cables, structural members, insulation, or the pipe itself. Create an opening large enough to access the damaged section safely.
Step 4: Inspect the Damaged Pipe
Once the pipe is exposed, inspect the break carefully. Determine the pipe material, diameter, and type of failure. Check the surrounding section for corrosion, cracks, deformation, or additional damage. If several sections are deteriorated, replacing a larger section may be more reliable than repairing only one point.
Step 5: Remove the Broken Section
Support the pipe before cutting. Mark the locations for removing the damaged section and use a suitable pipe cutter or other approved tool for the pipe material. Make clean, square cuts and remove the defective section. Clean the remaining pipe ends thoroughly before installing the replacement.
Step 6: Prepare the Replacement Pipe
Measure and cut a replacement section using pipe of the same compatible material, diameter, and appropriate pressure rating. Prepare the ends according to the manufacturer’s requirements. Depending on the pipe system, this may involve deburring, cleaning, threading, solvent preparation, or preparing surfaces for mechanical or heat-fusion connections.
Step 7: Install the Repair Section
Position the replacement pipe between the existing pipe ends. Connect it using fittings or joining methods approved for that specific pipe material and application. Ensure the joints are fully engaged and correctly aligned. Avoid forcing the pipe into position, which can place unnecessary stress on the repaired connections.
Step 8: Secure the Pipe
Install appropriate pipe supports or clamps so the repaired section cannot move excessively. Keep the pipe away from sharp edges and provide suitable clearance where thermal expansion or vibration may occur. Proper support reduces stress on the new joints and helps prevent future failures.
Step 9: Test the Repair
Before closing the wall, slowly restore the water supply. Inspect every repaired joint carefully for leaks. Where required, perform the appropriate pressure or leak test according to the plumbing system specifications. If moisture appears, shut off the supply again and correct the problem before continuing.
Step 10: Close and Restore the Wall
Once the repair has passed inspection, protect the pipe from contact with sharp construction materials. Replace insulation where required and restore the wall opening using suitable materials. Allow patching compounds, mortar, or other materials to cure properly before applying the final surface finish.
Finally, inspect the repaired area again after the system has operated normally. Monitor the wall for renewed dampness, staining, or unusual moisture. Keep photographs or notes of the repaired pipe location for future maintenance. Regularly checking accessible plumbing connections can help identify leaks before they cause major damage. For concealed pipes, structural walls, gas lines, or extensive water damage, a qualified plumber or building professional should carry out the repair and verify that the work complies with local requirements.



