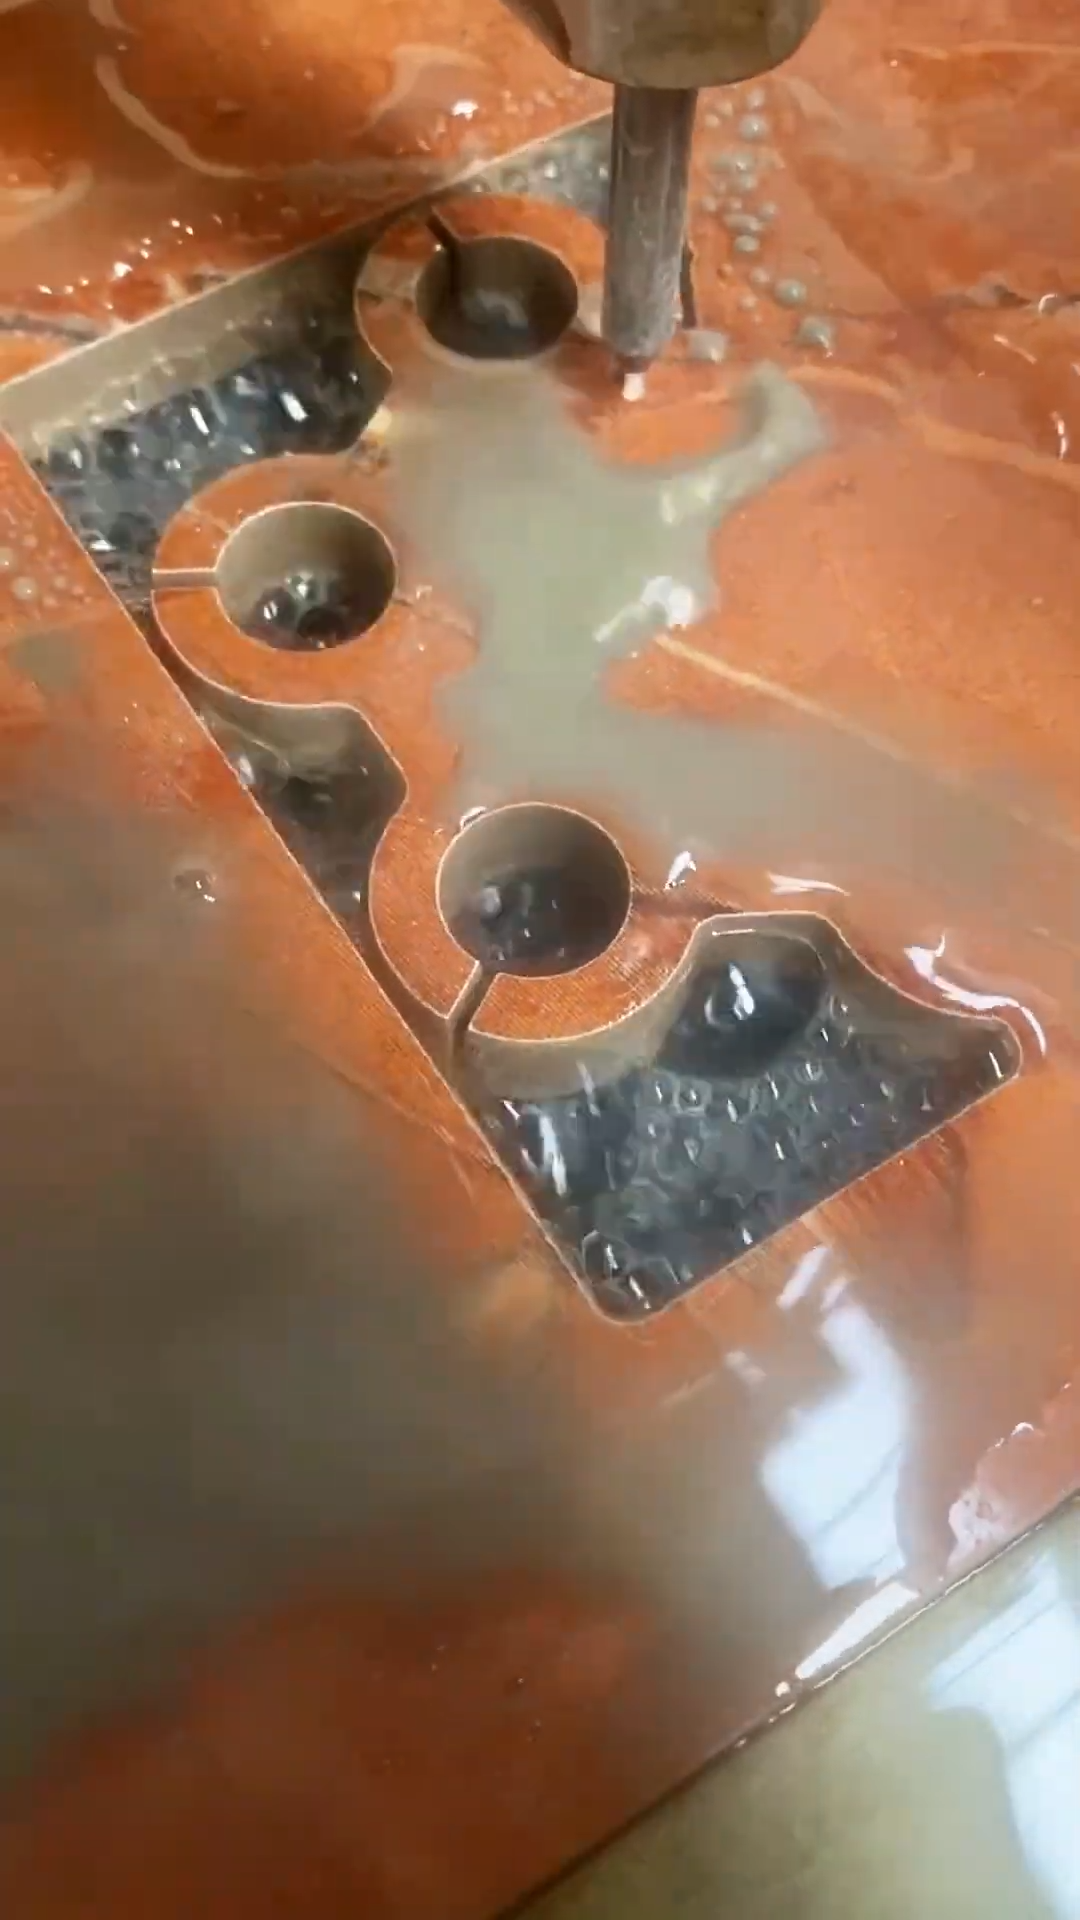
Water-jet cutting is a precision method for cutting thick stone slabs, porcelain tiles, and large-format rock tiles into straight lines, curves, circles, and custom shapes. The process uses a high-pressure water stream, often combined with abrasive particles, to remove material without the heat associated with many conventional cutting methods. Proper preparation and machine calibration are essential for clean, accurate results.
Step 1: Select the Rock Tile
Choose a thick rock tile or stone slab suitable for water-jet processing. Inspect the surface and edges for cracks, chips, weak areas, or internal defects. Confirm the thickness, dimensions, and material type before preparing the cutting program.
Step 2: Prepare the Cutting Design
Create the required cutting pattern using accurate measurements or CAD software. Specify dimensions, curves, angles, openings, and finished edges. Check the design carefully before sending it to the cutting machine because an incorrect digital drawing can result in wasted material.
Step 3: Prepare the Water-Jet Machine
Inspect the water-jet system, cutting head, abrasive supply, water filtration, pumps, and worktable. Make sure the machine is clean and operating correctly. Select a cutting nozzle and abrasive suitable for the thickness and hardness of the material.
Step 4: Position the Tile
Place the thick rock tile carefully onto the machine’s cutting table. Support the tile evenly across its surface to reduce movement and stress. Align the material with the machine’s reference points and confirm that the entire cutting path remains within the usable area.
Step 5: Set the Cutting Parameters
Enter the material thickness and cutting geometry into the machine control system. Set appropriate cutting speed, water pressure, abrasive flow, and nozzle height according to the machine manufacturer’s recommendations and the material requirements. Perform a test or verification step when necessary.
Step 6: Align the Cutting Head
Position the cutting head over the starting point of the design. Check the nozzle alignment and standoff distance between the cutting head and tile surface. Accurate positioning helps maintain consistent kerf width and improves dimensional accuracy.
Step 7: Start the Water-Jet Cut
Start the machine and allow the water-jet system to reach its operating condition. The high-pressure stream begins removing material along the programmed path. The abrasive assists the cutting process when processing hard stone or thick tiles. The machine moves the cutting head automatically according to the selected design.
Step 8: Monitor the Cutting Process
Observe the cutting operation without placing hands near the cutting area. Monitor the water flow, abrasive supply, cutting path, and material stability. If unusual vibration, movement, nozzle problems, or other abnormalities occur, stop the machine according to its operating procedure and investigate the cause.
Step 9: Remove and Inspect the Cut Piece
After the cutting cycle is complete and the machine has stopped safely, remove the finished piece using appropriate handling equipment. Inspect the cut edges for chips, taper, rough sections, or dimensional deviations. Measure important areas with suitable precision tools and compare them with the original design.
Step 10: Finish and Clean the Tile
Rinse the cut tile thoroughly to remove abrasive residue and stone particles. Dry it carefully and inspect the finished surface under good lighting. If the application requires polished or softened edges, perform the appropriate edge-finishing process using suitable stoneworking equipment.
Finally, clean the water-jet table and check the abrasive and filtration systems. Proper maintenance helps prevent contamination and maintains cutting accuracy. Because water-jet equipment operates at extremely high pressure, only trained operators should operate the machinery using the manufacturer’s procedures and required protective equipment. Proper material support, accurate programming, suitable cutting parameters, and careful inspection help produce clean and precise cuts in thick rock tiles for flooring, countertops, walls, architectural panels, and custom decorative projects.



