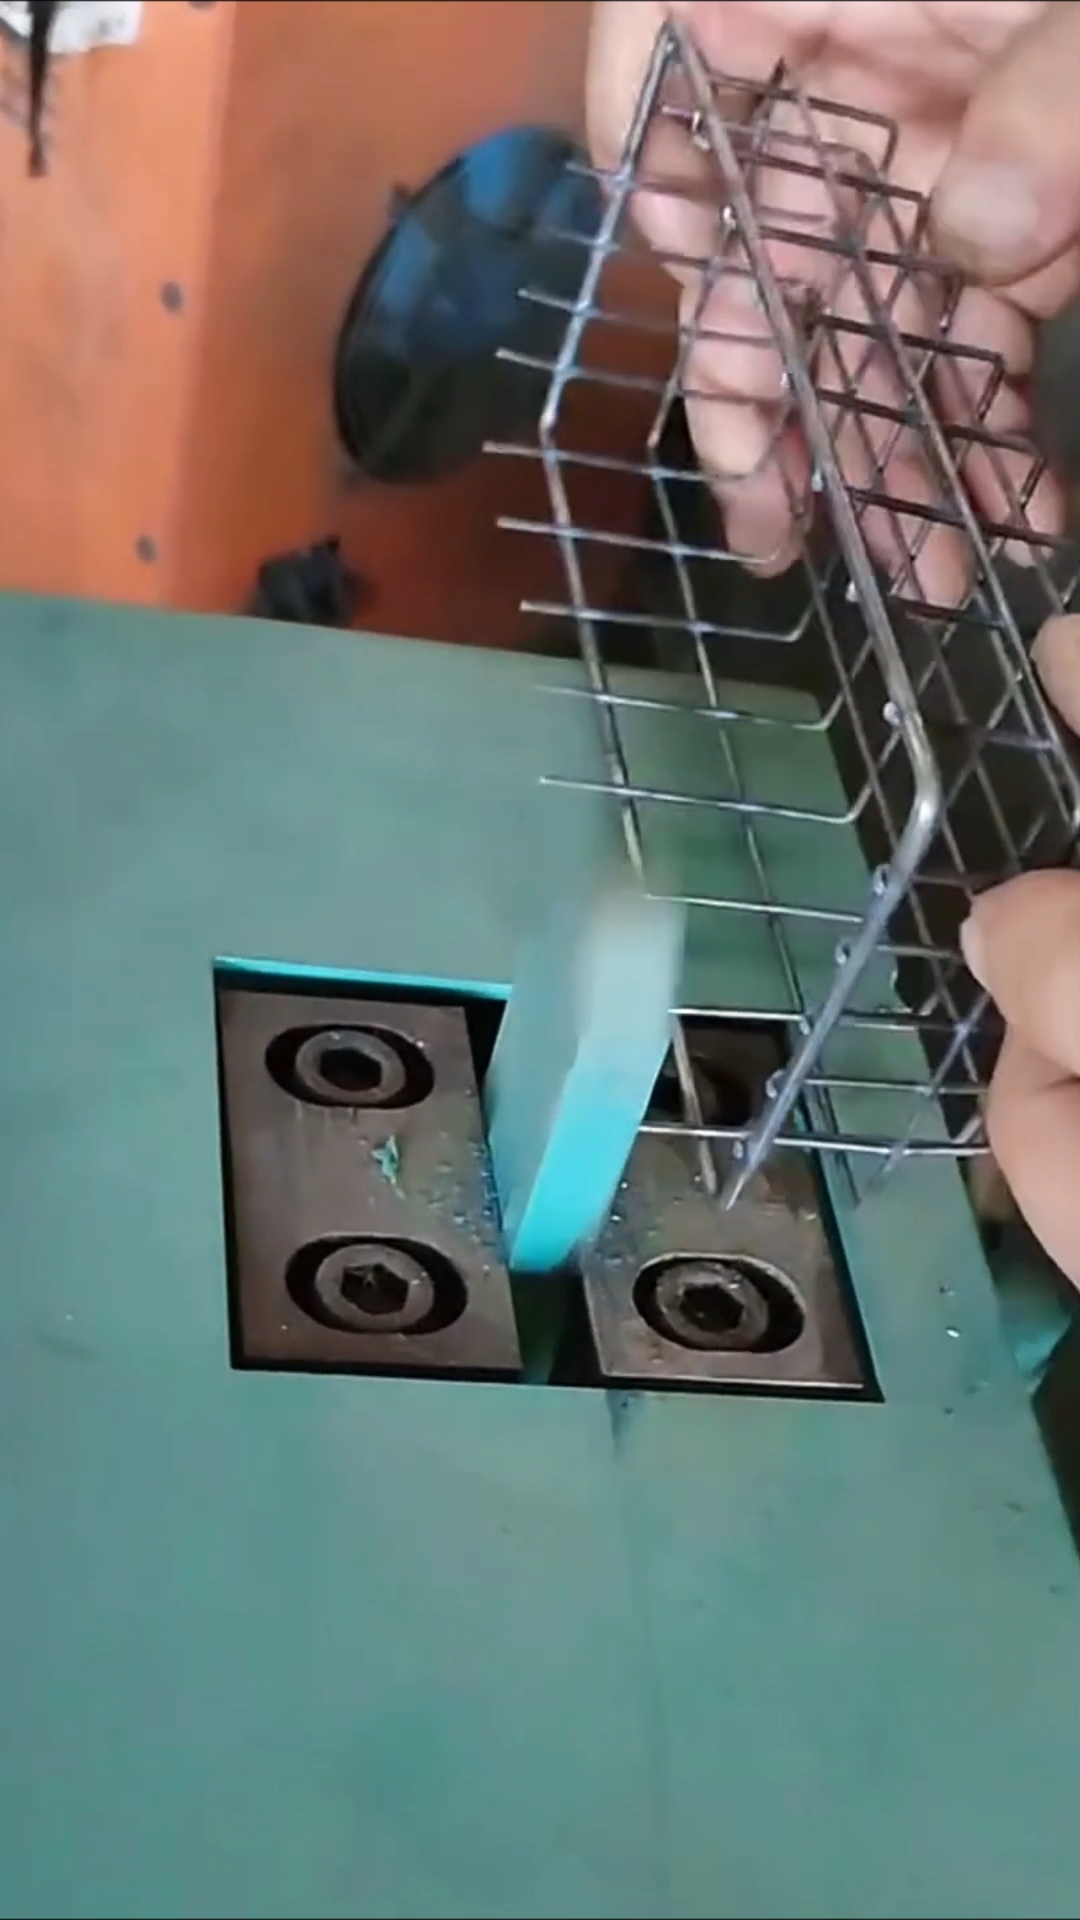
Rim trimming is a precision finishing process used to remove excess material and create a clean, uniform edge around a circular component. Depending on the application, the rim may belong to a metal, plastic, wood, glass, or composite product. The process requires accurate measurement, secure workholding, and controlled cutting to achieve a smooth and consistent result.
Step 1: Inspect the Workpiece
Begin by examining the rim carefully. Check for dents, cracks, uneven edges, excess material, or other defects. Determine how much material needs to be removed and identify the required final diameter, thickness, and edge profile.
Step 2: Measure the Rim
Use a suitable measuring tool such as a caliper, ruler, diameter gauge, or template. Measure the outside and inside dimensions where necessary. Mark the trimming line clearly around the circumference to establish the final boundary.
Step 3: Select the Cutting Tool
Choose a cutting or trimming tool appropriate for the material. Depending on the application, this may include a rotary trimming machine, lathe, router, abrasive tool, shear, or specialized production equipment. Make sure the cutting tool is sharp, properly installed, and suitable for the required operation.
Step 4: Secure the Workpiece
Position the component on a stable work surface or machine fixture. Clamp it securely so it cannot rotate unexpectedly or move during trimming. The workpiece should remain properly centered to prevent an uneven rim.
Step 5: Set the Cutting Position
Adjust the machine guide, fence, fixture, or cutting head according to the required trimming dimension. Check the setup against the marked line or a reference sample. For repeated production work, use a dedicated fixture or stop to maintain consistent dimensions.
Step 6: Perform a Test Cut
Before completing the entire rim, make a small test cut on a sample or an unwanted section when practical. Check the resulting diameter, edge profile, and surface condition. Make any necessary machine adjustments before processing the finished component.
Step 7: Begin the Trimming Operation
Start the machine according to the manufacturer’s operating procedure. Bring the cutting tool into contact with the material gradually. Maintain a controlled feed rate and avoid excessive pressure. Allow the tool to remove material steadily rather than forcing it through the rim.
Step 8: Maintain Consistent Cutting
Continue around the entire circumference while keeping the workpiece and cutting tool properly aligned. Monitor the cutting process for vibration, excessive heat, unusual noise, or material movement. If any abnormal condition occurs, stop the operation safely and inspect the setup before continuing.
Step 9: Check the Finished Rim
After trimming is complete, stop the machine completely before removing the workpiece. Inspect the rim for uneven sections, burrs, scratches, cracks, or rough areas. Measure the finished diameter at several locations to confirm that the rim is symmetrical and meets the required specifications.
Step 10: Finish the Edge
Remove small burrs or rough sections using an appropriate finishing tool. Depending on the material, the edge may be sanded, polished, filed, deburred, or otherwise treated to achieve the required appearance. Clean the component thoroughly and apply any required protective coating or finishing treatment.
Finally, compare the finished component with the original specifications or production sample. For industrial work, record the final measurements and inspect the cutting equipment before beginning the next batch. Keep blades, cutters, fixtures, and measuring instruments properly maintained. Safe workholding, accurate measurement, controlled cutting, and careful finishing help produce a smooth and consistent rim while reducing material waste and improving production quality.



