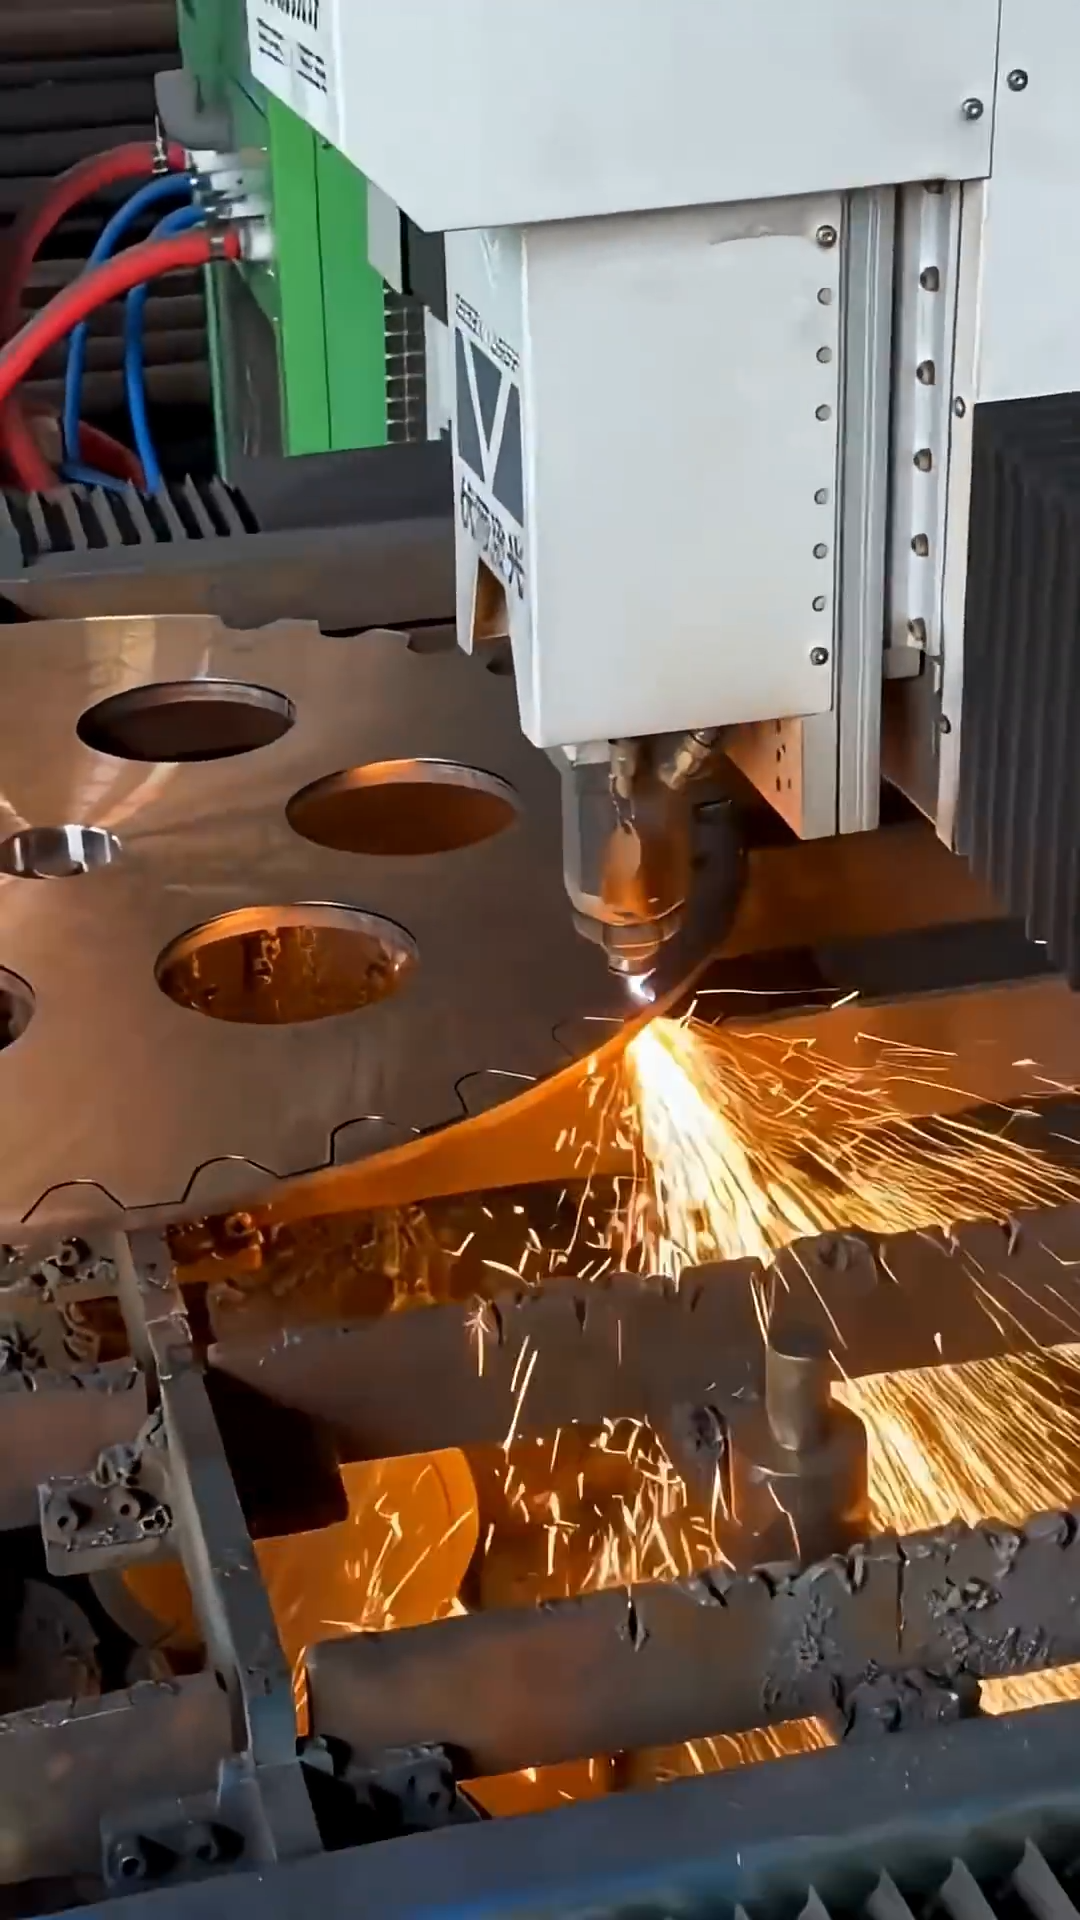
Laser cutting sprocket teeth is a precision manufacturing process used to produce accurately shaped sprockets from metal sheets or plates. Proper design, material preparation, machine setup, and inspection are important for creating consistent tooth profiles that match the intended chain type. Here is a 12-step process.
Step 1: Prepare the Sprocket Design
Begin by creating or selecting the sprocket design. The drawing should include the outside diameter, bore location, number of teeth, tooth profile, and dimensions required for the intended chain.
Step 2: Select the Metal Material
Choose a suitable metal plate according to the sprocket’s intended application. Inspect the material for rust, excessive warping, surface damage, or contamination before cutting.
Step 3: Create the Cutting File
Prepare the sprocket design using suitable CAD or machine-control software. Convert the design into a format compatible with the laser cutting equipment and verify all dimensions.
Step 4: Inspect the Laser Cutting Machine
Check the laser cutting machine, cutting head, protective systems, worktable, gas supply, extraction equipment, and control system. Make sure the machine is properly maintained and ready for operation.
Step 5: Place the Metal Plate
Position the metal sheet or plate securely on the laser cutting table. Ensure that the material is flat and properly aligned with the machine reference points.
Step 6: Set the Cutting Parameters
Configure the laser settings according to the material type and thickness. Appropriate parameters may include cutting power, speed, focus position, and assist-gas settings.
Step 7: Align the Cutting Path
Use the machine’s positioning system to verify the starting point and cutting path. Check that the sprocket design fits correctly within the available material area.
Step 8: Cut the Center Hole
When required by the production sequence, the laser first cuts the center opening and other internal features. These openings may be used later for mounting, machining, or further processing.
Step 9: Laser Cut the Sprocket Teeth
The laser cutting head follows the programmed tooth profile around the outer edge of the sprocket. Each tooth and gap is cut accurately according to the digital design, creating the required sprocket shape.
Step 10: Remove the Finished Sprocket
After the cutting cycle is complete and the machine has stopped safely, remove the finished sprocket from the cutting table. Handle the part carefully because freshly cut edges may be sharp.
Step 11: Inspect and Finish the Teeth
Check the sprocket teeth for burrs, rough edges, incomplete cuts, or dimensional errors. Use suitable finishing equipment when necessary to remove small burrs and improve edge quality. Measure important dimensions to confirm that the sprocket matches the design.
Step 12: Perform Final Quality Inspection
Inspect the completed sprocket for tooth accuracy, roundness, center alignment, and overall dimensions. If required, the sprocket may undergo additional machining, heat treatment, coating, or surface finishing before installation.
Proper digital design, accurate machine setup, stable material positioning, and careful inspection help produce consistent sprocket teeth with laser cutting technology. For functional sprockets, the tooth profile must match the intended chain specification, and critical parts should be verified against the applicable engineering requirements before use.



