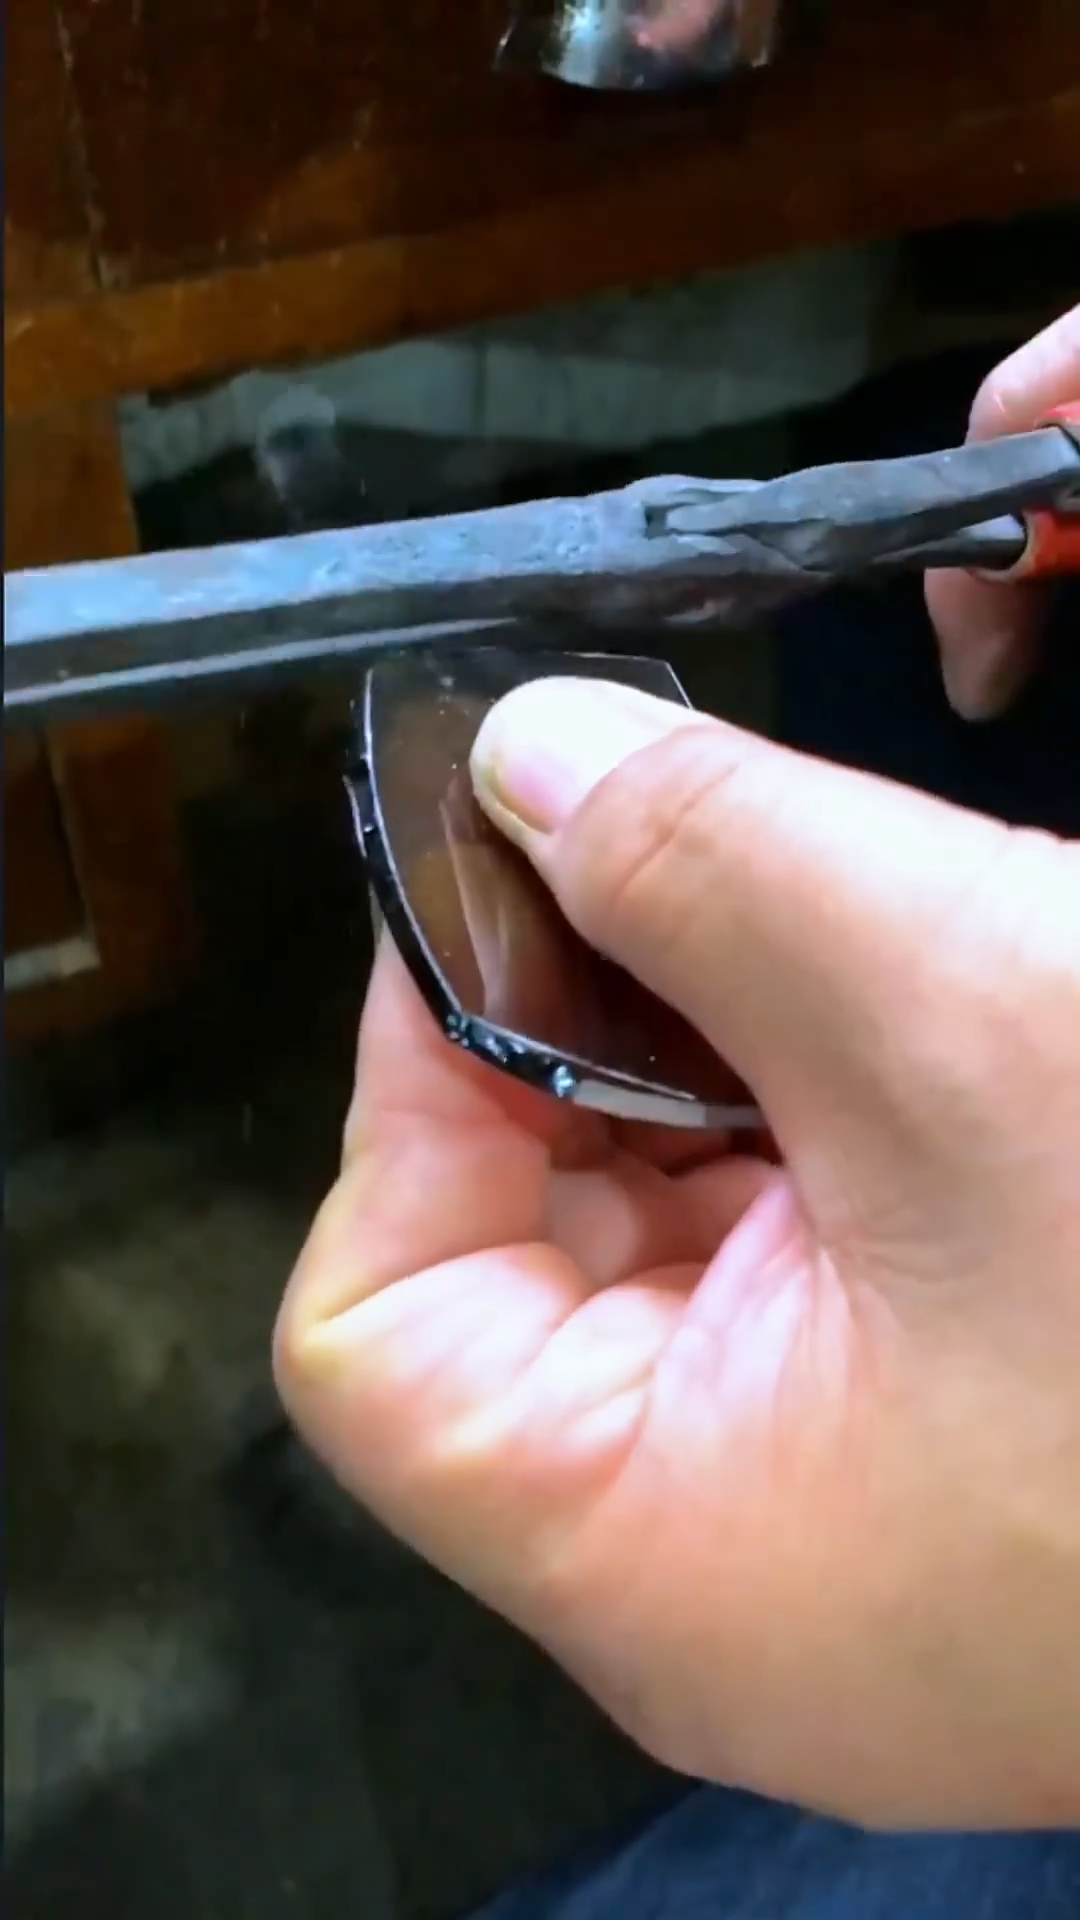
Repairing a crystal lens requires careful inspection because transparent crystal or optical material can be easily scratched, chipped, or cracked. The appropriate repair method depends on whether the damage is a surface defect, small edge chip, or serious fracture. Here is a 12-step process for a general crystal lens restoration workflow.
Step 1: Inspect the Lens
Examine the lens under bright, even lighting. Look for scratches, chips, cracks, cloudy areas, surface contamination, and damage around the edges. Determine whether the defect affects the optical surface.
Step 2: Identify the Lens Material
Confirm whether the lens is natural crystal, optical glass, synthetic crystal, or another transparent material. Different materials require different polishing compounds, tools, and repair techniques.
Step 3: Clean the Lens
Wash the lens carefully using a suitable optical cleaning solution and a soft, lint-free cloth. Remove dust and oils before evaluating the damage. Avoid abrasive household cleaners that could create additional scratches.
Step 4: Mark the Damaged Area
Locate the damaged section precisely and mark its position on a removable reference label or inspection diagram. This prevents unnecessary polishing of areas that are already in good condition.
Step 5: Assess the Damage
Determine whether the defect can be safely polished or whether the lens requires replacement. Deep cracks, fractures extending through the material, or significant optical distortion may not be suitable for conventional surface repair.
Step 6: Secure the Lens
Place the lens in a padded fixture designed to prevent movement and protect its surface. Avoid excessive clamping pressure, which can introduce stress into brittle crystal or glass.
Step 7: Remove Minor Surface Damage
For light scratches or surface imperfections that are suitable for restoration, use an appropriate professional optical polishing system. Work gradually and remove the minimum amount of material necessary.
Step 8: Polish the Surface
Continue polishing with progressively finer compounds and suitable polishing equipment. Maintain an even motion and avoid creating localized depressions or distortion in the optical surface.
Step 9: Refine the Optical Surface
After the initial polishing stage, inspect the lens again under magnification or suitable optical lighting. Continue with finer polishing stages until the surface becomes clear and uniform.
Step 10: Clean and Inspect
Thoroughly remove polishing residue from the lens. Inspect it from different angles for remaining scratches, haze, pits, or distortion. Compare the repaired area with the undamaged portion of the lens.
Step 11: Check Optical Performance
For an optical lens, visual appearance alone is not enough. Check whether the repaired surface has changed the lens’s optical properties, such as clarity, focus, or image distortion. Precision optical components may require professional optical testing equipment.
Step 12: Complete the Final Finish
Clean the restored lens using an appropriate optical cleaning method and install it carefully in its original housing if applicable. If the lens has a major crack, structural fracture, or significant optical damage, replacement by a qualified optical technician is generally safer and more reliable than attempting a surface repair.
Professional crystal and optical lens repair requires specialized equipment and materials. Excessive grinding or polishing can permanently change the lens shape and optical performance, so valuable, precision, or safety-critical lenses should be handled by qualified specialists.



