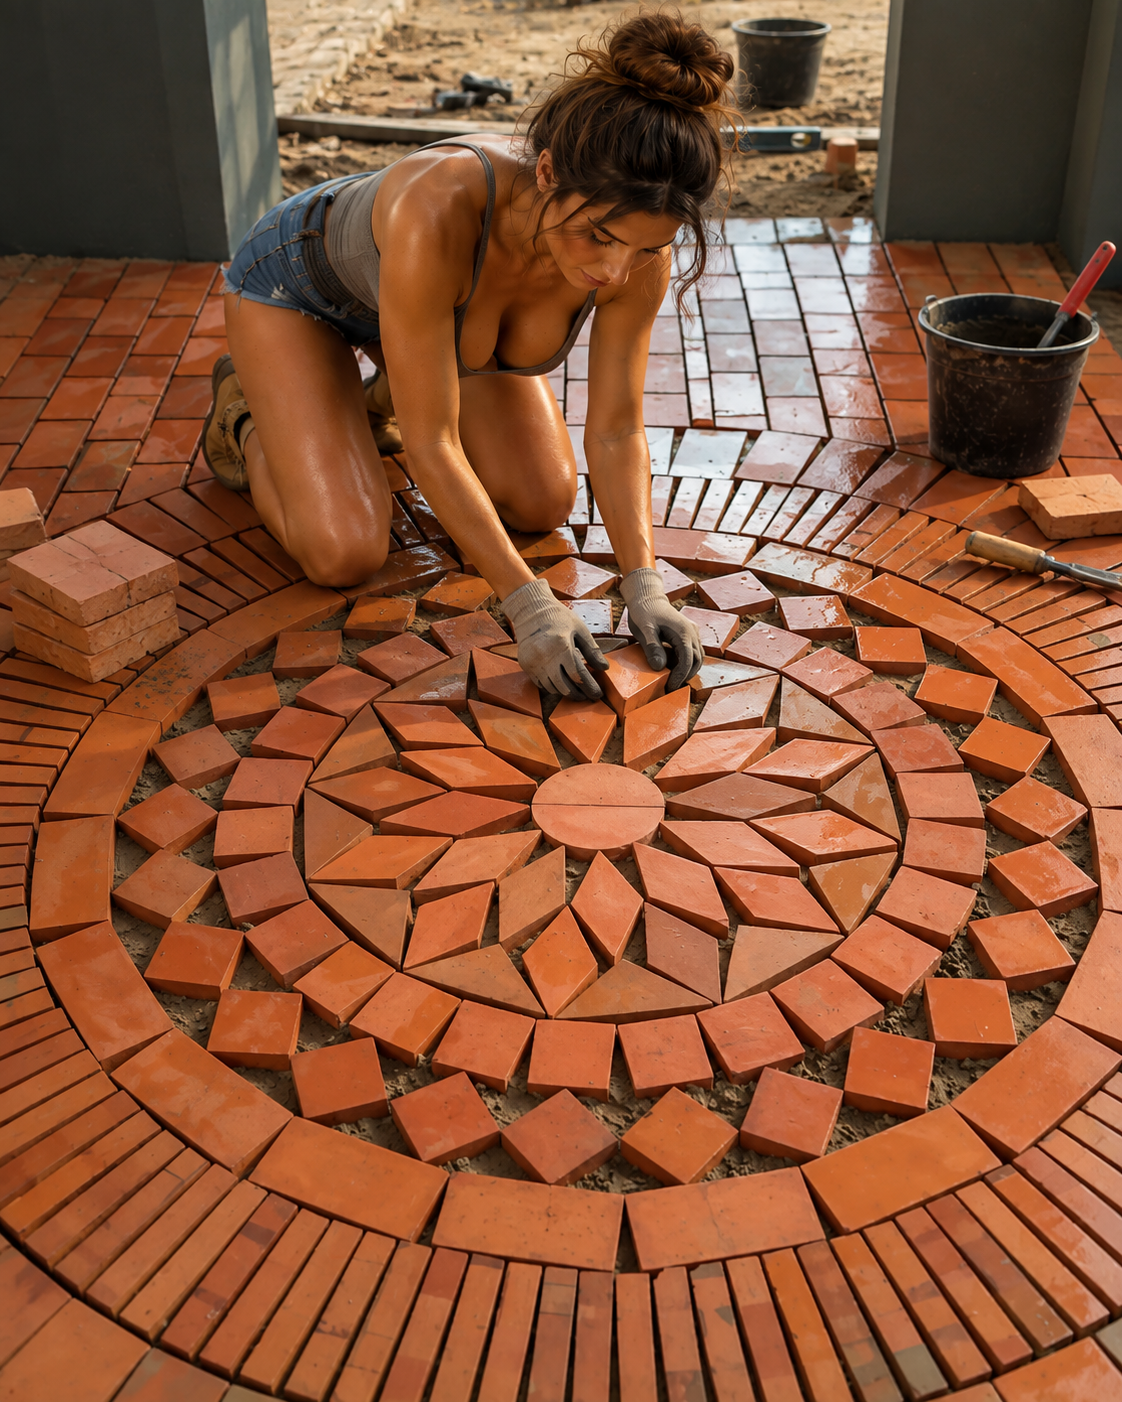
A terracotta mosaic patio can transform an ordinary outdoor space into a warm, colorful, and artistic area. Terracotta tiles, broken ceramic pieces, and decorative mosaic materials can be arranged into unique patterns that give the patio a handmade appearance. Careful preparation of the base, accurate layout, proper installation, and suitable sealing are important for creating a durable finished surface.
Step 1: Plan the Patio Design
Begin by measuring the outdoor area and deciding on the overall shape and size of the patio. Create a simple design showing the mosaic pattern, borders, colors, and decorative sections. Planning the design before installation helps reduce material waste and makes the work easier.
Step 2: Prepare the Ground
Clear the patio area of grass, roots, stones, loose soil, and other debris. Level the ground and prepare a stable base suitable for the selected patio construction system. Proper ground preparation helps prevent movement and uneven settling.
Step 3: Create a Strong Base
Install an appropriate base for the patio, such as compacted aggregate and a suitable bedding or structural layer depending on the project design. Ensure the surface is stable and properly prepared for outdoor conditions.
Step 4: Check the Drainage Slope
Create a slight slope so rainwater can flow away from buildings and toward a suitable drainage area. Good drainage helps reduce standing water and protects the patio from moisture-related damage.
Step 5: Prepare the Terracotta Pieces
Sort the terracotta tiles and mosaic pieces by size, color, and shape. If using broken pieces, carefully create manageable shapes with appropriate tools. Remove loose fragments and smooth dangerous sharp edges before installation.
Step 6: Arrange the Mosaic Pattern
Place the terracotta pieces on the prepared surface without permanently fixing them. Experiment with different arrangements until the pattern looks balanced. Adjust spacing and colors to create an attractive design.
Step 7: Mark the Main Sections
Once the design is finalized, mark important borders, center points, and decorative areas. Take photographs or create a layout guide so the pattern can be reproduced accurately during installation.
Step 8: Install the Mosaic Pieces
Starting from a main reference point, install the terracotta pieces using an adhesive or setting system suitable for exterior use and compatible with the patio base. Press each piece into position while maintaining consistent spacing.
Step 9: Continue Building the Pattern
Work gradually across the patio and regularly check the alignment of the mosaic design. Maintain consistent surface levels and adjust individual pieces as necessary before the installation material sets.
Step 10: Fill the Joints
After the installed pieces have set according to the product instructions, fill the spaces between them with a suitable outdoor grout or jointing material. Work the material carefully into the gaps and remove excess material from the tile surfaces.
Step 11: Clean the Patio Surface
Allow the jointing material to begin setting as recommended, then carefully clean remaining residue from the terracotta. Avoid excessive water or aggressive cleaning that could damage fresh grout or disturb the installation.
Step 12: Seal and Maintain the Patio
After the patio has fully cured, apply a suitable exterior sealer if recommended for the terracotta and installation system. Regularly clean the patio and inspect for loose pieces, cracked joints, drainage problems, or surface damage.
A well-crafted terracotta mosaic patio combines practical outdoor construction with creative design. Careful planning, a stable base, proper drainage, suitable exterior materials, and regular maintenance can help create a beautiful and durable outdoor space for relaxing, entertaining, and enjoying the natural character of terracotta.



